
Hello again Trixie Scrappers! By special request, I’m going to show you how to make your own Facebook timeline covers using Photoshop Elements 10, but there’s nothing in this tutorial that won’t work with earlier versions.
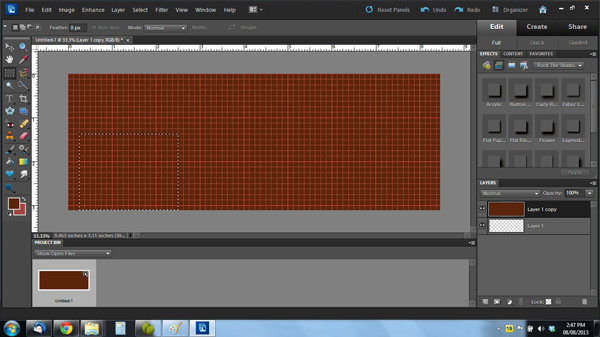
Start by opening a new workspace but rather than going 12″ x 12″ (or whatever your favourite canvas size might be) you want to make your canvas 2539 x 933 pixels. Later on we’ll resize it to the FB-specific size, but for now, we want to work on a large space so it’s easier to see what we’re doing. Fill the space with a background colour so that you can see where your photos and elements are.
You might want to change your preferences for your grid to inches and the spacing to 8 so that the measuring part of this exercise is easier. This is the hardest part to get right. You’ll need to mark off the area where your profile photo goes so that you don’t put anything you want visible in that spot. I’ve marked it out with the “select” tool as shown.
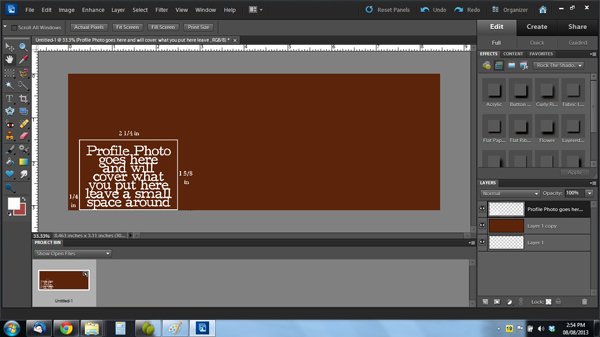
There’s a space about 1/4″ wide at the left edge of the profile photo box. The box itself is 1 5/8″ high by 2 1/4″ wide. I typed a note to myself inside the box to remind me and saved that layer so I could turn it on and off at will. (You might want to save this as a template for later so you don’t have to recreate it over and over… just a thought.)
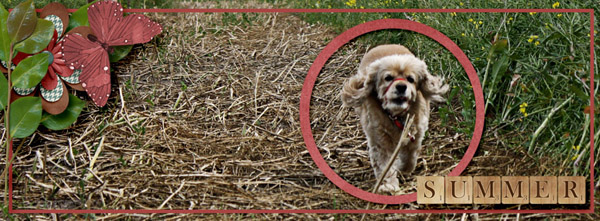
Now the hard part’s pretty much done! Start designing your cover using whatever wonderful photos or digi-scrapping items you might have lying around. I used a large photo that I then drew a stroke around, and added some embellishments from North Meets South Studios’ Summer Fades Away kit. There were some feet in the upper left of my photo that I wanted to cover up so I used some leaves, a flower and a butterfly. To make sure I wasn’t putting anything important in the profile photo spot, I moved the text box layer to the top and turned it on and off as needed.
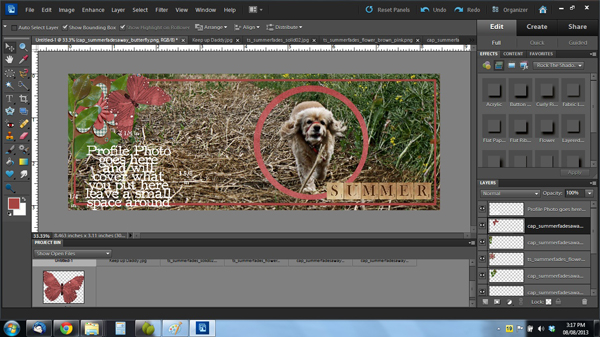
Once I was happy with where things were, I shadowed everything to my liking.
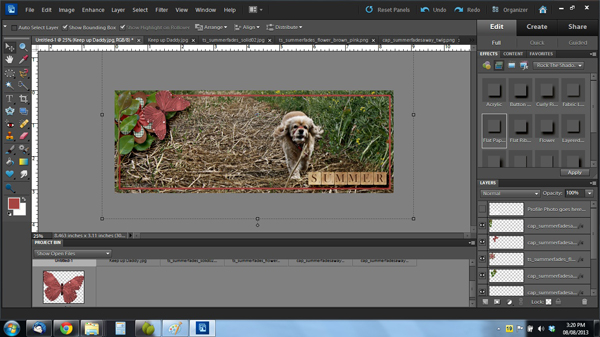
So this is what it looked like once I was happy with it.
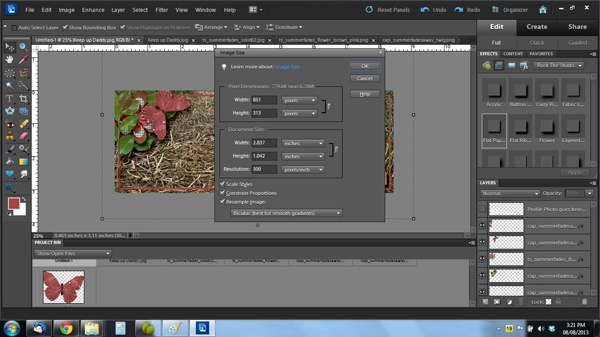
The next step is really important. The image has to be resized. So go into your “Image” menu and select Resize>Image. Then set your size to 851 pixels wide. It will automatically set the height to 313 pixels. All your detail is preserved and so is the resolution.
All that’s left is to save your cover and put it on your Facebook! It’s just that simple. Here’s what mine looks like on my Facebook.
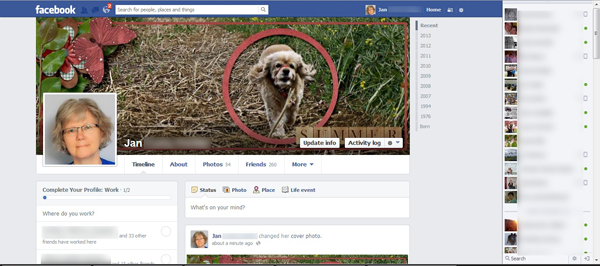
Give it a try and let me know how you make out!
~Jan

All Trixie Scraps Designs products can be found in the following online stores:
Trixie Scraps Shop * My Memories * Gotta Pixel * Ginger Scraps


