Welcome to another Tips, Trends and Techniques Tuesday! Today I’m going to give you some tips on how to preserve your family history and keep it alive for future generations through digital scrapbooking.
Have you ever found an old family photo that you thought would make a great layout or a shoebox full of old photos that you’d like to put together in an album for yourself or for a special occasion for a relative? Then you’re ready to get organized to make heritage layouts.
Getting Started
If you already have your photo(s) in digital format, you’re ready to start. If you’re still organizing and gathering your photos, there are a few things to think about:
Most old photos will need to be scanned in order to use them. If you’re only using a few photos, this won’t be a problem – you to scan them yourself. However, if you have a shoebox (or more) full of photos, you may want to send them to a scanning service company. They can scan your photos, slides, and negatives in bulk for a fixed price.
Remember the APS (Advanced Photo System) cameras from a few years back? I have many, many of those cartridges that are impossible to scan yourself and I plan on sending them off to be scanned. Then I’ll be able to share those photos with my family and use them in layouts.
Old slides can be scanned, too. I scanned about 300 of those slides that my father took years ago and I’ve been able to share those scans with my brother.
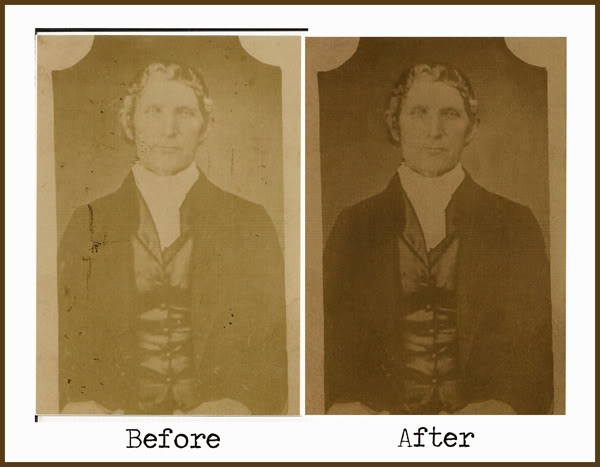
Some of your photos may be in pretty sad shape with rips, tears, creases or spots. You can restore your photos with photo editing software.
This is a photo of my great-great-great grandfather that a “cousin” I found online shared with me. It was probably taken about 1840. Here’s a before and after of the photo, although I still need to do more work on it.
Finding Information for Your Layout
Gather as much information as you can about your photos and your family history. Talk to relatives to find out names, dates, locations and stories about your photos. I so wish I had done this years ago when my parents and grandparents were still around. I now have too many photos with no names or no dates.
Let this be a reminder for you to date your own photos so generations to come will have this information. You can add a caption or additional notes to the photos you’ve scanned or edited. Most photo editing software has the option to embed a caption within the header, allowing it to be transferred directly with the photo. This info is stored with the photo and can be accessed under the photo’s properties. If your photo-editing software can do this, it will be found under “add caption” or “File –> Info”.
Prepare Your Photos for Your Layout
To crop or not to crop, that is the question. My suggestion would be to not ruin the integrity of the photo. Remember that there are things of interest in your photos other than the people. There can be relevant background for historical reference such as cars, clothes, furniture, wallpaper, etc.
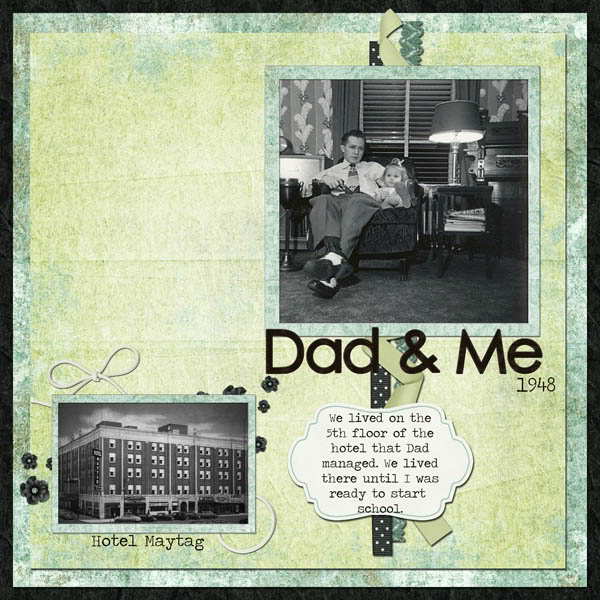
Here’s a layout I did of my father and me when we lived in an apartment in the hotel that he managed. Note the patterned wallpaper from that time period, my father’s shoes and the piano in the corner that my mother played. Those are all important to the photo and the layout.
Layout made with Icy Days Mini Kit (retired) and Foam-abet Basic Black (retired) by Trixie Scraps Designs.
Adding Ephemera and Memorabilia
Remember that there are other items that you can add to your layout. You can scan documents and momentos such as wedding invitations, birth/baptismal/marriage/death certificates. Also, military records, letters, family Bible registers, immigration records, maps, newspaper articles and postcards.
I found several postcards from my birthplace and hometown on Ebay. You can also search census records online and include the family’s or person’s census sheet in the layout. You can find pictures of the ships that brought your relatives to the United States.
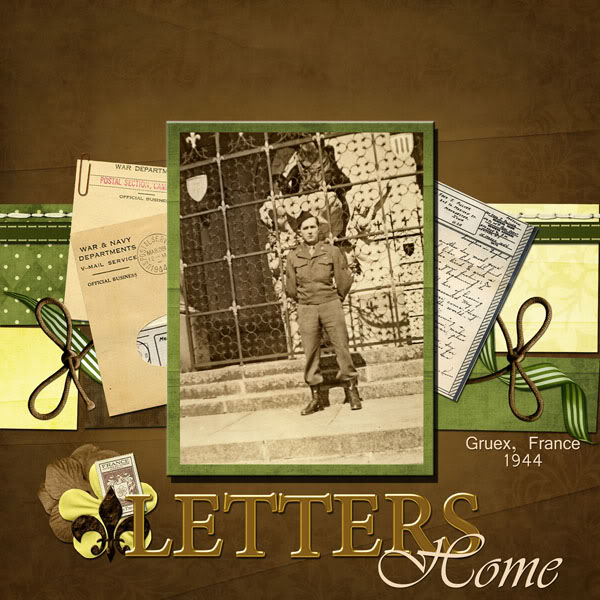
You may have things in a relative’s own handwriting, like recipes. I have recipes from both grandmothers and my great-grandmother that I will use in layouts someday. Here’s a layout that includes scans of letters (V-Mail) that my father sent to my mother in WW II.
Layout made with Carly (retired) and Solid Gold Classic Alpha (retired) by Trixie Scraps Designs.
Choosing Supplies
Now that your photos and momentos are scanned and ready, it’s time to start your layout. What colors should you use? What elements should you use?
When I think of heritage layouts, I think of elegance and simplicity. Less is more so the focus can remain on your photo. I like the tasteful conservative look of heritage layouts. Most older photos will be black & white, mixes grays or sepia-toned. Your layout colors should complement your photos and not overwhelm or compete with them.
Softer, muted colors work best with older photos, but a bold could work depending on the photo. Try to stay away from bright neon or fluorescent colors and cutesy embellishments that may be just a passing fad today. You could also scan or photograph family heirlooms to use as a background such as your grandmother’s wedding dress or a quilt made by your mother.
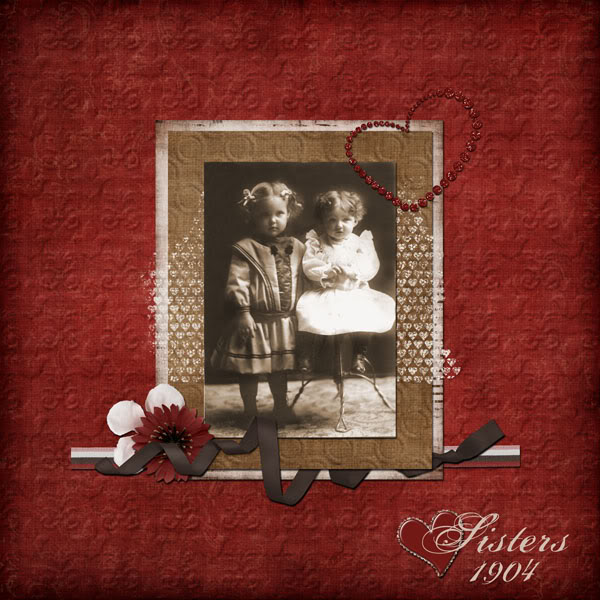
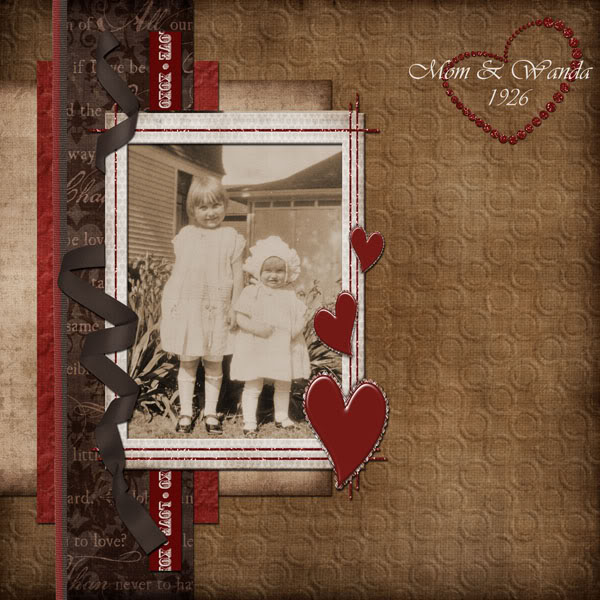
Here are some layouts that I think show the simplicity of a heritage layout. The first is of my grandmother and her sister. The second one is of my mother and her sister.
Layout made with Lovey Days Mini Kit (retired) by Trixie Scraps Designs.
Layout made with Lovey Days Mini Kit (retired) by Trixie Scraps Designs.
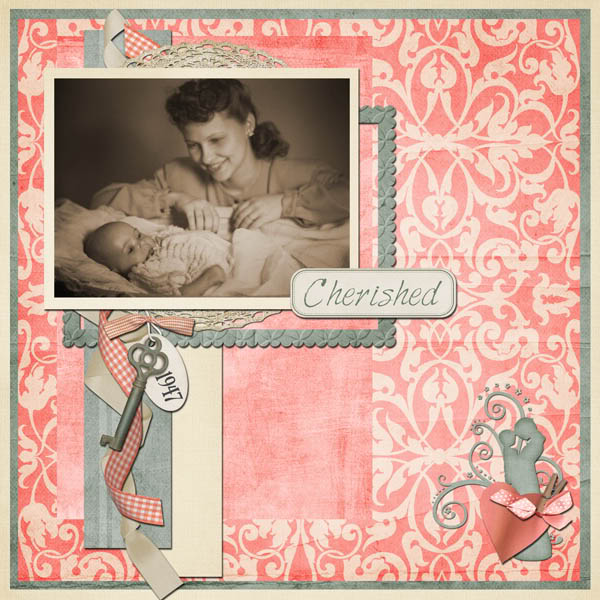
With the following layout, I had to restore the photo of my grandparents with my mother. I also used an action on the photo to give it a soft sepia tone, but still tried not to change the photo much from the original. The papers and elements I used complemented the photo perfectly.
Layout made with Sunday Afternoon by Trixie Scraps Designs & Sarah Bennett and A Mother’s Love (retired) by Trixie Scraps Designs & Litabells Designs.

This layout uses a patterned paper, but it reminded me of patterns used during that time period.
Layout made with A Mother’s Love (retired) by Trixie Scraps Designs & Litabells Designs.
Telling Your Story
A very important part of a heritage layout is the journaling. I still need to add journaling to many of my layouts shown. Think about adding the information for the questions…”who, what, when, where and why.” You may wonder about the question “why?” Was the photo taken for a wedding, for a birthday or something not so obvious. There’s a photo of me (age 4) standing beside my brother who was in his playpen. Why was that photo taken? I had just cut his hair when my mother wasn’t looking! Be descriptive with your journaling and add stories that have been handed down that may get lost if they’re not documented. Be sure to use a readable font for your journaling. You may also want to use the same font throughout all of your heritage layouts.
A heritage layout doesn’t have to have old photos. Not everything about your family was captured on film. It can just have journaling or it can have photos, but photos of momentos or scans of documents.
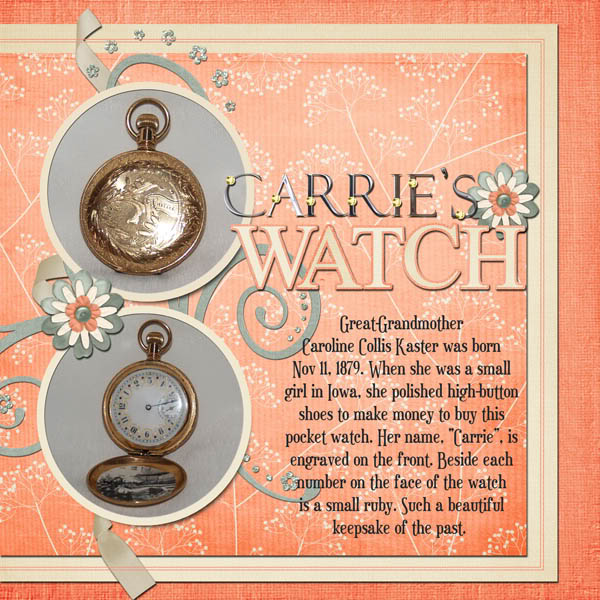
This layout has photos that I took of a pocket watch that belonged to my great-grandmother with the story of the pocket watch.
Layout made with A Mother’s Love (retired) by Trixie Scraps Designs and Litabells Designs.
I’m sure your family will cherish the heritage layouts you’ll make. I hope I’ve given you some tips that will help you scrap your heritage layouts. We don’t want our family history to become lost to future generations.
**Special Thanks to former team member Pamela Meeker, the original author of this article, who also contributed the fabulous family heritage photos within.


