Greetings, fellow scrappers! Welcome to another Triple T Tuesday! This week, I want to share with you one of my favorite little tips for bringing out details in my photos. Please note that this tut is for Photoshop & Photoshop Elements.
The High Pass filter is found under the filter tab’s “other” option. I personally like to use this filter to bring out the details in nature photos, and it’s also great for sharpening those bright eyes that we so love to capture!
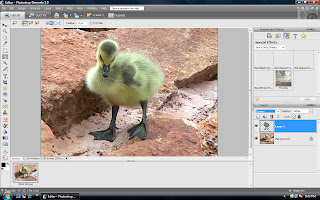
Let’s take a look…first, open up a photo that you’d like to sharpen up a bit. I’m going to use a photo of a little Canadian gosling (isn’t it cute!!) that I took last spring.
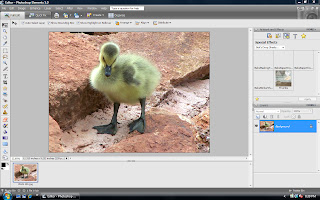
Use the magic wand (or whatever tool you are most comfortable with) to select the areas that you want to sharpen.

Make your selection a new layer via copy.
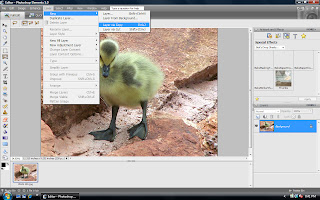
Make sure that your new layer is selected, and then go to filter—>other—>high pass.
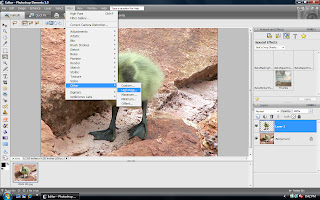
The high pass option box will pop up, and you will enter a number amount. The higher the number, the sharper the new layer will be made. However, if you bump it up too high, the layer will become grainy. For generic purposes, 5.0 works for me. You’ll want to play around with it to see what works best for you.
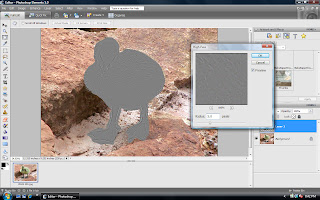
The last step is the change the blend mode of the top layer from ‘normal’ to ‘overlay’.
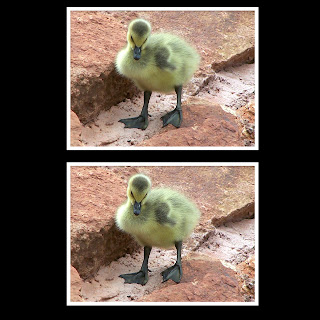
And now, the before and after:
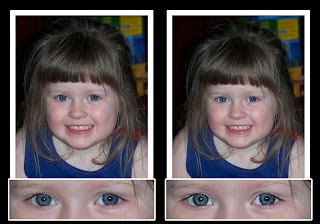
I’ve also used this technique alot on my daughter’s eyes. When I am sharpening her eyes, I enlarge the photo a lot (it’s easier to select the eye area that way), and I chose a level of anywhere between 4 and 6 on the High Pass filter box. The filter brings out the details of the iris, and really makes the eyes pop and sparkle.
**This works best if you are working with a headshot or photo where the eyes are the real focal point.
I hope you found this helpful, and wish all of you happy scrapping!!


