Welcome back scrappers! Today we are going to learn how to give our pictures a sepia look using a solid color layer and blending modes.
First thing we need to do is pick out a picture that we want to give a sepia look. Open it up in your photo editing software. I use Photoshop Elements 5.0, so the screenshots will be from that program. After you have your picture open, go ahead and make a duplicate copy of it so you don’t accidentally save over top of the original.
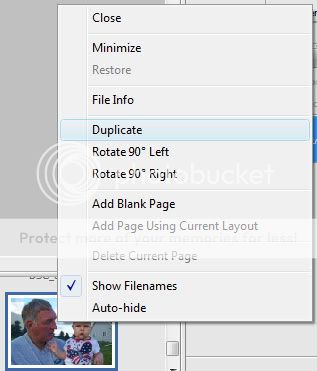
Convert the duplicate copy of the picture to black & white. If you need help on how to do that check out this post on Trixie’s Scrap Stars blog.
Next we are going to find a brown that we like. I went ahead and used the brown from the kit I planned on using to scrap my picture. Select your Eyedropper Tool (“I” in PSE 5.0) and pick up the color you want to use. You can also just click on the foreground color and play around with picking a color there, too, if you don’t have a brown you want to use.
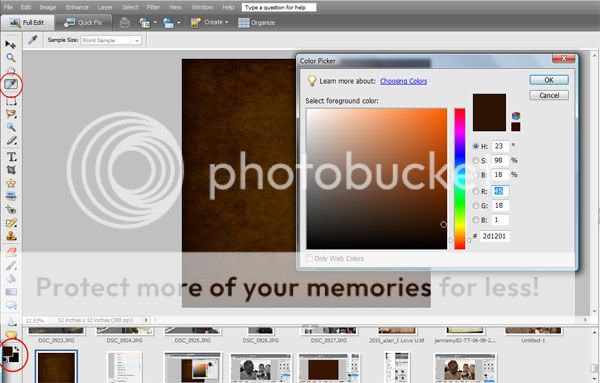
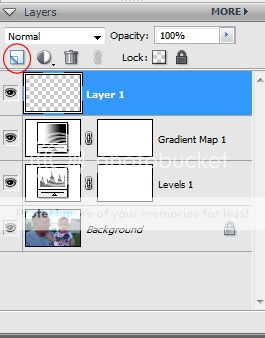
Now go to your picture and create a new layer.
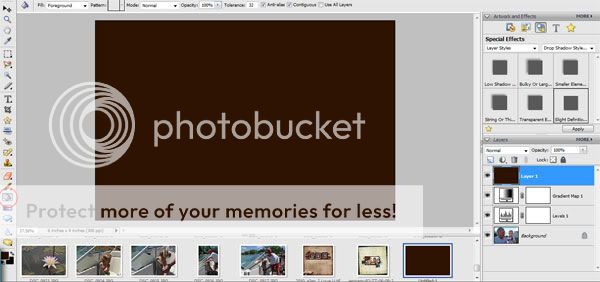
Click on the Paint Bucket Tool (“K” in PSE 5.0) and fill the new layer with the brown.
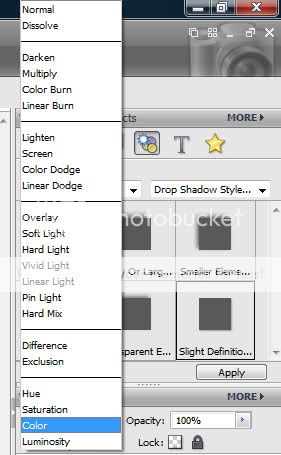
Next go to the blending modes menu and choice Color.
You can leave the opacity at 100% or layer it on top of a color copy and lower it a bit to let more of the colors from your picture show through.
100% Opacity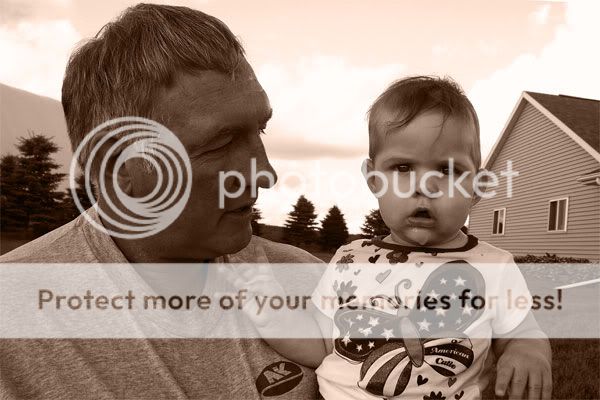
65% Opacity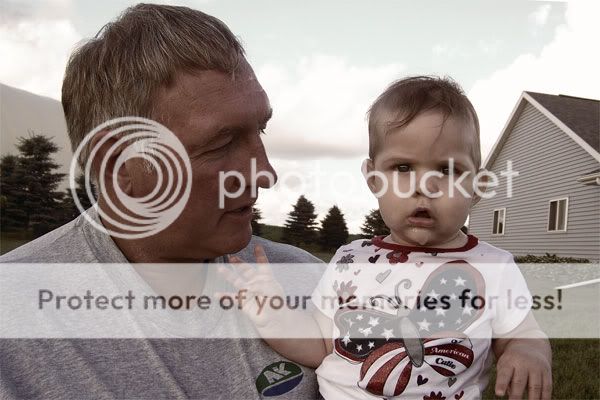
Here is a layout I did using Trixie Scraps & Sarah Bennett’s Old Glory and Old Glory Bonus Alphas. I layered the sepia picture over top of the color picture and lowered the opacity a bit so more of the color would show.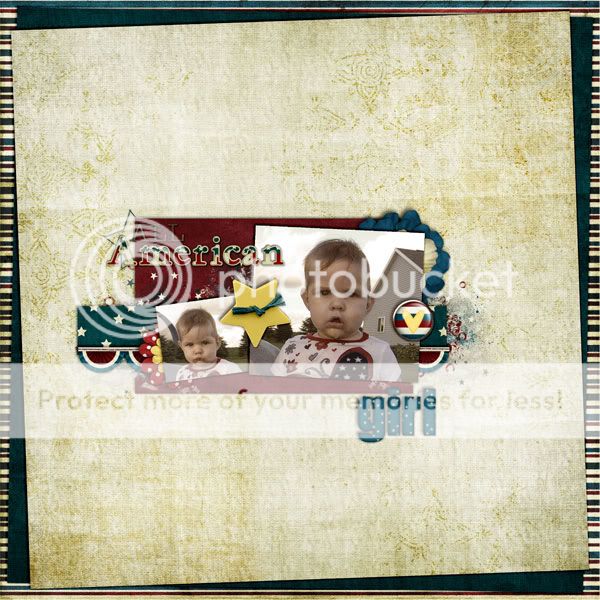
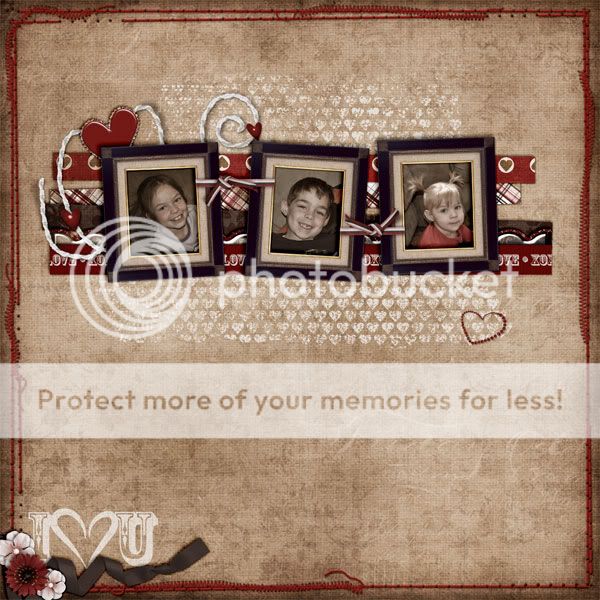
Here is another one using Trixie Scraps Lovey Days and Love Me Some White Space 1 templates.