Hello Trixie fans! Scrap Star Trista here! Let’s talk chalk!
It is fairly simple to create a chalked edge look in Photoshop. Please note that I am using Photoshop 7 and am not exactly sure of how this translates in other programs. Today we are going to add a chalked edge to a paper strip to give it a worn look.
1. Be sure the item you want to apply chalk to is on a separate layer.
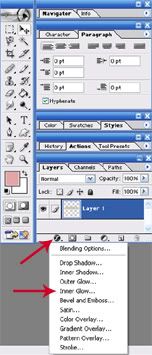
2. Click on the effects button – aka “Add a layer style icon” (black circle with an f in the center) in the bottom of your layers palette.
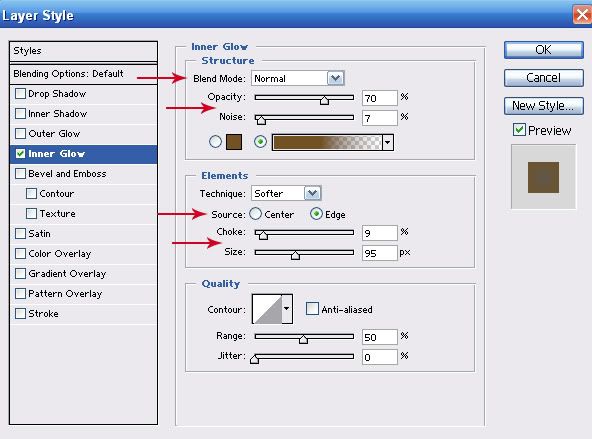
3. Select the Inner Glow option. A new menu will appear.

- Color – Select any color for the chalked edge
- Opacity – Adjust how visible the chalked edge will appear
- Noise – Adjust the amount of texture (more noise increases the grainy appearance)
- Source – Select Edge
- Choke – Adjust the base (or boundaries) of the chalked edge
- Size – Adjust the amount of the chalked edge to blur.
Easy Peasy right? Here is the end result using the settings from above.
Today is $1 Pixel Day at Gotta Pixel. Here are the items that you will find on sale for today only.
A Formal Affair Kit | Messy Masks Vol 2 | Through the Week Vol 4 | A Formal Affair Glitter Styles
Shari has created a coordinating alpha.
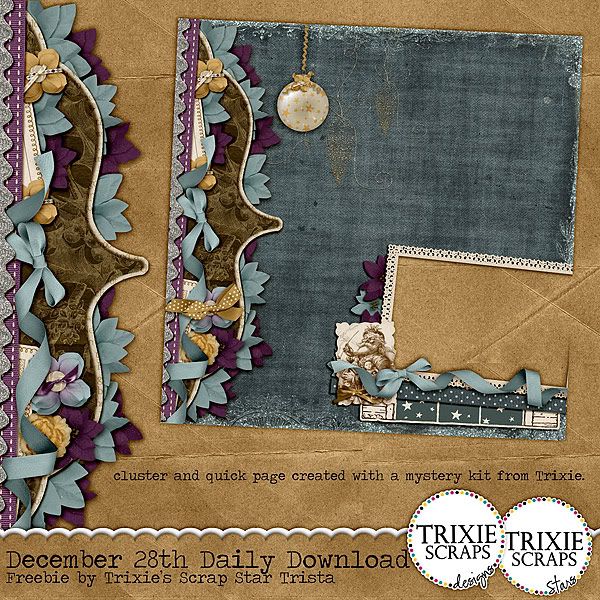
Before I sign off today, I wanted to share with you today’s Daily Download which I created using the mystery kit that Trixie Scraps designed especially for her followers. Snag this little treat while you can as each Daily Download is only available for 48 hours.

Happy Holidays to you and your family!


Just a quick note to let you know that a link to this post will be placed on CraftCrave in the DigiFree category today [28 Dec 01:00am GMT]. Thanks, Maria
Th♥nks for sharing & H♥ppy New Year!
Love the Qp. Happy New Year!
Thank-you
Thanks for sharing this, as I just wrote an email to Tracy asking her how she went about producing this effect on her elements.
I’m glad you found it helpful, Carol! 🙂