Hi Everyone! Welcome to another Tips, Trends and Techniques Tuesday! I recently upgraded to CS5 from Japanese language PS6 (I know! HUGE jump!), and until this week, I had been doing B&W photos in a round-about fashion (with color overlays and layers!). This week, our very own Tracy shared a tutorial on using your Adjustments and Variations options in CS5 to create B&W with only a few simple clicks!! For PSE users, you can do similar adjustments using: Enhance-Adjust Color-Adjust Hue Saturation to change your photos to B&W. Give the tutorial a try and let’s see your best B&W photo layouts!
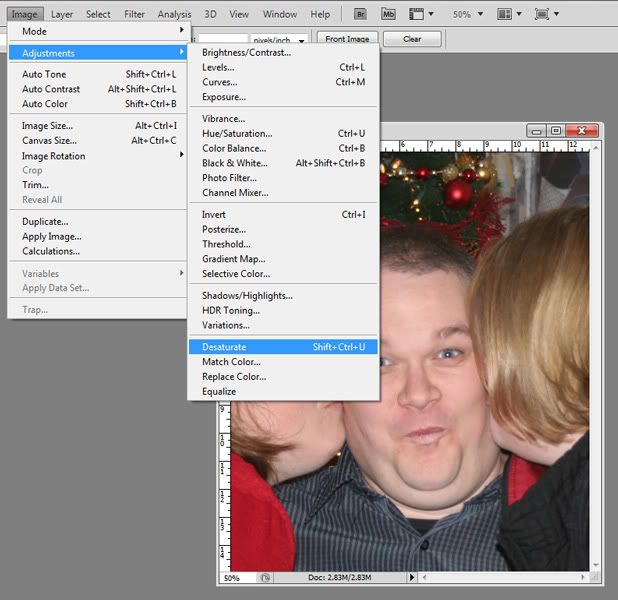
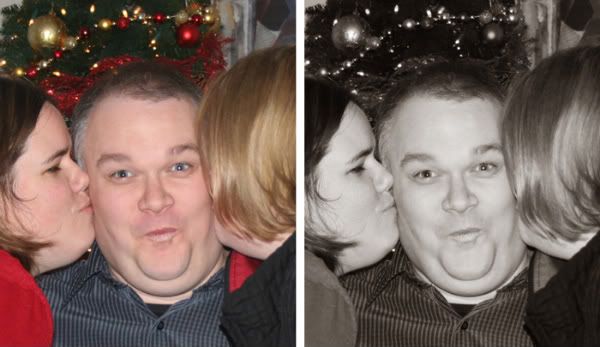
In Photoshop, open your photo and desaturate it
(Image – Adjustments – Desaturate) or Shift+Ctrl+U
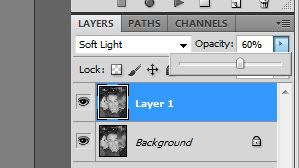
Now, I like to tweak mine a little bit to give it a little more pop! Duplicate your desaturated photo (Ctrl+J) and set the top layer to “Soft Light.” Now, I usually bump the opacity down to somewhere between 40-60%. Do what looks good to you.
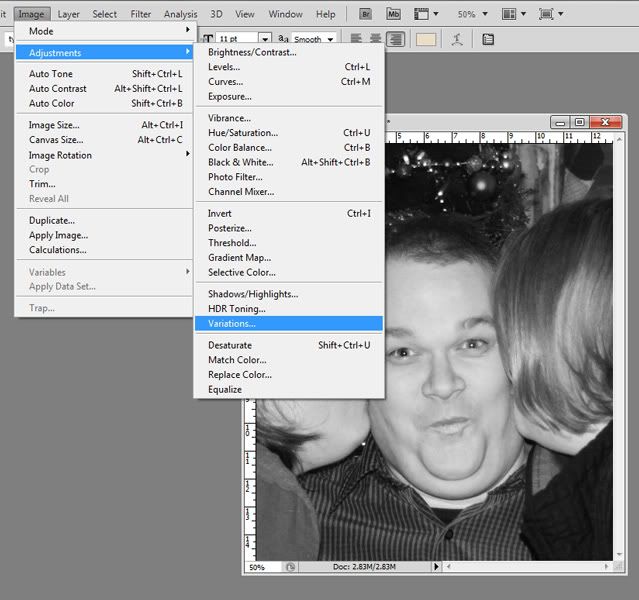
And finally, this is completely optional, but I like my B&Ws to have a little bit of a tint to them, ever so slight. So, first flatten your image (right-click one of the layers and choose Flatten Image). Then, go to Image – Adjustments – Variations.
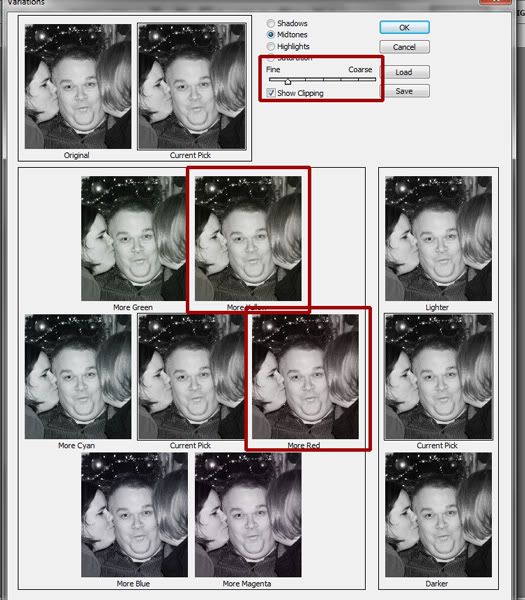
Move your slider to the far left, one tick away from the “fine” end. Then click on More Yellow ONCE and More Red ONCE.
Finally, save your new B&W photo – see, pretty effect, right?
Here’s my layout, using Distinct Hush collab:

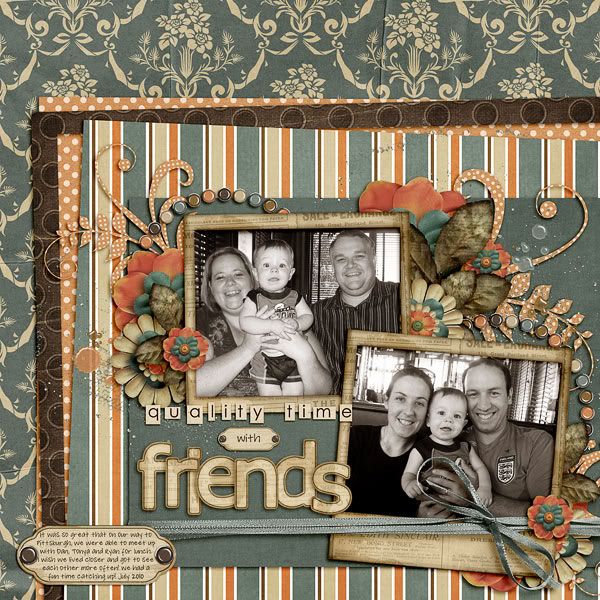
Here’s a gorgeous layout, using Quality Time, by Tracy!
Bree made this layout (with Owl Always Love You) using PSE! She Hue/Saturation and set Saturation to 0. Then followed the tutorial, but left the soft light layer as is. Then she used variations to get the look she wanted!


All Trixie Scraps Designs products can be found in the following online stores:
Trixie Scraps Shop * Scrap Matters * Gotta Pixel * Scrapbook Bytes * Funky Playground


