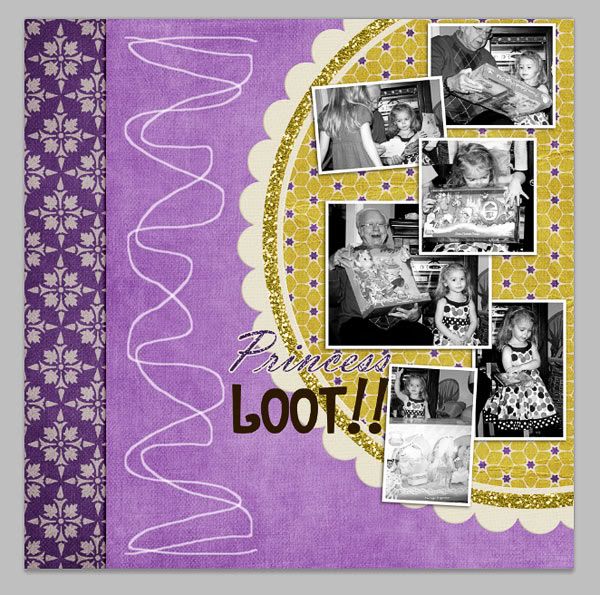
Good morning, everyone! Trixie Scraps here with a new tutorial for you! Back on March 15th, Theresa shared this tutorial with you all about journaling on a shape path. Kristen, one of our readers, asked us a question that day about how to wrap her journaling AROUND a shape, instead of on or in a shape path. So, I put together this tutorial as a follow-up to show you all how to do it. Please note – the screenshots for this tutorial were done in CS5 and it may or may not work in your program, depending on what version you work with. So, here we go! Here’s a quick look at my page in-progress. I wanted to fill the area with the white squiggly line with journaling, making sure to wrap around the large scalloped circle and my title. However, I didn’t want to mess around with carriage returns and all that in order to do it.
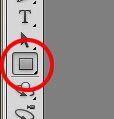
The good news is that while Photoshop doesn’t have an actual text wrapping tool, it can be pretty easily accomplished with just a few clicks. So, the first thing you want to do is select the Rectangular Shape tool from your tool bar – note, this is NOT the same as the Marquee tool, which is usually near the top of the tool bar. You want the shape tool which is normally found lower on the tool bar, near your text tool:
Once you have your Rectangle Shape tool selected, you need to select the path button in the bar at the top of the screen… note, you will need to select both the path option on the left and the “add to path area” option on the right. When you have done this correctly, your cursor will appear with a small plus sign next to it.

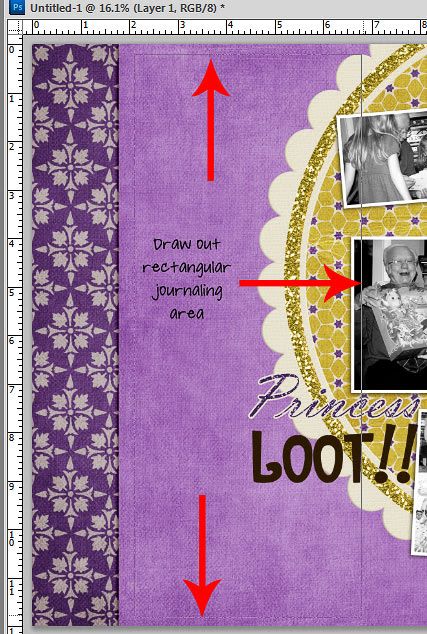
Now, add a new blank layer to your page, then draw out the area you want to journal in, like this. It’s okay if part of your path overlaps an area of your page you don’t want journaling on – we’re going to fix that in the next step!
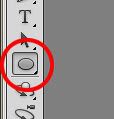
Now we’re going to fix that part of the path which is overlapping the area you don’t want journaling on. First, go back to your Shape Tool, this time selecting a shape that is similar to the area you want to exclude from your journaling area. I am first going to exclude my Scalloped Frame, so I am using the Circle Tool.
Now, you need to change your menu options in the top bar, just a bit! You’re still going to use the path option on the left, but now you need to change your selection on the right to “subtract from path area.” Your cursor will now show up with small minus sign next to it.

Now, while on the same layer as your original path, you want to draw out the area you want to exclude from your path. Press and hold the mouse button as you draw out your shape. If you need to move your selection, while you still have the mouse button held down, you can press the space bar to move the active path around. Once you are satisfied with the area you’ve drawn out, release the mouse button. You will now see what looks like two paths – the original path you drew, plus your new path which will subtract from the original path area where the two paths intersect – it should look something like this:
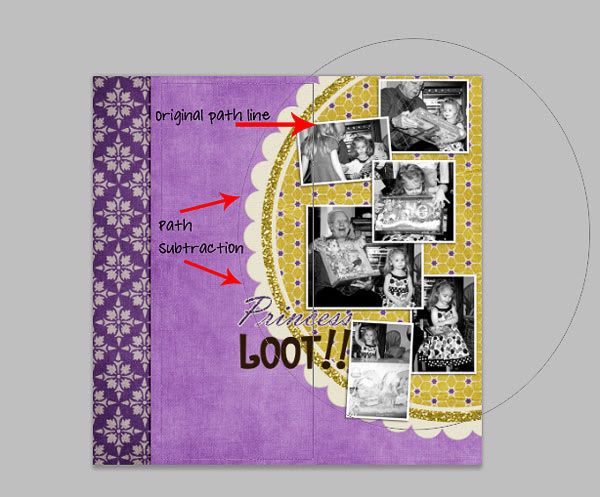
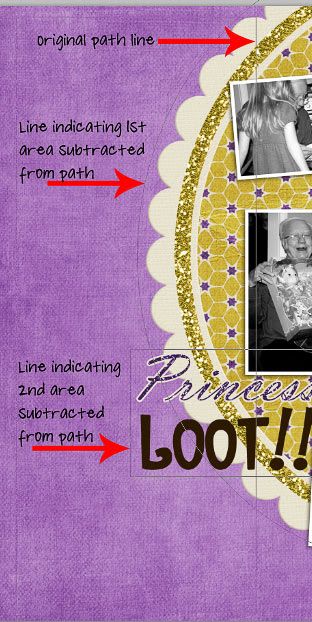
On your page, you might be done there. But, on my page, my title sticks out a bit farther than my scallop mat, so I need to exclude that area, as well! I go back to my Rectangular Shape Tool and once again select the Path Option and the Subtract from Path area option (as above) and now I draw out a rectangle around my title to exclude the part of the original path overlapping my title – like this:
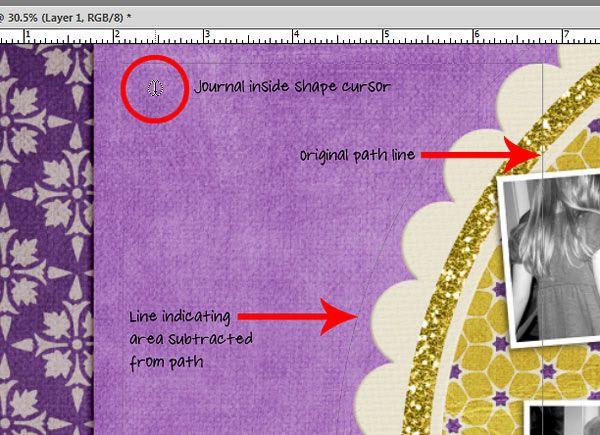
Now, its time for the magic to happen! Select your Text tool and set your font, size, alignment and color options. Now, hover with your mouse inside the top corner of the original path. You should see your cursor change to straight line with a circle around it – this means that you will be filling the original path with your journaling. But the magic part is that your journaling will wrap around OUTSIDE of the paths you subtracted from the original rectangle. Click and start typing:
Once you finish your journaling and click off your text layer, you should have something that looks like this – the journaling follows that rectangle you first drew, except now it wraps around outside of the parts of your page you didn’t want the journaling on! And the best part is that if I want to change the font or the size of the journaling, I can do so easily. If I had put random carriage breaks in throughout the paragraph of journaling and later wanted to change my font or font size… I’d have a big mess to clean up! This method makes wrapping your text around page elements a cinch!
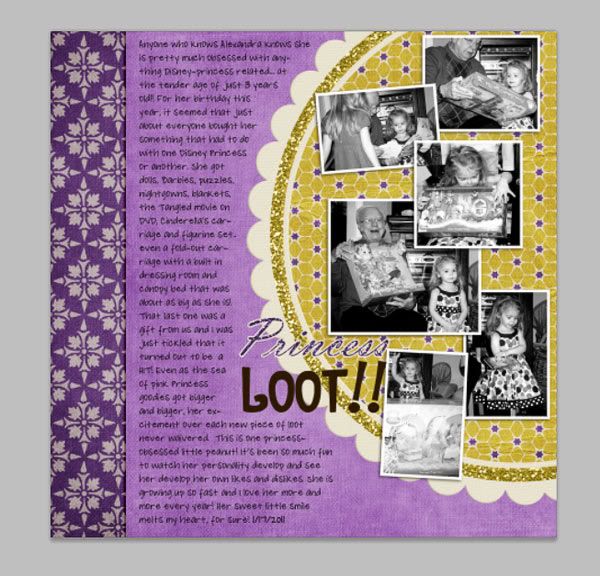
Here’s a look at my finished page, which was created with my Croaky Kisses collection, now available in all my stores. You can see in my finished version, I decided to turn my text white to better match the feel of the whole page. Plus, I decided to justify align the text by highlighting it and pressing Ctrl+Shift+J. The result is a clean column of journaling which perfectly wraps around the photos and title. I hope you enjoyed this expansion on our original text path tutorial – as always, if you have any questions, please leave us a comment and let us know. Have a great day! ** Trixie **


All Trixie Scraps Designs products can be found in the following online stores:
Trixie Scraps Shop * Gotta Pixel * Scrapbook Bytes * Funky Playground


Just a quick note to let you know that a link to this post will be placed on CraftCrave today [29 Mar 01:00am GMT]. Thanks, Maria
Great tutorial! 🙂
thanks for the awesome tutorial. i use pse, so can’t do text paths. but love the tutorial anyway.