Hi Trixie Scraps Fans! Today is Triple T Tuesday and I’m here to show you how to turn any template into a white space template! Are you a fan of lots of white space in your layout? I am! And it seems there are times when you like a template but it seems too crowded for your tastes or you just want to mix it up a little. Well, I’m going to show you an easy way of altering an existing template to add some more white space. Here we go…
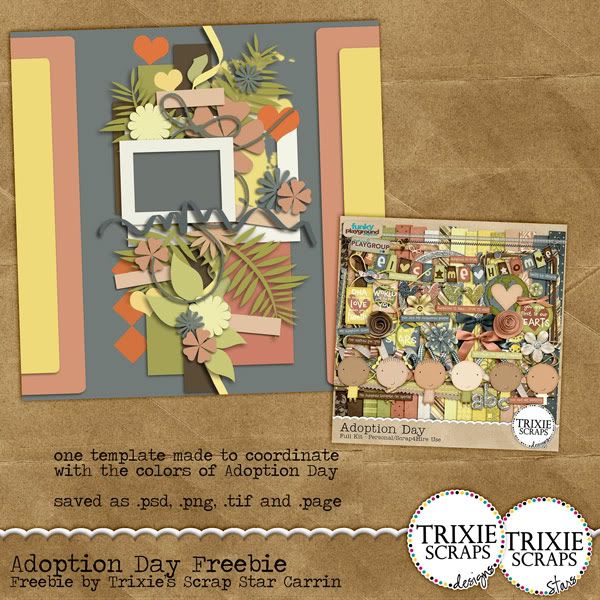
1. Open your template in Photoshop as normal. I’m using a past blog freebie by Carrin, found here.
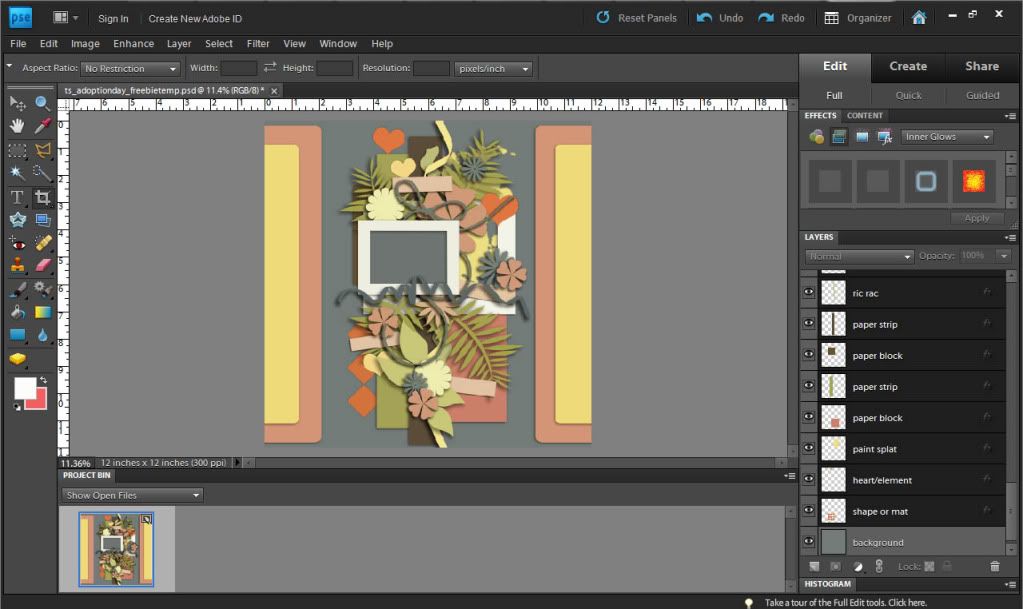
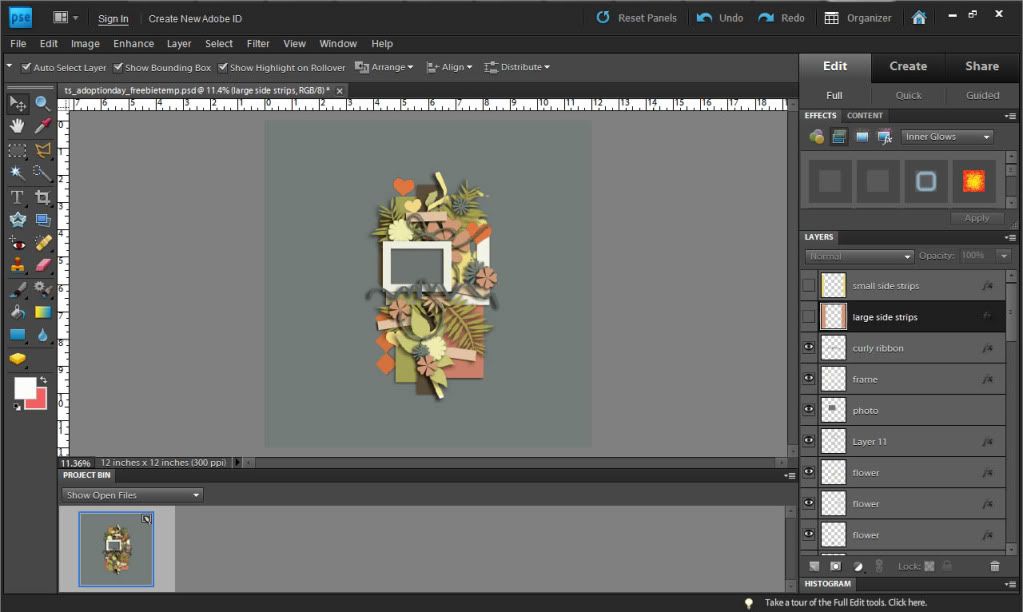
2. Select the papers and clusters of elements directly around the photos in the Layers Panel. In this template file, I am going to choose all the layers including and in between “Shape/Mat” and “Curly Ribbon”. A trick here is to hold SHIFT while selecting the “Shape/Mat” layer and then use the Scroll Bar in the Layers Panel and then select the “Curly Ribbon” layer.
3. Hold the CTRL key and then press the T key. This will open up the Free Transform Tool while the layers are selected.
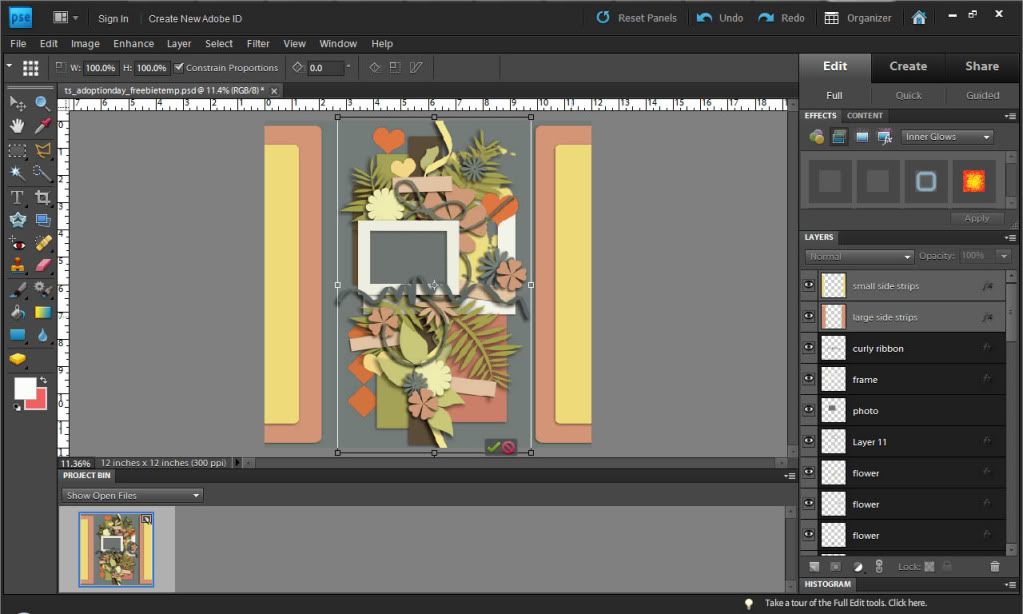
4. Now you are going to scale all the papers and elements in the template down to create the amount of white space you want. Be sure to hold the ALT key while dragging the corner so the layers remain centered while you scale them down. Then press ENTER.
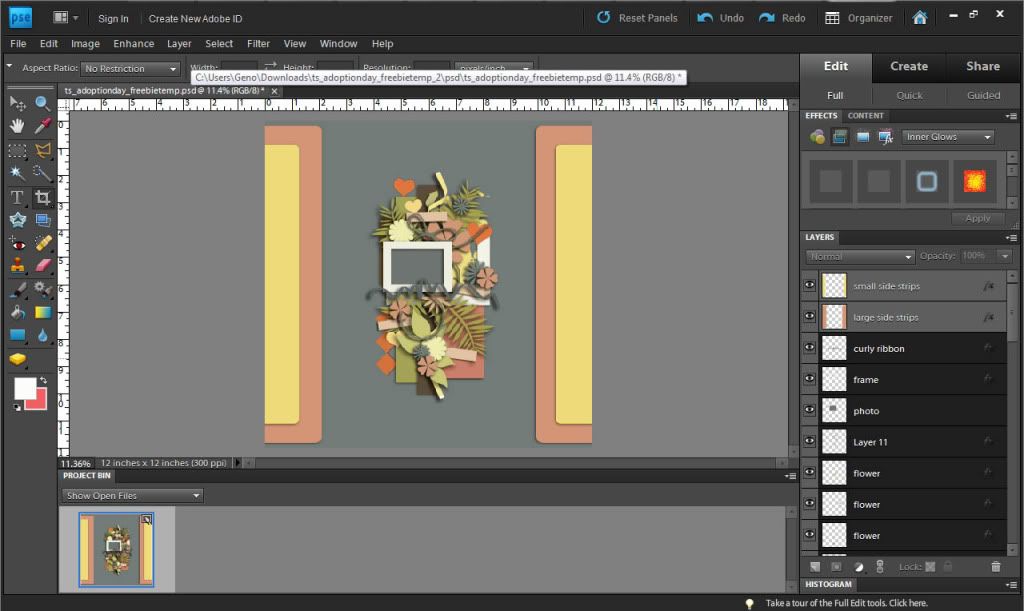
5. I have decided to get rid of the side papers in the template so that there can be even more white space! I just de-selected the eye symbols next to the top 2 layers to make them invisible. Here’s my final white space template.
6. Now you are ready to use your new template! Here’s my layout.
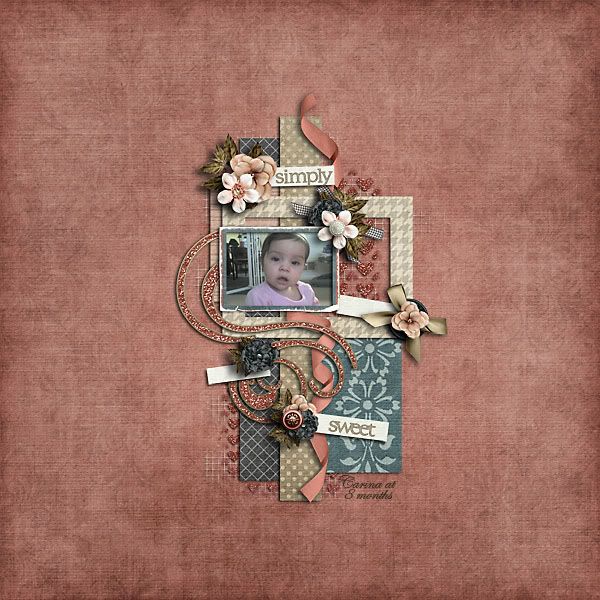
I used Distinct Hush.
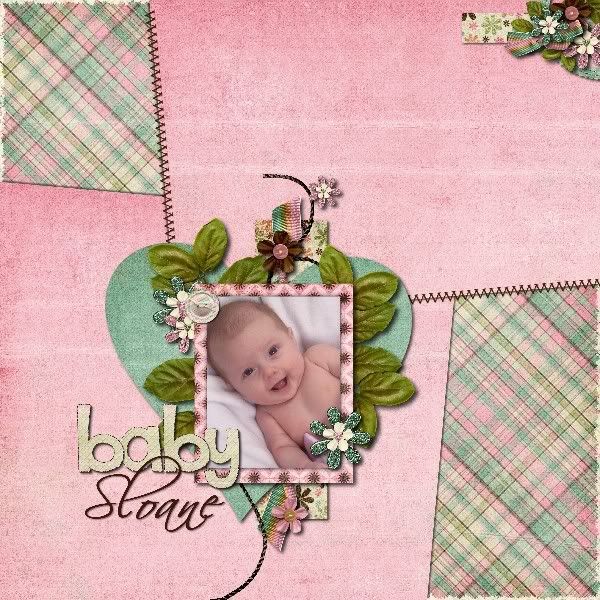
Here is another other example by CT member Mary Kate.

All Trixie Scraps Designs products can be found in the following online stores:
Trixie Scraps Shop * My Memories * Gotta Pixel * Scrapbook Bytes * Funky Playground


Great tutorial!
Great tut and great example Laina!