Hi everyone! Melinda here bringing you Challenge Thursday! Today, we are focusing on photography … one of my favorite topics next to digital scrapbooking! Often when we take a photograph, we are documenting something, and we don’t think much about where our subject is located in the frame — where they are in the view finder or on the LCD screen. But, your every-day pictures will have added “wow” factor when you follow one rule of photography called the “Rule of 3rds,” and those “wow” pictures will look fabulous in your scrapbooking layouts!
I’ve never taken a photography class, but from what I understand they usually focus on this in one of the early lessons. The basic gist of it is that your photo can be more aesthetically pleasing if you align your subject along some invisible grid-lines which break your horizontal and vertical planes into thirds.
Here is an example of the grid I’m talking about that I quick whipped up in my scrapbooking program:
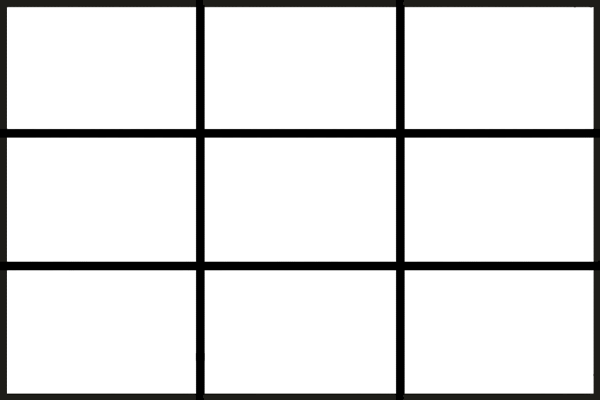
Your goal is to get your subject into one of the “sweet” spots where the hearts are as shown in my grid below. (See the “sweet” hearts? Get it? Groan, you know you want to.  )
) 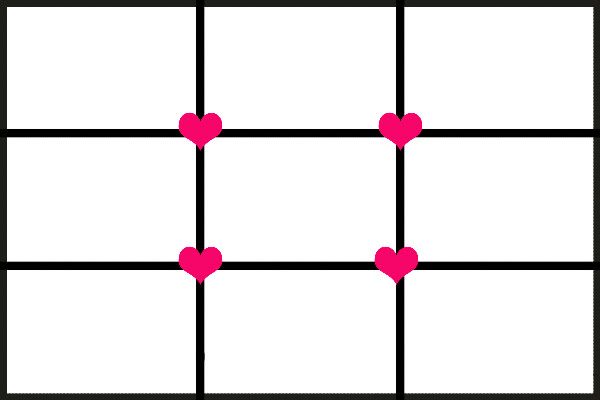
It can be that the face of your subject is in one of the “sweet” spots, or maybe your subject takes the vertical or horizontal line where the hearts are. “They” say that your photo will be more pleasing to the eye if you follow this compositional “rule.”
Here are a couple of recent examples of pictures I’ve taken, showing how I’ve followed the rule of thirds. I’ve put them under my grid so that you can see how I’ve followed the lines.
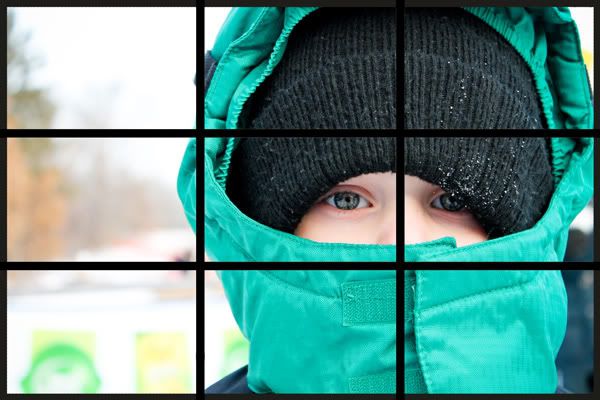
Here, my subject is taking up the 2nd vertical line in the photo. I am cropped way in close because I wanted to be, but the same thing would apply if he was further away, as long as he was placed along that vertical line.
Here is an example of having the subject at one of the “sweet” spots where the lines intersect: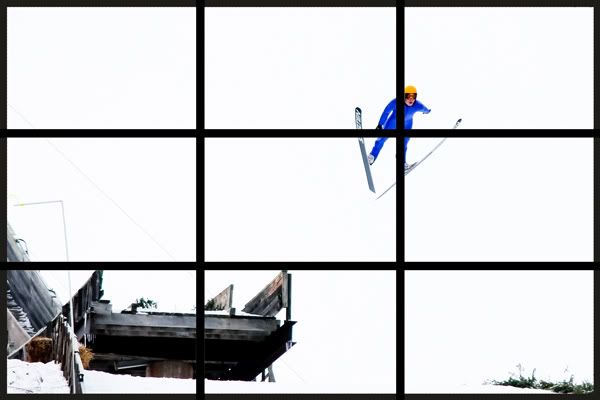
You can follow this rule in-camera … meaning as you are framing up your shot and taking the picture, or you can adjust it in “post-processing” by cropping the picture in your editing program of choice. Some cameras even have an option in their menu to show the grid in your viewfinder or on your LCD screen to help assist you with lining up the shot. Or, if your subject ended up dead center in the picture, you can crop it afterward in your editing program of choice. You can either show a grid or rulers to help you judge where the grid would be, or if your program has an option to show this specific type of grid (like Lightroom does), you can use that too.
Here is a before and after of having my daughter pretty much right in the middle of the frame, and after cropping using the Rule of 3rds: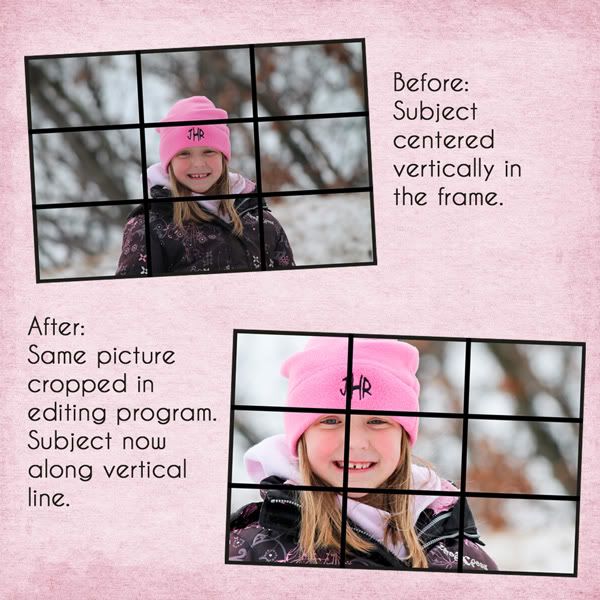
And the final edit removing the grid lines.
Now that you’ve seen a few examples, take out that camera and try it out! The “Rule of 3rds” might just give that picture you planned on taking anyway that extra “wow” factor!

credits: Always in My Heart by Trixie Scraps Designs
Finally, create a layout with your challenge photo, and upload your layout to the Trixie Scraps Gallery so you can get a chance to be a Show-Off and win a sweet prize!

All Trixie Scraps Designs products can be found in the following online stores:
Trixie Scraps Shop * My Memories * Gotta Pixel * Scrapbook Bytes * PickleBerryPop


