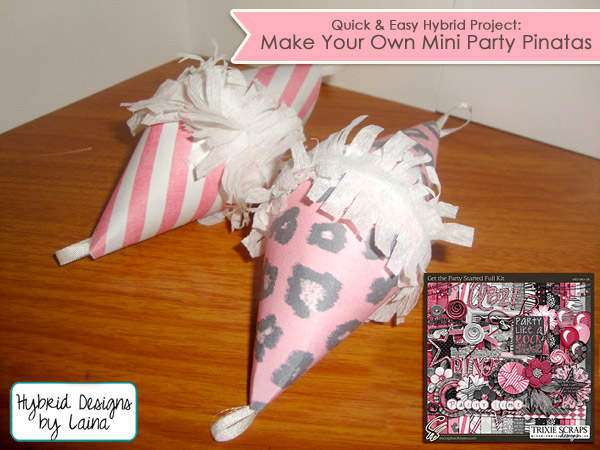
Hi Everyone, Happy Make it Hybrid Monday! Are you ready to get the party started?! Today, I am in full party mode and here to show you a cute way to make mini pinatas for your little one’s birthday bash.
For this project, I decided to use one of Trixie’s latest kits called Get the Party Started! Don’t you just love all the glitz and glam in this kit?
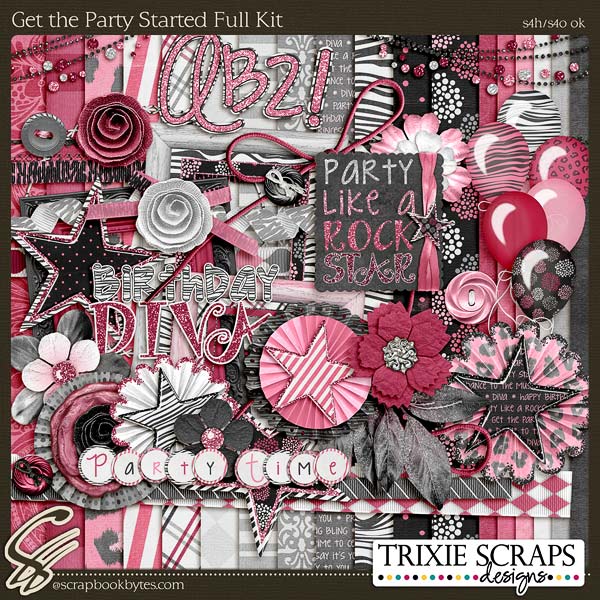
Here’s a list of items you will need to gather:
Digital Patterned Papers
White Cardstock
Scissors
Adhesive
Ribbon or String
Streamers
and small candies for the inside
Step 1: Create a 3×5 inch semi circle in PSE. Duplicate it and clip your favorite patterned paper to both of them. You will need 2 semi circles in order to make one mini pinata. Print and cut them out with your scissors.
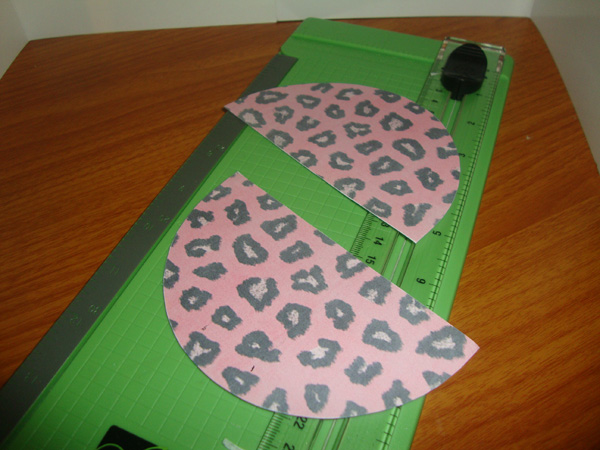
Step 2: Begin at one side and start folding the semi-circle around until you make a paper cone shape. Apply your adhesive to keep the desired shape. Repeat this step for the second semi circle so you will have two paper cones. Be sure to keep a small hole at the top to add your ribbon.
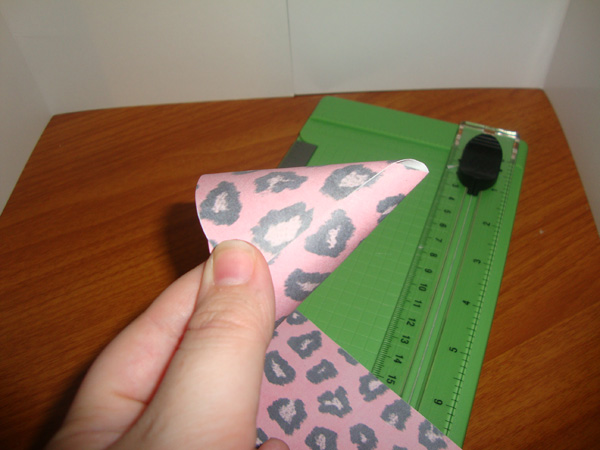
Step 3: Loop a piece of ribbon over and tie a knot with the ends. Push through the top hole of one of the paper cones. Repeat this for the other cone.
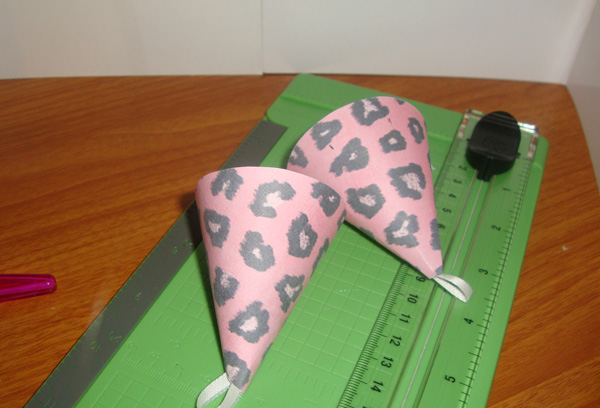
Step 4: Fill each paper cone with some candies. Then you can begin to adhere them together. Apply a band of adhesive so its overlapping both cones in the middle.
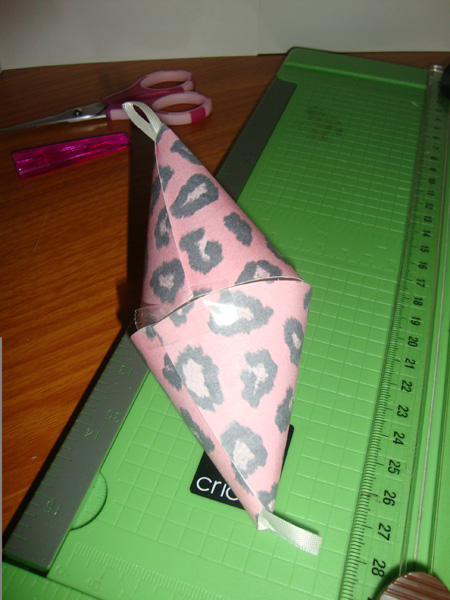
Step 5: Now you can make your garland out of streamers. To do this, measure and cut a piece that is about 6 inches long. Fold it in half and wrap it around the middle of the two combined paper cones carefully so that it is covering one side of the pinata. Repeat for the other side of the pinata. Finally, fringe the edges with your scissors. Your mini pinatas are now complete and ready to pull apart!

All Trixie Scraps Designs products can be found in the following online stores:
Trixie Scraps Shop * My Memories * Gotta Pixel * Scrapbook Bytes
