Welcome to another edition of Master’s Monday.
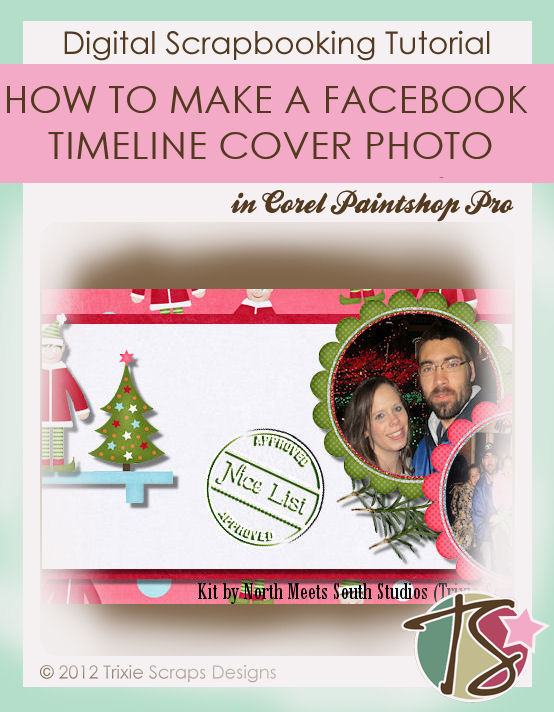
Today we’re going to show you how to create a cool digi-scrapped Facebook Timeline Cover Photo.
How many of you are somewhat addicted to Facebook? It’s sad to admit, but I am an addict. I once had a friend tell me that I couldn’t be a psycho, crazy person who snaps and does odd things because I post so often.
Because I’m such an addict I am also constantly changing my profile picture as well as the cover photo. Making a digi-scrapped cover photo is a great way to show off your skill and make your Facebook page feel more like yours.
With Christmas coming up and Trixie and Connie Prince getting together and making such a cute kit in My Shelf Elf, I knew I had to use this kit.

Let’s get started. I’m working with Corel Paintshop Pro. Your program may be different.
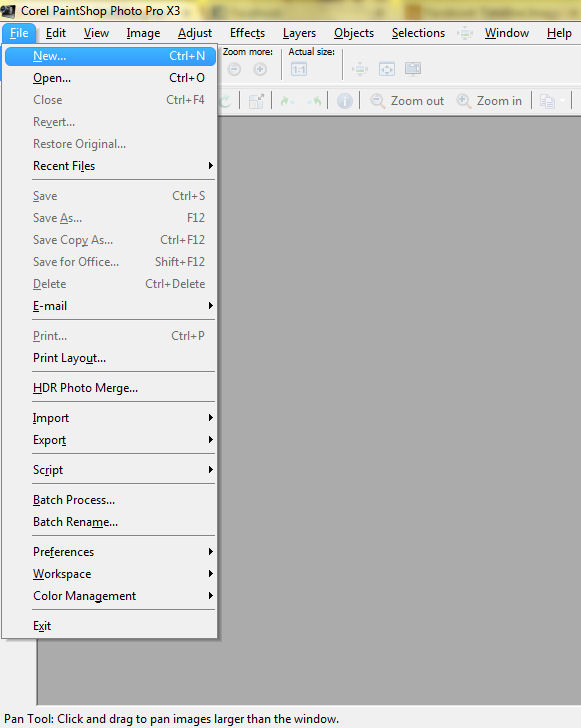
– Open a new document
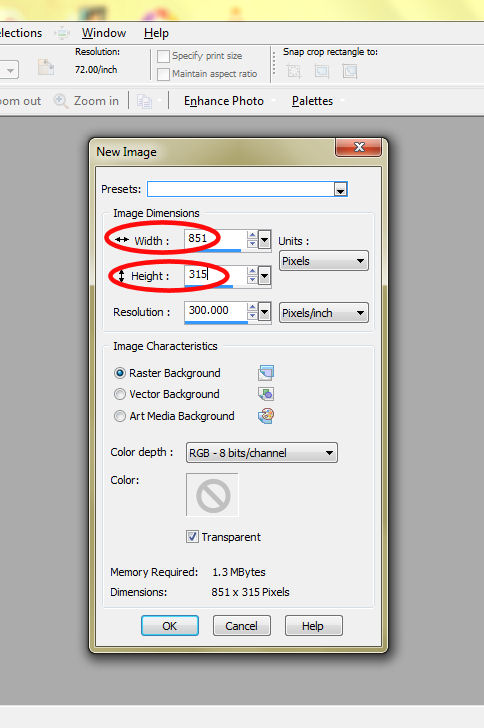
– The document image should be 851 pixels wide, by 315 pixels high.

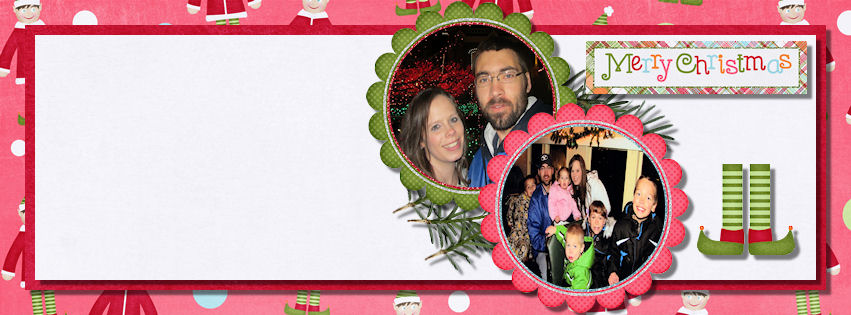
Now you go to work creating your masterpiece. This is where I got when I decided I wanted to use the shelf element that came in the kit to go right over my profile picture.
Figuring out exactly where to place the shelf took some work. I decided the best route to go would be to take a screenshot of my Facebook profile and go from there.

Once I had the screenshot I pasted it into my graphics program and went about figuring out where the profile picture actually sits in the Facebook banner. I cropped out all the excess stuff so that I only had the cover photo and profile in my image.
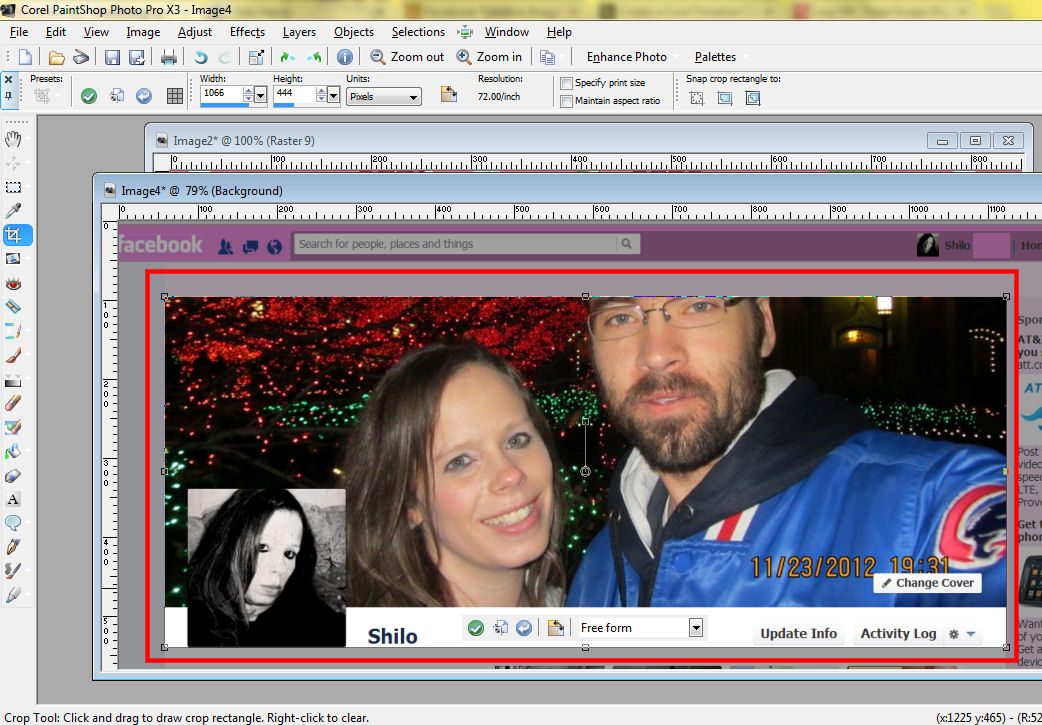
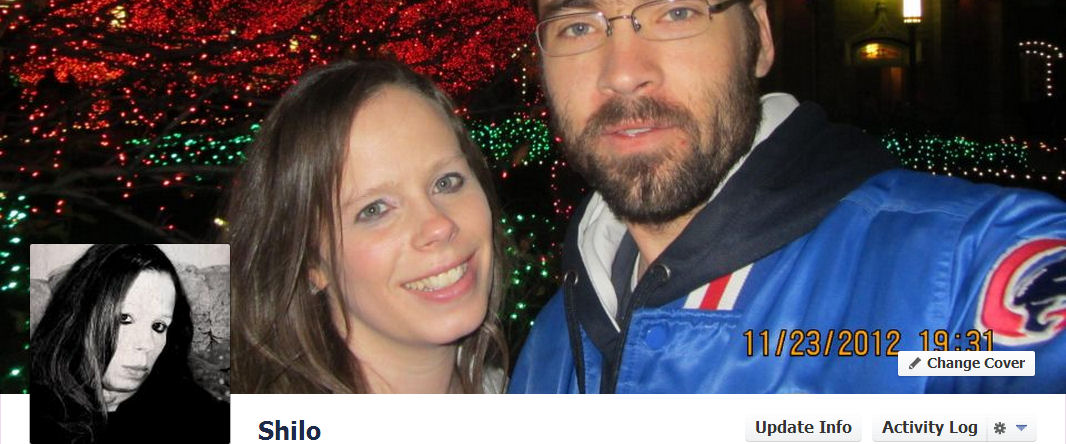
I then enlarged the photo so I could see how many pixels down and across the profile picture sat.
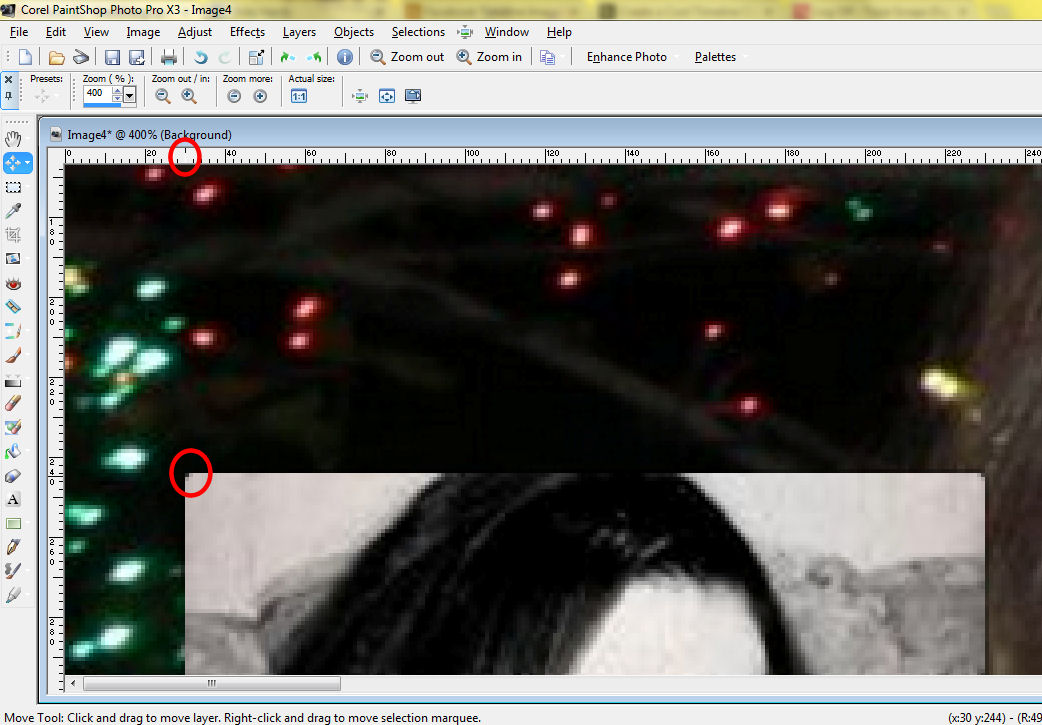
I then had the dimensions I needed.
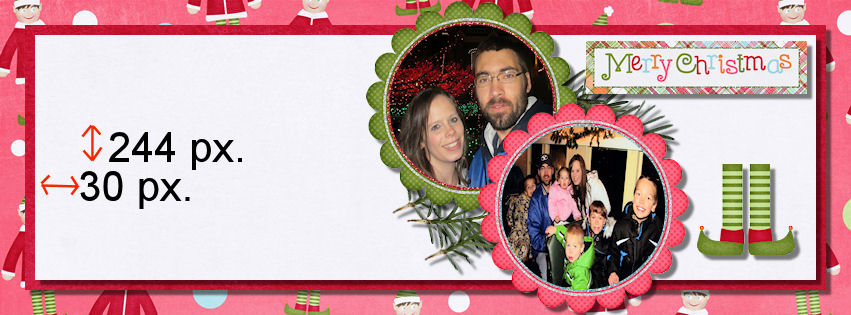
Then I went to work adding the shelf in just the right place.

Now I’ll admit I actually had to play with this a few times to get it in EXACTLY the right spot, but I did within 3 tries.

Make sure if you are using someone’s kit that you give them credit somewhere on your cover photo.
I then went to work putting it on Facebook.
Once you get to your own profile on Facebook, you’ll see the big long area at the top. There is a button to the bottom right that says CHANGE COVER.
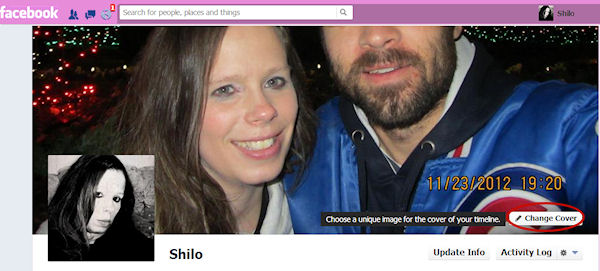
Click on it and you’ll have a few options of how you want to get it onto Facebook. Most likely you’ll want to upload it.
You’ll then have the chance to move it around slightly to get it in just the right place. And when you’re done, you’ll have a cover photo that looks like this:
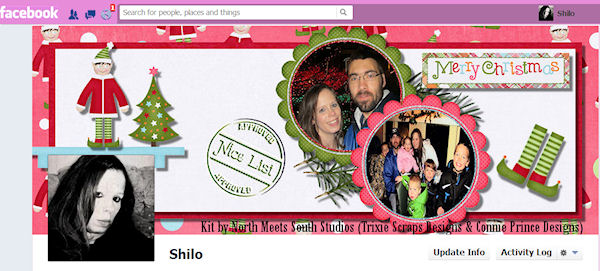
We hope you’ll be able to beautiful your Facebook space using one of Trixie’s kits and we’d love to see your work in the gallery if you do.

All Trixie Scraps Designs products can be found in the following online stores:
Trixie Scraps Shop * My Memories * Gotta Pixel * Scrapbook Bytes


