Subway art is everywhere in the craft world lately. You can’t walk into a craft store or even a home decor store without it being right in your face. I love subway art and got to thinking that it would be fun to use in scrapbook layouts. So today, I’m gonna walk you through it really quick.
For my layout I left the subway art for the last. So I went ahead and made my layout up to that point.
When it was time to start the subway art, I decided that the main phrase I wanted in my subway art should be made with the alpha included in the kit. I then placed it in about the spot I thought I might want it.
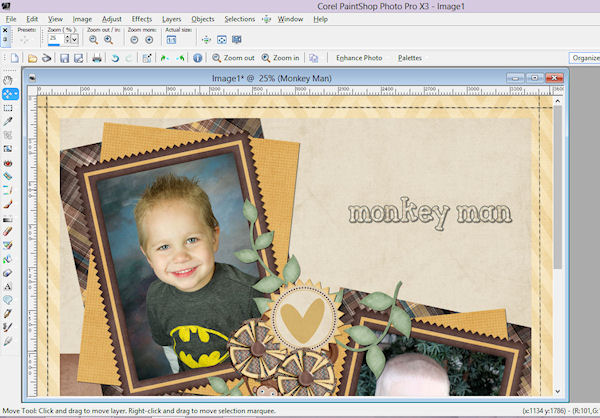
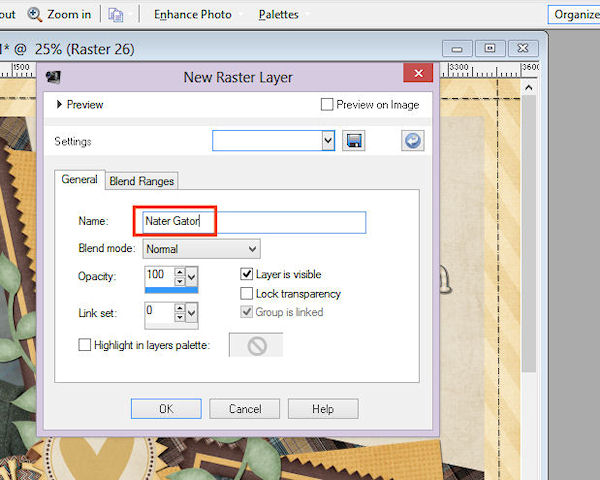
The main thing to remember about subway art is that usually the fonts are all different and they are in different sizes. To keep the layers straight as I went about making my layout, I made sure I named each new layer the name or phrase I was using.
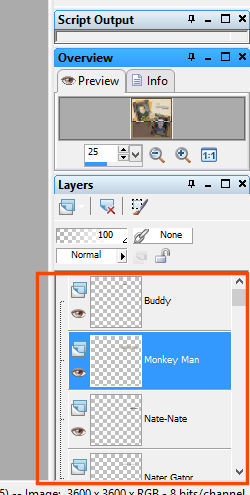
Then in my layers box, I could see where each phrase was. It’ll come in handy at the end.
I then went about just typing up the words I wanted to use and just left them where I typed them at.
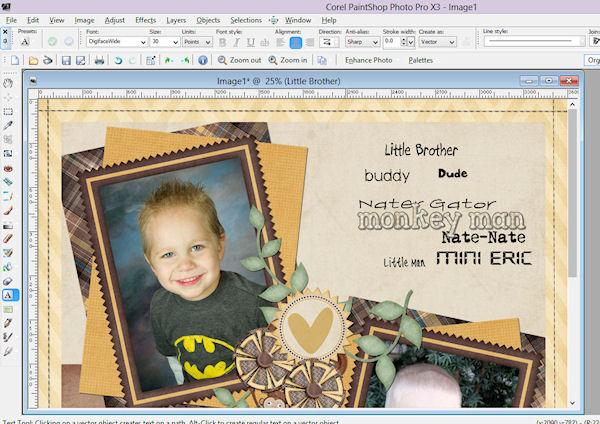
When I had all the words I wanted, I went about arranging them where I wanted them. This is where your named layers will come in handy. You can click on the layer for whichever word or phrase you want and you’ll be able to just move that word into place.
When the words were all arranged how I wanted them I merged them all together so that I could move them all as one piece and place it exactly where I wanted it in my layout.
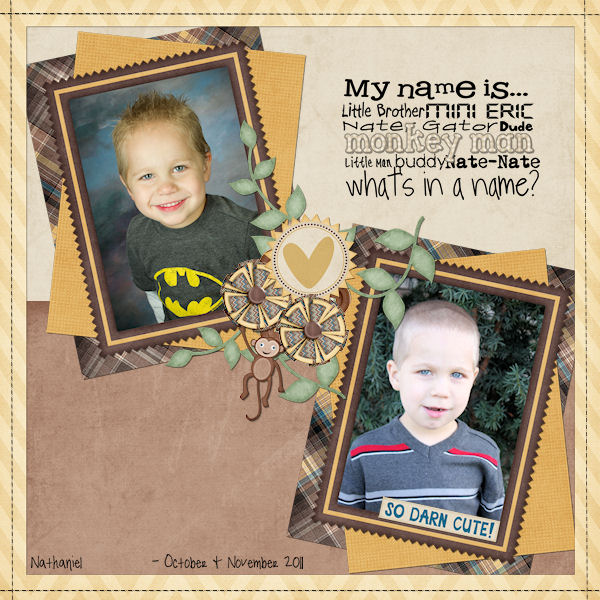
This is the completed layout, made using Spunky Monkey.
We would love to see you use subway art on your layouts so post them in our gallery.

All Trixie Scraps Designs products can be found in the following online stores:
Trixie Scraps Shop * My Memories * Gotta Pixel * Scrapbook Bytes


