Welcome everyone to a brand new week. Jackie here today sharing a quick and fun Masters Monday tutorial with you.
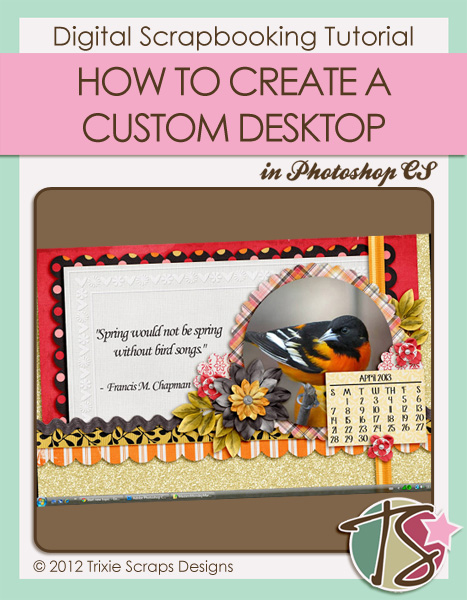
Creating your own desktop image is a fun way to customize your computer. Let’s face it, in this day and age many of use have to spend a significant amount of time on the computer everyday. So, if you have to stare at the screen all day, you may as well make it pretty to look at.
The first thing you are going to want to do is find your screen resolution. There are several ways you can do this, and it will vary from system to system, but if you head to this website your screen resolution will appear in front of your eyes instantly. My resolution is 1440 x 900.
Next, you’ll want to create a new file in your photo editing software. You should set the width and height of your new file to the size of your screen. In terms of resolution, I tend to work in 300 pixels per inch, since that is what most kits are, and then adjust it at the end of the process right before I save if I’m worried about the image size.
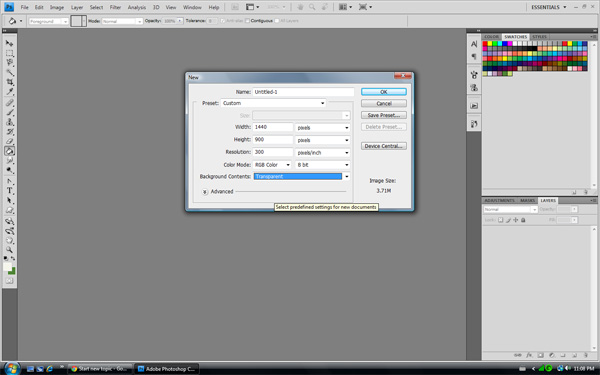
Once you have your new document created it is time to play and let your creative juices flow. I often like to include a calendar for the month somewhere on the page, so that I have it easily accessible while I’m working away. Also, keep in mind that you will have your icons covering some of the space on your page. I usually try to leave a designated space for my icons to go, so that I’m not blocking any of my decorations.
Need some help getting started? You happen to be in luck, because Trixie Scraps is hosting March 2013 Desktop Challenge over at Ginger Scraps, and has provided a template for you to play along. Here’s the desktop I created using this terrific template as a starting point and the Heart of a Friend bundle.

Now the template that is provided is a different size from my monitor, so to make it fit my screen, I first adjusted the image size and set the width to match my screen at 1400, which proportionately increased the height to 840. I then adjusted the canvas size, selected the top center point as my anchor, and set the height to 900 pixels. From there I simply had to resize one of the background paper shapes, by dragging, to cover the bottom portion of the page.
Once you have created your desktop masterpiece, you are going to want to save your file as a JPEG. The file size is generally not a concern for me so I tend to stick with a quality of 10, but since the image is going to be viewed on you screen you can afford to drop that down a bit if you’re trying to save space on your drive.
The next thing that you’ll need to do is actually make this image your background image. How you ask? Simple! Find the saved JPEG file on your computer, and right click on it. This will bring up a menu, and one of your options should be Set as Desktop Background. Click on that and voila!
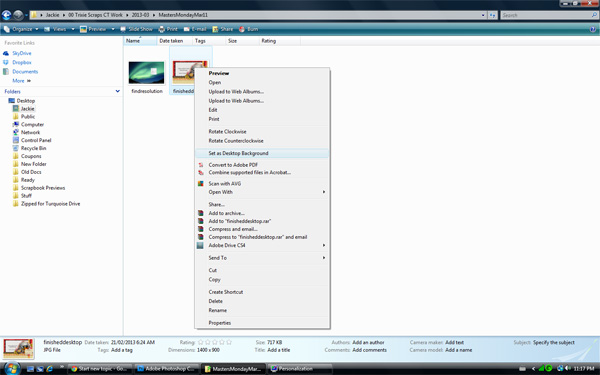
Here is my lovely new desktop all ready for April (can you tell I’m anxiously awaiting spring?).
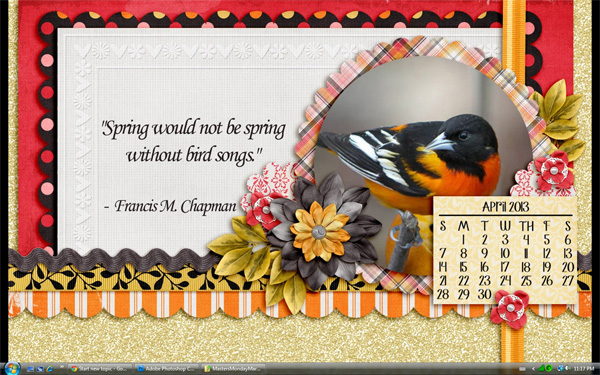
Hope you all learned a trick or two today. If you create a desktop of your own using Trixie Scraps product be sure to share it with us in the gallery so you can be a Show Off and win a great prize.

All Trixie Scraps Designs products can be found in the following online stores:
Trixie Scraps Shop * My Memories * Gotta Pixel * Scrapbook Bytes


