Happy April Fool’s Day, Trixie Fans! We’re not really pranksters in this house, but I know a lot of people are. If you are one of them, I hope your pranks went off hitch free.
Today I’m going to show you how to create invites and announcements in Corel Paint Shop Pro.
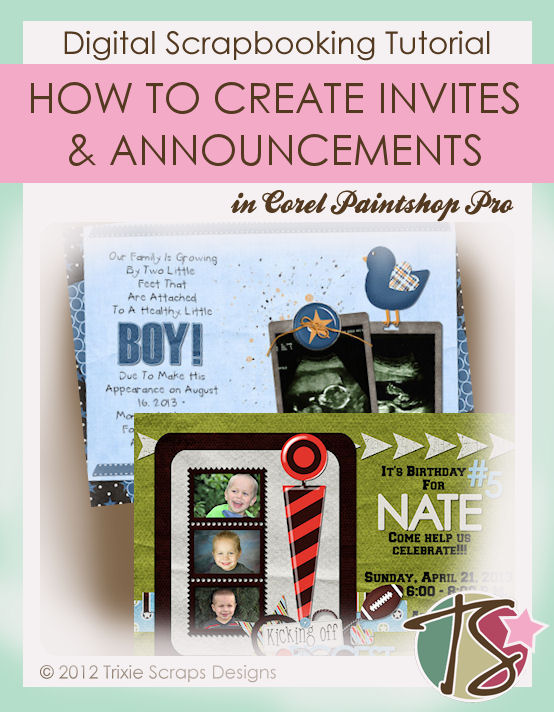
Way back in October, I showed you how to create a greeting card. These are done the exact same way, so you can refer to that blog post. It’s a more in depth tutorial.
The reason I decided to revisit this topic is because from April to July (and now we’ll probably add an August to that), one child has a birthday each month. I just finish up a party, turn around and it’s time to plan another party. Because we do things on a very limited budget, I try to cut costs where I can. One of the ways I’ve discovered I can cut costs is by creating my own invitations and/or announcements.
There are many places online that will do this service for you, but then you have to pay to get them done, printed and mailed back to you. Then you still have to mail them out yourself. I figure, most of the time I’ve already got ink in the printer, photo paper, my laptop and a myriad of digi scrap kits at my disposal. I can create cards for basically only the cost of a stamp. And secret be told, with the little kids we don’t do friend parties and just invite family and we usually see them often enough that I can hand out the invites and so making my own invites and announcements costs me nothing but time.
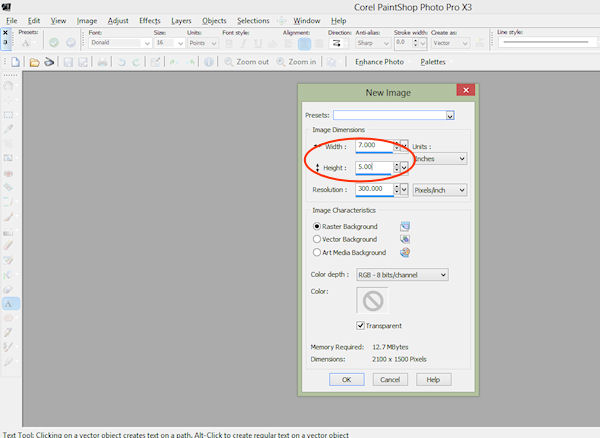
To start, you’ll need to figure out the size you want your invite or announcement to be. The usual size is 5 inches long by 7 inches wide. But depending on what you want to do, you can make it the size you like. For this project I used the 5×7 size with 300 pixel resolution so it prints off correctly.
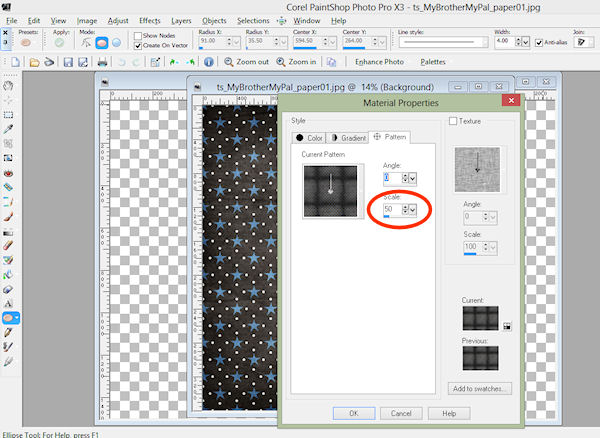
You then go about figuring out which paper you’ll use as your background. And as I’ve stated in previous tutorials, this is where you need to play with percentages a bit. For this I figured 7 inches is a bit over half of 12 inches, so I scaled the background to 50%.
However, the 50% left the a line on my project:
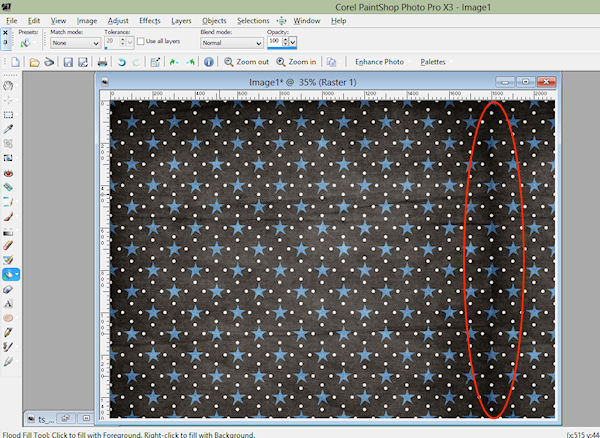
Normally, I’d go back and replay with the scale and adjust the size a bit to make it perfect. However, for this project I knew that the line would be covered by the other papers I was going to stack, so I left it.
I then went about making my announcement and invite the same way you do your scrapbook layouts.
For the baby announcement, I used the kit My Brother, My Pal and this is how it turned out:
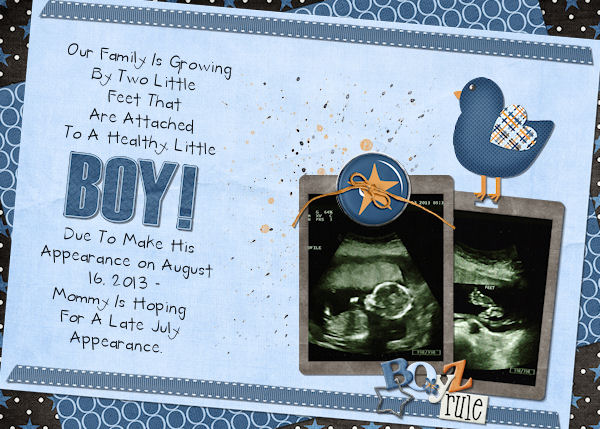
You can see that where I stacked my paper overlapped where the background showed that funky line. Like I said, for this project it was just fine to leave the line as it was and had I not mentioned it, no one would’ve been the wiser. Just keep in mind what you are going to do and if a slight flaw will be covered up as you go along, go ahead and leave it.
Next I made the birthday party invite. I followed the same starting steps and I used the kit Pigskin Party.
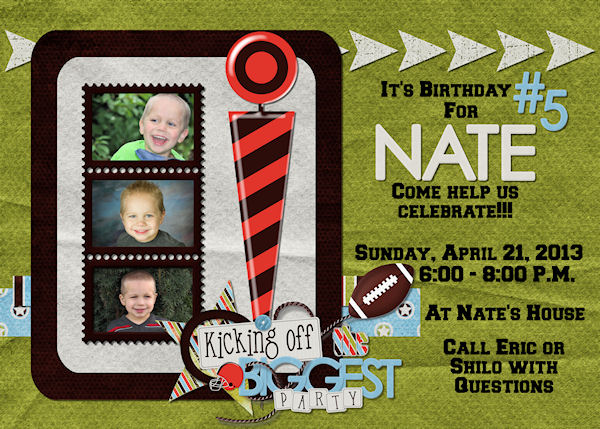
I really enjoy how simple it is to make these and I know that it won’t be duplicated a million times over. I like the originality in that. I’ve even created a few cards and invites in a 4×6 size, adheared them to cardstock that was folded into a card shape and I suddenly had a cute, photo like cover but I was still able to write a message on the inside. So next time you’re planning that party or have something to announce, save some money and make your own. You’ll be glad you did.
If you don’t want to just take my word for it, take a look at what Trixie Scrap Star MK did:
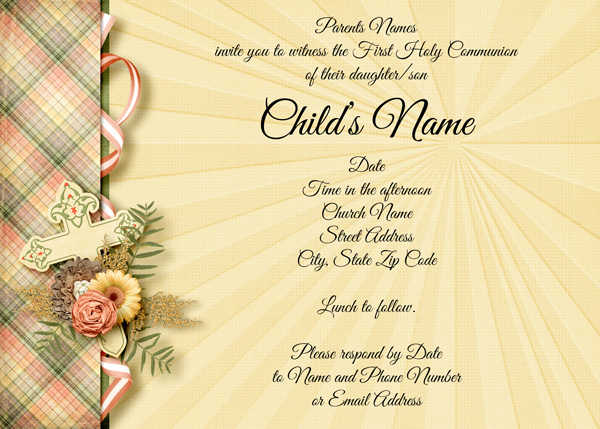
She created this Holy Communion invite using the Day of Grace kit. I promise, once you start creating your own cards and invites, you’ll never go back. Happy Scrappin!

All Trixie Scraps Designs products can be found in the following online stores:
Trixie Scraps Shop * My Memories * Gotta Pixel * Scrapbook Bytes


