Happy Monday everyone! Jackie here bringing you a fun Masters Monday tutorial on how to create a collage using Picasa, and how to use it in a fantastic layout.
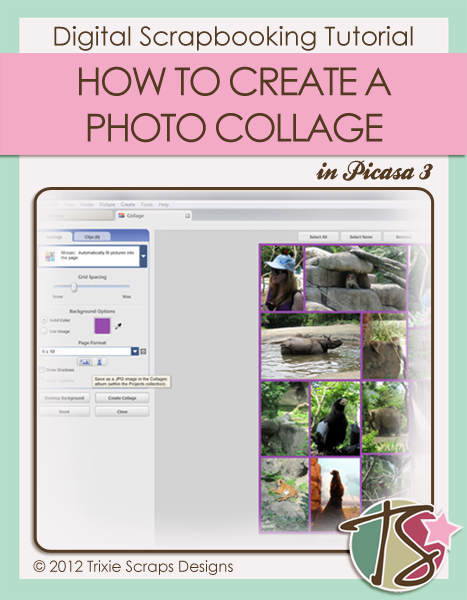
I don’t know about you, but sometimes I get scrappers block when I have a TON of photos from one event. I especially find this to be an obstacle when I have a lot of photos that don’t have people in them. I want to include them all in my scrapping, but they really don’t need to take up several pages. In this situation, collages can be the perfect solution. They allow you to highlight the more important photos by making them larger, but also make it possible to include a lot of other images on the page. Picasa 3 has a fantastic feature that makes creating collage as simple as a few clicks, and I’m going to show you jut how easy it is.
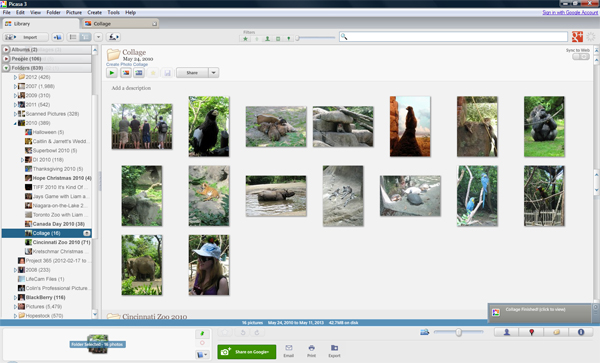
- Choose which photos you want to use in your collage and move them all into one folder. The program does allow you to use photos from separate folders if you choose, but grouping them all together will make it much easier to keep track of things.
- Prepare your photos. Make sure that your photos are cropped appropriately so that there isn’t too much background showing around the focal point of the picture. Depending on how many photos are in the collage, your pictures may end up fairly small, so you want to make sure that the main subject of each photo is easily visible.
- Open the folder containing your images in Picasa 3, and select “Create photo collage”, the second icon under the folder name.
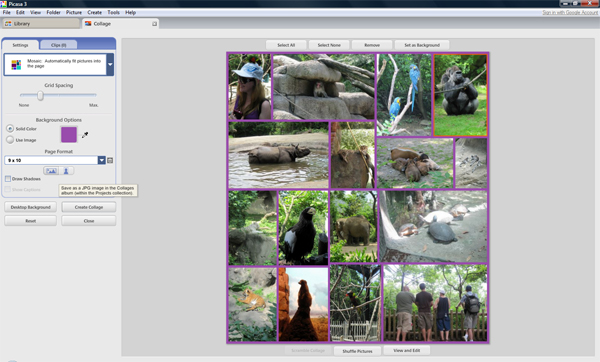
- Choose the style of collage that works best for you. Picasa provides you with 4 style options:
- Choose your background color and grid spacing on the left hand side of the screen. You can choose to have an image as the background color, so you could select your background paper here, but I prefer to choose a bright color which I can then select and replace in my scrapbooking software, Photoshop CS4. It allows me more flexibility in playing the the collage on my final layout.
- Choose your dimensions. Picasa has a variety of preset sizes under the Page Format option on the left side of the screen, but also allows you to enter your own project dimensions if you choose. For my layout, I selected a size of 9in by 10in. This way, I will have some space to play with around my collage on my final page. Remember, it is always easier to scale your collage down on your final layout, without losing quality, than it is to scale it up.
- Move your photos around. Picasa allows you to drag and drop photos from one slot to another. This allows you to easily decide which photos to emphasize in the larger spaces.
- Click the Create Collage button to have Picasa automatically save a JPEG version of your collage.
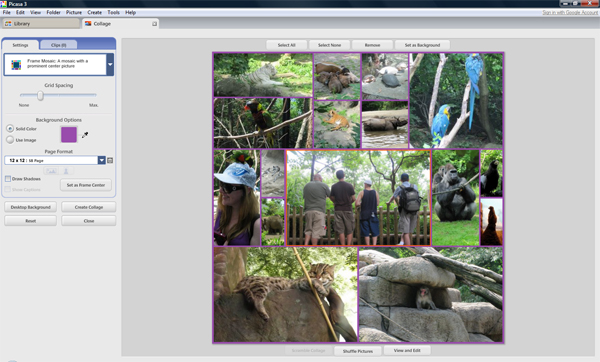
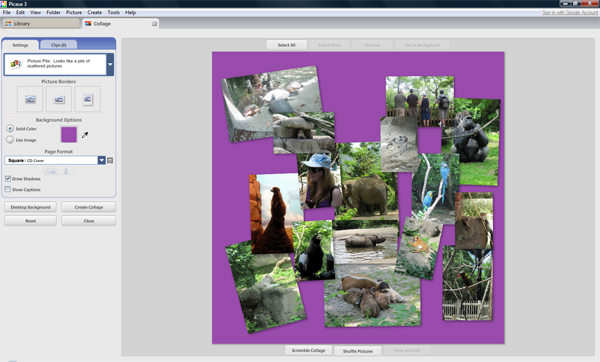
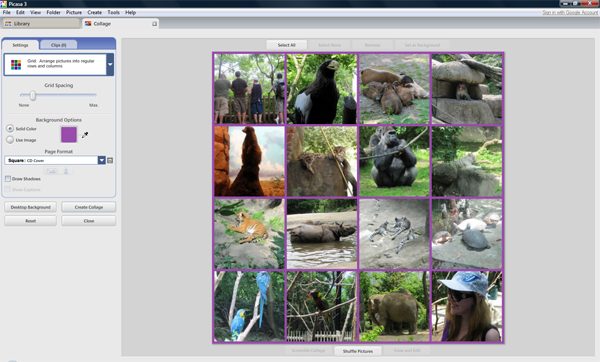
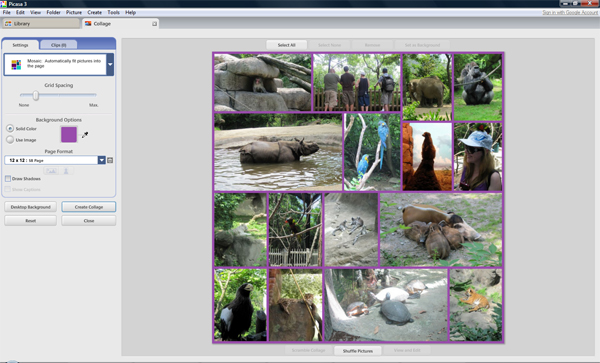
So now you have your collage. If you like, this can be your final layout, or you can use your preferred scrapbooking software to further enhance it. Remember how I talked about using Photoshop to change the background color.
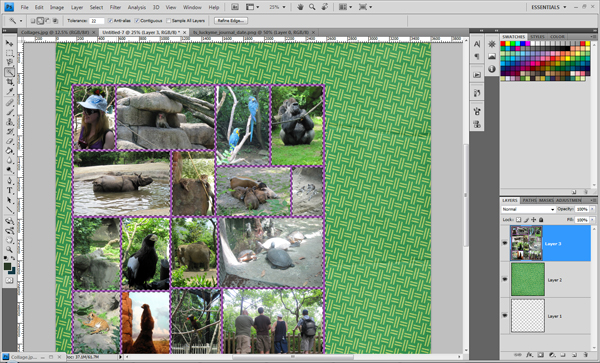
I first placed my collage in a brand new layout and added a background paper for the whole page. Then, using my magic wand tool, I selected the brightly colored collage background and right clicked to “Layer via Cut”. By clipping my preferred paper to this newly created layer I can easily change the collage background. I then added in some elements, a little bit of journaling, and a title, and voila! Here’s my final layout.
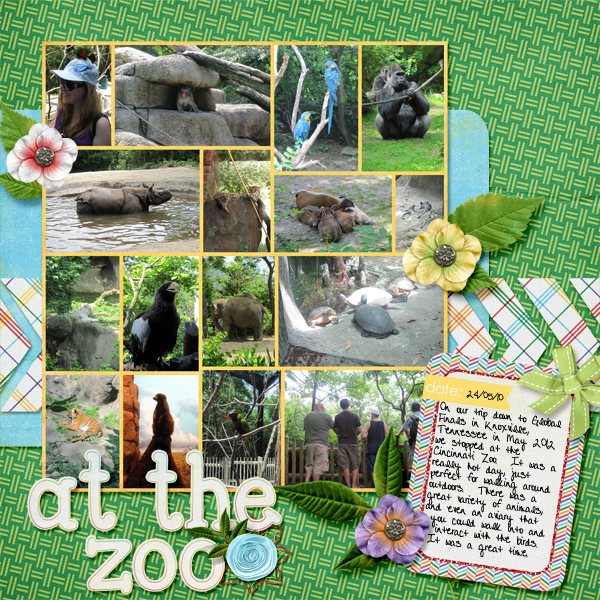
Hope you have fun creating some fabulous collages to use on your layouts!

All Trixie Scraps Designs products can be found in the following online stores:
Trixie Scraps Shop * My Memories * Gotta Pixel * Scrapbook Bytes * Ginger Scraps

