Welcome to the start of a new week, Trixie fans. I hope the summer has been treating you well and you’ve all had plenty of time to scrap. Today I’m going to share with you a trick that I hope will be helpful and one you’ll go to again and again.
I personally love the look of peek-through letters and stuff on layouts and other things going around these days. Today I’ll show you how to do something similar with the pre-set shapes that come with Corel Paintshop Pro. I would think other programs have similar items, but I am not positive.
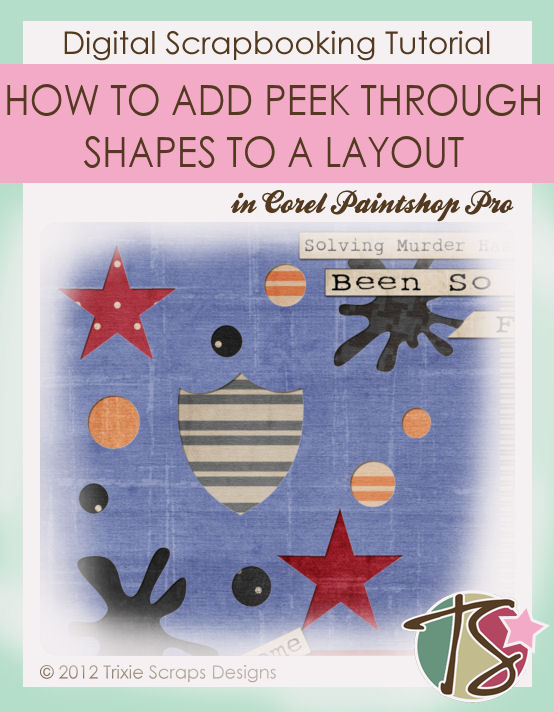
To start with you’ll need to create your blank template in the size you are working with for your layout and
choose the background you want your page to be. Flood fill your blank template with that background.
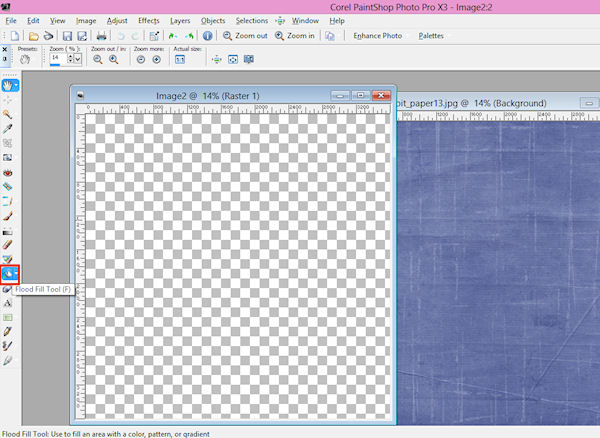
Next, you’ll want to find the Pre-Set shape tool on your toolbar.
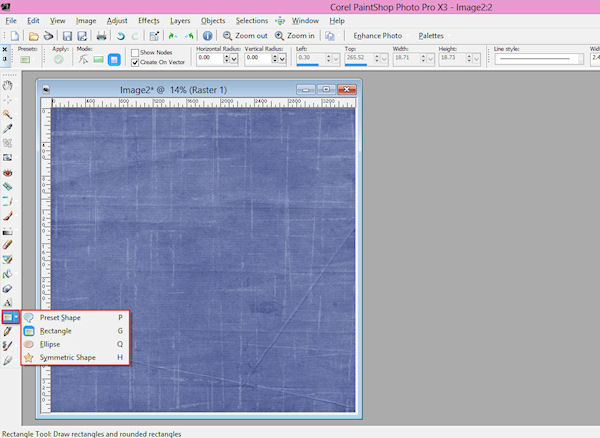
There are a few different options. If you choose the pre-set shapes, you’ll have a new menu bar at the top and from there you can view all different sorts of shapes available.
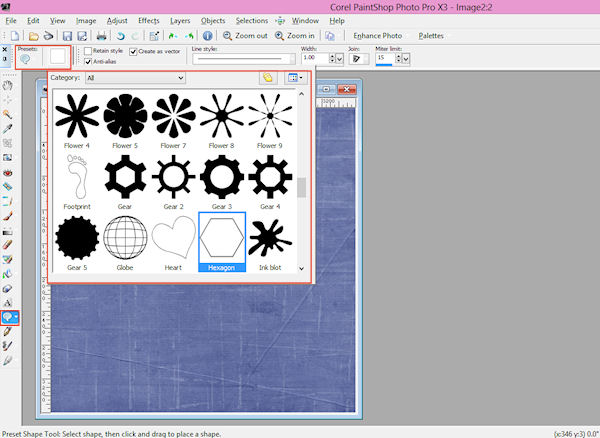
For my first shape, I chose a star. I kept the colors in my color palette to blacks, though it really doesn’t matter what colors you have them set to.
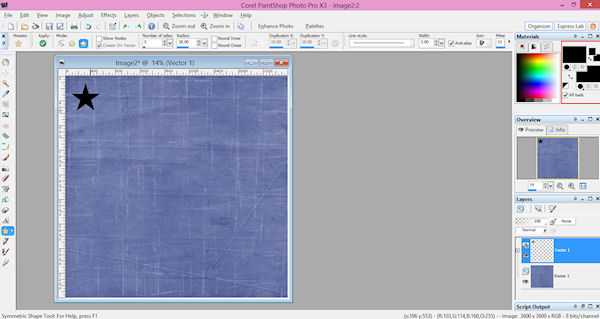
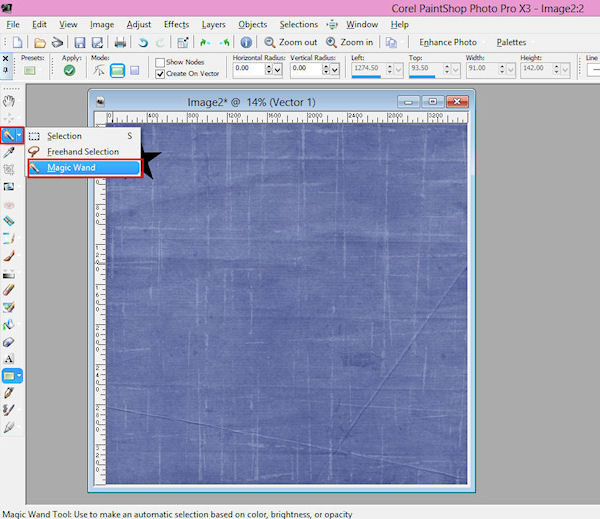
After ‘drawing’ your shape. You’ll want to grab your magic wand.
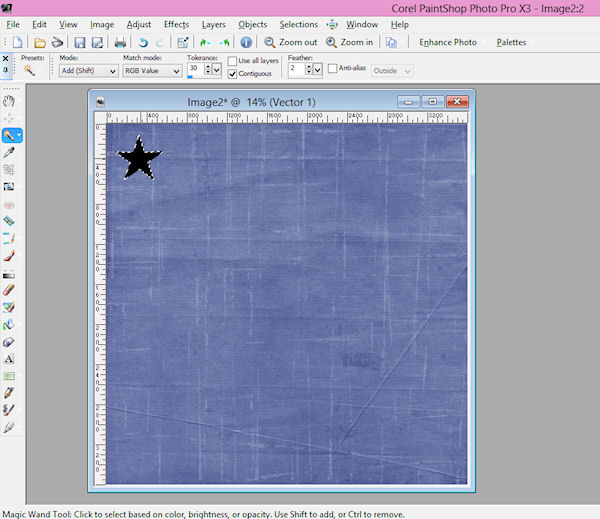
Then you’ll select your shape.
We then need to expand our selection just slightly.
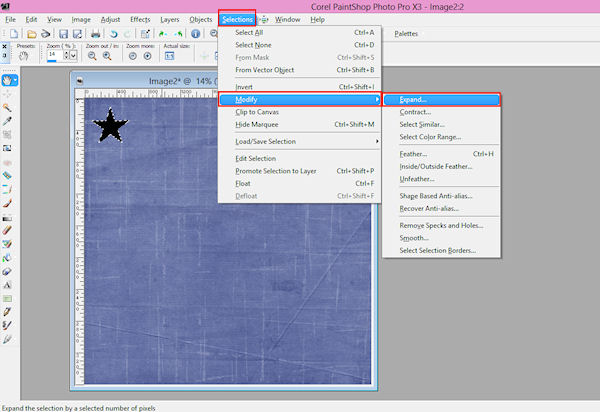
I did an expansion of only 2 pixels. You really don’t want it big, just enough to cover the whole of your shape without leaving funny looking pixels.
Then make sure you are on your background layer and NOT your new vector layer.
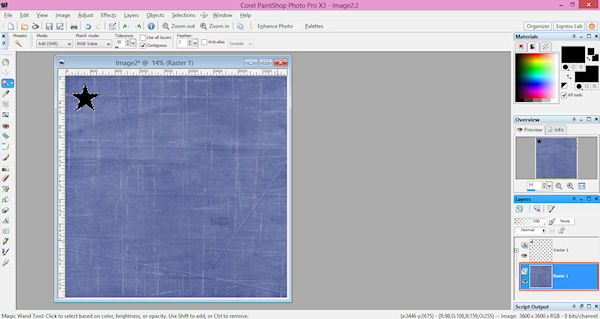
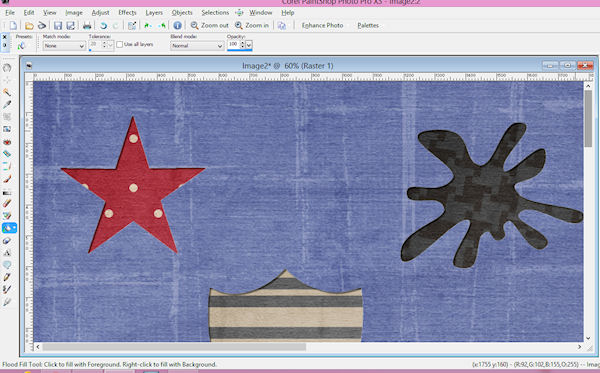
Click delete. On your layout it won’t look like anything has happened, but if you look in your layers palette you’ll see that on your background layer, the shape is actually cut out.
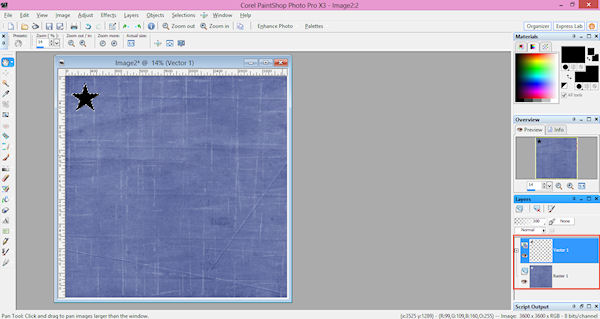
You can then delete the vector layer and you’ll then see that your layout now has a cut out piece.
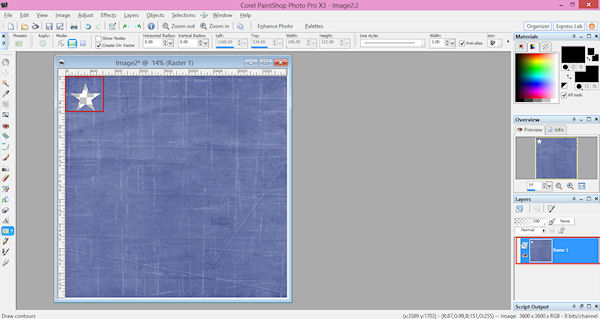
You will then select this cut out shape using your magic wand again.
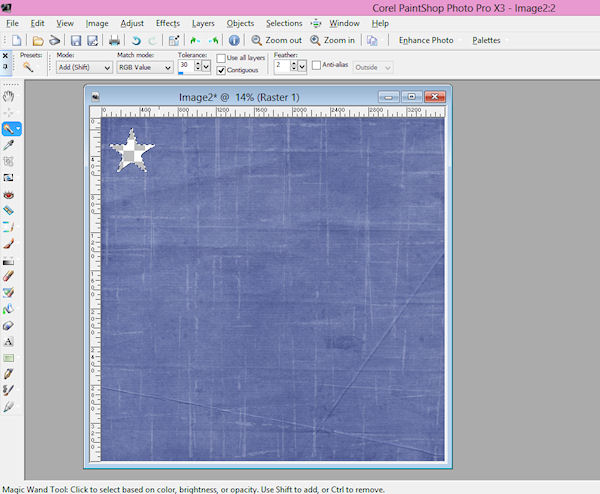
Then create a new layer.
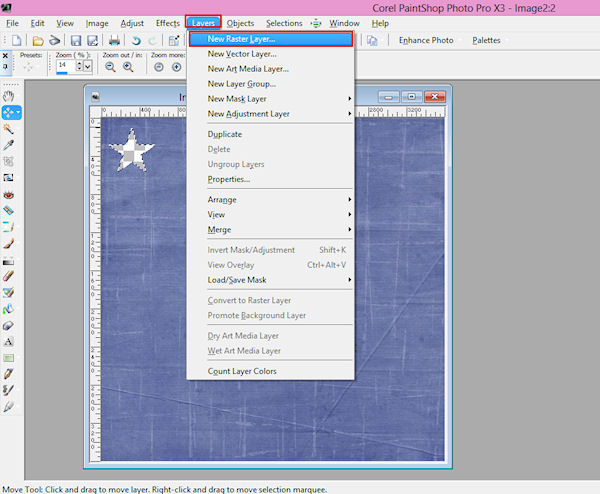
Make sure you are now working on your new layer and place it beneath the background layer.
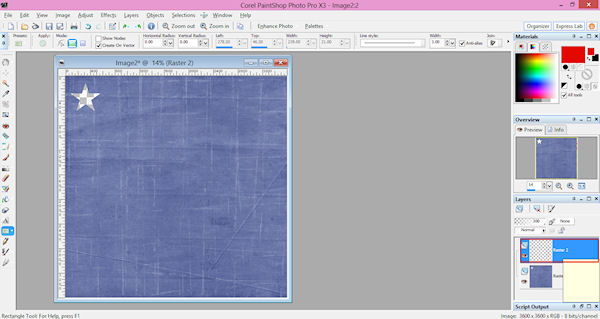
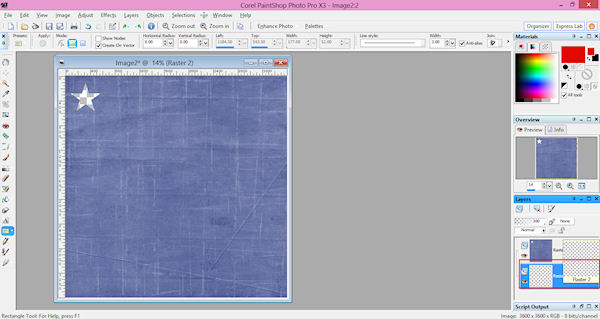
Your selection should still be selected (you can once again expand the selection by about 2 if needed) and you can then flood fill your shape with the color/paper of your choosing.
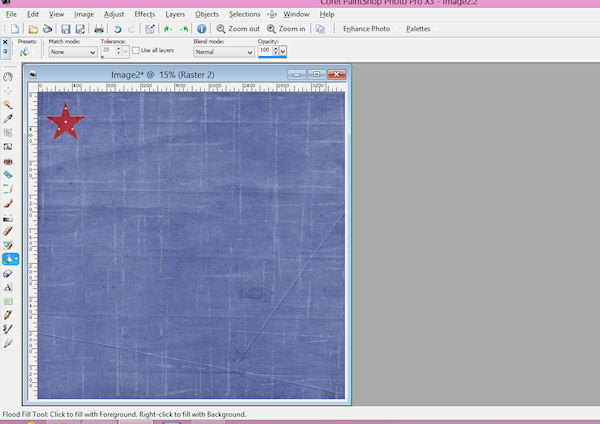
Continue making all the shapes that you want on your layout. You will follow the same steps above and as you get familiar with the process it’ll go quite quickly.
This step is the most important of all! When you have all your shapes completed, you’ll want to make sure you are back on your background layer and add your drop shadow. This is what makes the shapes look like they are peeking out from behind instead of just looking like another layer on your layout.
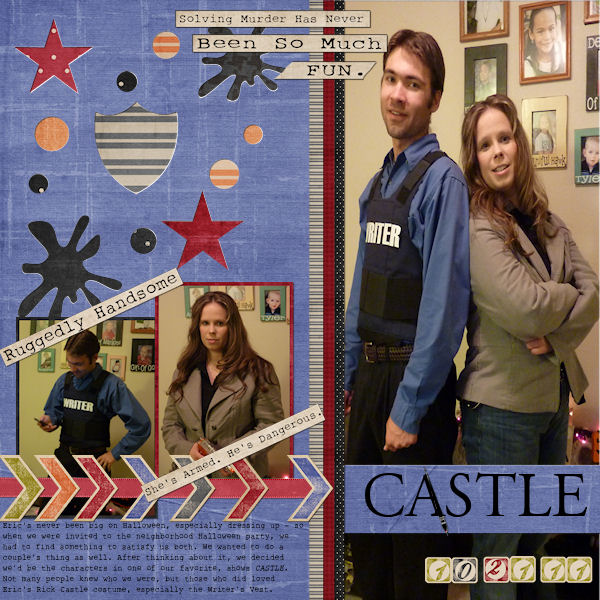
If you’d like to see my completed layout you can view it below. I made it using the kit, Rise To It and the bonus papers.
I’d love to see all of you make this work for your layouts. If you do, please share your layouts in the gallery.

All Trixie Scraps Designs products can be found in the following online stores:
Trixie Scraps Shop * My Memories * Gotta Pixel * Scrapbook Bytes * Ginger Scraps


