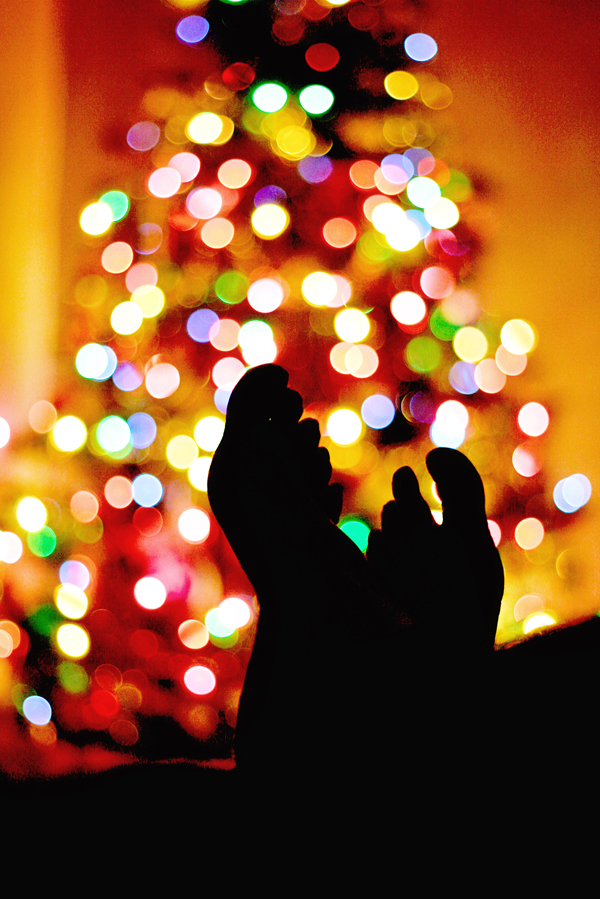
Hi again y’all! I know you’re all feeling the pressure of these last few days before Christmas and I also know that you’re going to be taking several GB of photos in the next couple of weeks. So rather than bring you a digital scrapbooking technique this time around, I thought I’d talk a little bit about bokeh and how to catch it with your camera.
For those who don’t know what bokeh is, Dictionary.com defines it thus:
bokeh
Main Entry: bokeh
Part of Speech: n
Definition: a Japanese term for the subjective aesthetic quality of out-of-focus areas of a photographic image
Example: The bokeh, or quality of the blurred image in the photograph, was described and discussed.
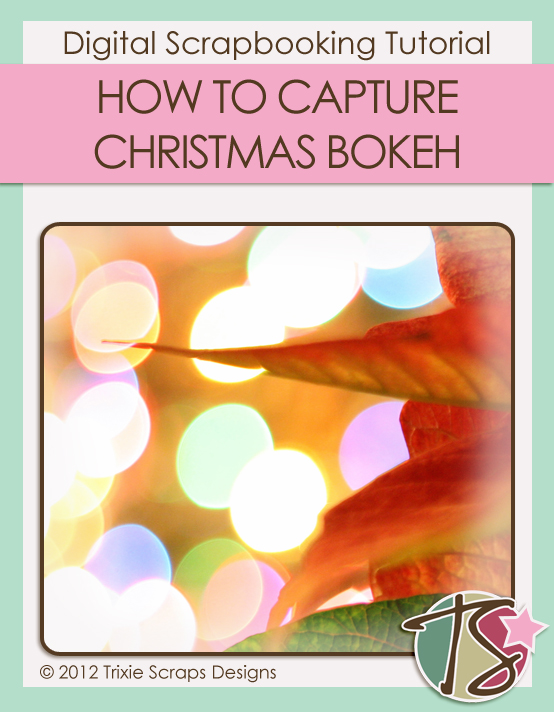
It’s not enough to simply have blurry areas in your photos and call it bokeh. The blurry areas add an ethereal feel when there’s a strong light source being blurred. This photo is the one I’ve used for the title image above.
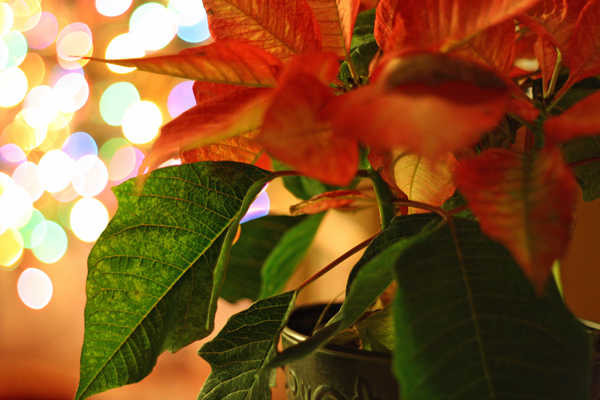
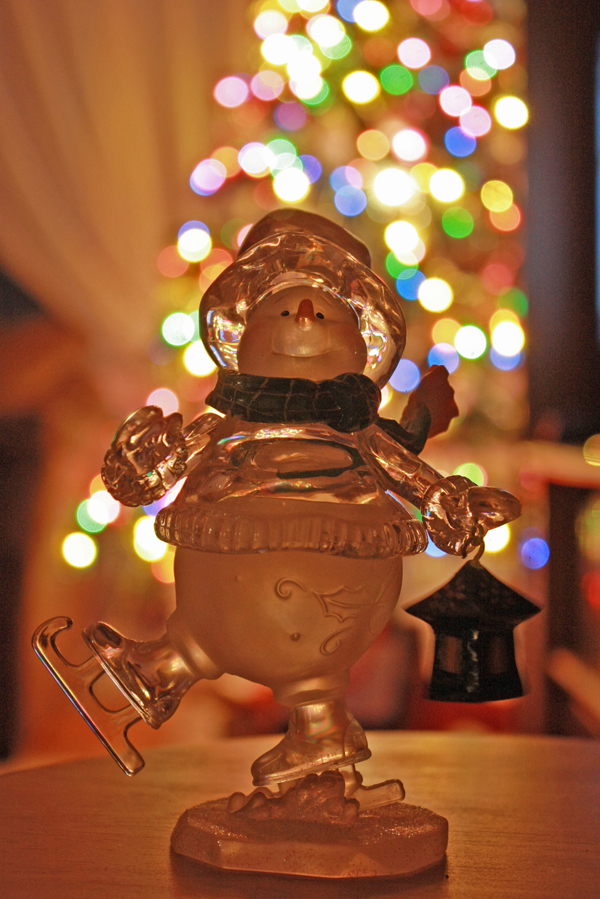
See how the lights on my Christmas tree are blurred and pastel when the poinsettia is in sharp focus? That’s bokeh. I love playing around with my camera trying to get better and better at this technique and I have some more examples to show you. I really liked the effect I got with my acrylic snowman.
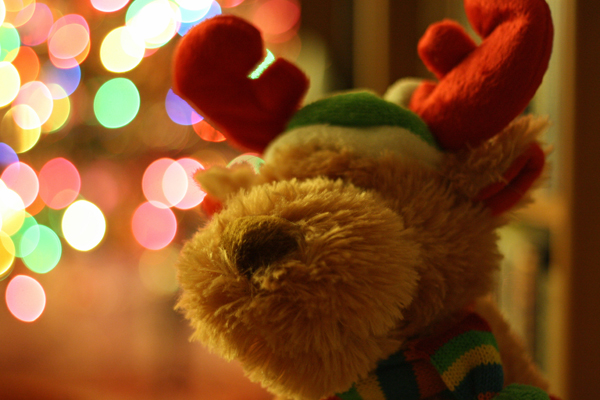
There’s still a lot of detail in focus in my reindeer’s muzzle with a nice, rosy blurred tree behind him.
This shot took a lot of attempts before I got what I was looking for, mostly because I wasn’t using a tripod. But I finally succeeded. (And I’ve gotta say, I’m so happy that I wasn’t using film!)
Now for the tips.
1. ALWAYS use a tripod. You’re going to have some long exposures and no matter how still you think you’re holding the camera, you’ve gotta breathe!
2. Put some distance between your light source (which doesn’t have to be a Christmas tree – it could be a candle, a lamp, sunshine reflecting off a surface or shining through leaves or branches, street lights…) and your subject. I put a piano stool about 8 feet from my tree for the first three photos I’ve shown you, and set my subject on top of it. The camera, on its tripod, was about 2 feet from the subject. When I shot the snowman (which is actually only about 5 inches tall), the camera was farther away from it than when I shot the reindeer. For the poinsettia, I moved in even closer to my subject. For the shot of my feet, I was sitting about 8 feet from the tree with my feet propped on the arm of the sofa.
3. If you have the option, use a lens with a fixed focal length and aperture and manual settings, although you can also go with aperture-priority (AV mode). I was given a 50mm f1.4 prime lens for Christmas in 2011 and that’s what I’ve used for all of these. BUT!! You can still get great bokeh with an automatic setting and an adjustable lens. It’s just a little harder. You want your lens to be as open as it can be, with the largest aperture (smallest f-stop number, also called a “fast” setting) and a long shutter speed. Try not to use an aperture of less than f 2.8 (bigger number = smaller aperture – this is an inverse relationship and very confusing, I know). But if you can’t get your aperture that wide open, move the camera in closer to your subject. No flash, please! To approximate manual settings use the “macro” setting on your camera – the one with the flower, or the portrait setting. If your camera has a self-timer, or you have a remote shutter release, use it to reduce camera shake. Focus on your subject, whatever it is and try to have your light source fill just a little less than half your frame.
4. Be prepared to take a lot of shots before you get it just right. If you’re shooting in manual, start with a relatively short exposure, maybe 1/30 sec or 1/20 sec. Look at your image and see how well you can see the detail in your subject. Adjust by small increments either up or down until you get a good balance between detail in your subject and blur in the background. Patience is really a good thing.
5. After you’ve figured out your settings and you want to try something really fun, get out one of your punches from the days when you paper scrapped. Cut out a circle of cardstock a little larger than the diameter of your lens and then punch some hearts or stars or flowers in the middle. Attach the cardstock to your lens with a tiny bit of repositionable adhesive and play around. You’ll be delighted with the effect!
I hope you have fun with this and don’t end up tearing your hair out in frustration because it’s not working out. Give yourself a couple of hours to fool around with it, maybe after the kids are in bed. Once you’ve captured some great bokeh, you’ll find yourself looking for it everywhere… because it gives your photos a lot of oomph. I’m dying to see what you photograph and hope to be seeing lots of bokeh in the Trixie Scraps Gallery.
~Jan

All Trixie Scraps Designs products can be found in the following online stores:
Trixie Scraps Shop * My Memories * Gotta Pixel * Ginger Scraps


