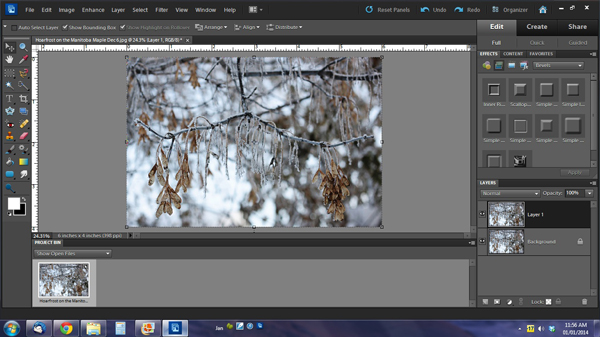
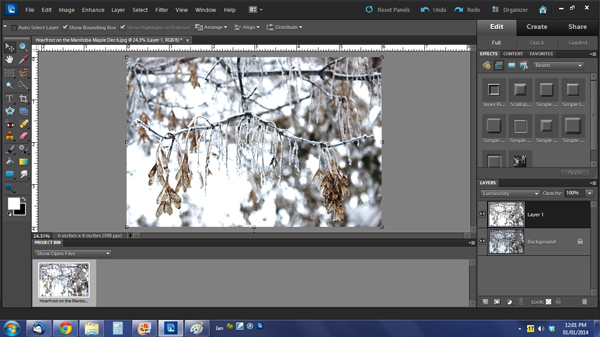
Wow… it’s already time for the first Masters Monday tutorial of 2014. I know you’re all quite likely exhausted by the last few weeks of craziness so I thought I’d keep it simple this time. Simple, but not boring! This time of year in many areas of the planet are monochromatic in shades of grey and white and photographs might need a little punching up. This technique will do just that. So open up a photo that you think needs some help, like this photo of hoarfrost on a Norway maple and make a copy to play with. Ctrl>J (Command>J on a Mac) will do that for you.
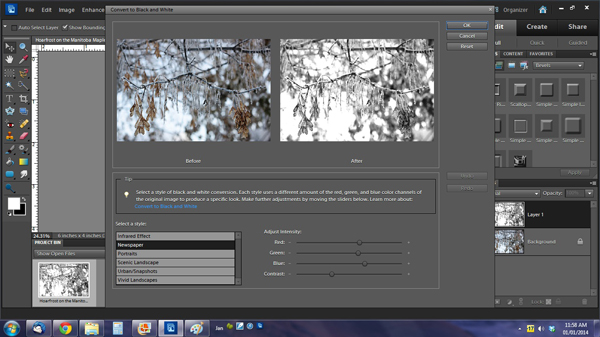
Next step is to convert the image to black and white. Make sure you’re on the copy layer. Select Enhance>Convert to Black and White or Ctrl>Alt>B
Now we’re going to change the blend mode for this layer to Luminosity. Click on the bar just below the tab for your Layers palette that currently says Normal and select the very last one on the list.
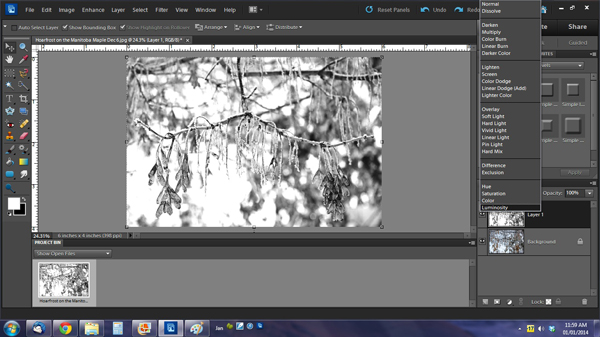
It’s already starting to look pretty cool and we’re almost done!
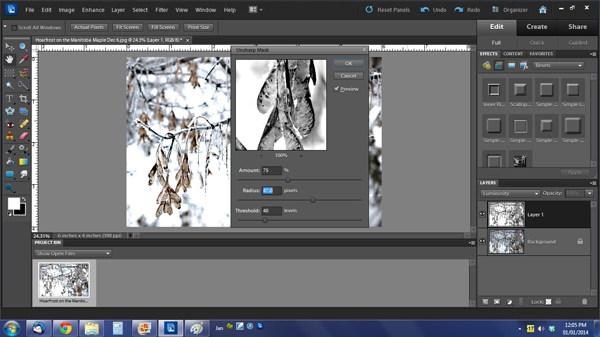
The last step is to sharpen (well, UNsharpen is more like it) the image. Select Enhance>Unsharp Mask, which will give you a pop-up menu with sliders to adjust your image until it pleases your eye. These are the settings I used.
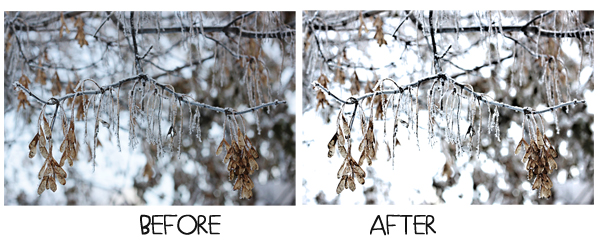
Merge the two layers and save your image so you can use it later and you’re all done. Here’s a side-by-side comparison of the before-and-after. See the difference? It took me all of about 3 minutes.
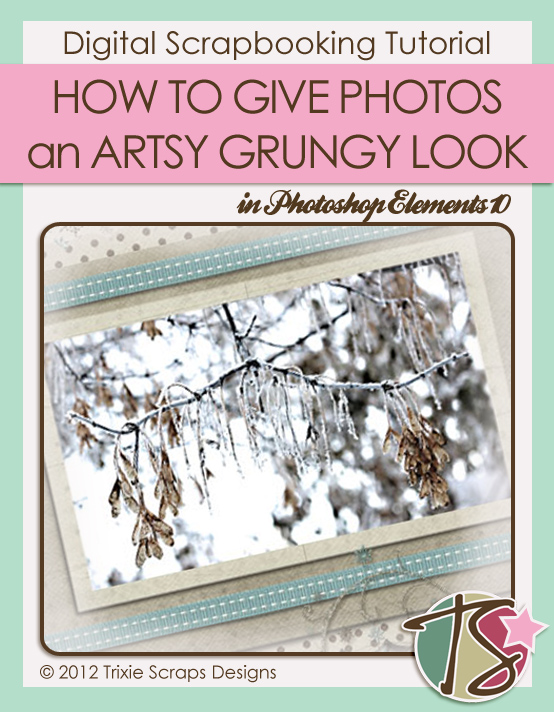
And here’s the layout I created using my newly artsy-grungy photo and Trixie Scraps’ Frosted Windowpanes. The template I used is from Lissykay.
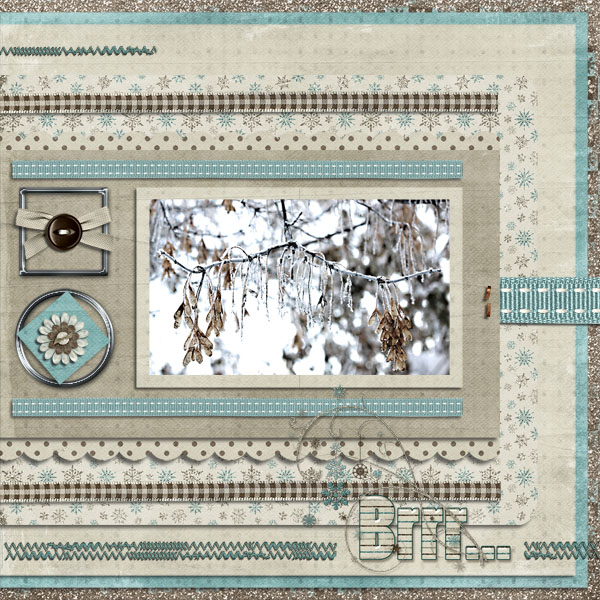
So hurry up!! Grunge out a photo and build a stupendous layout around it, using Trixie Scraps kits, of course. I’m so anxious to see how you take this technique and make it your own.
~Jan

All Trixie Scraps Designs products can be found in the following online stores:
Trixie Scraps Shop * My Memories * Gotta Pixel * Ginger Scraps


