With the Superbowl coming upon us, I thought it only fitting that I share a tutorial on turning your favorite teams logo into a collage for your layouts.
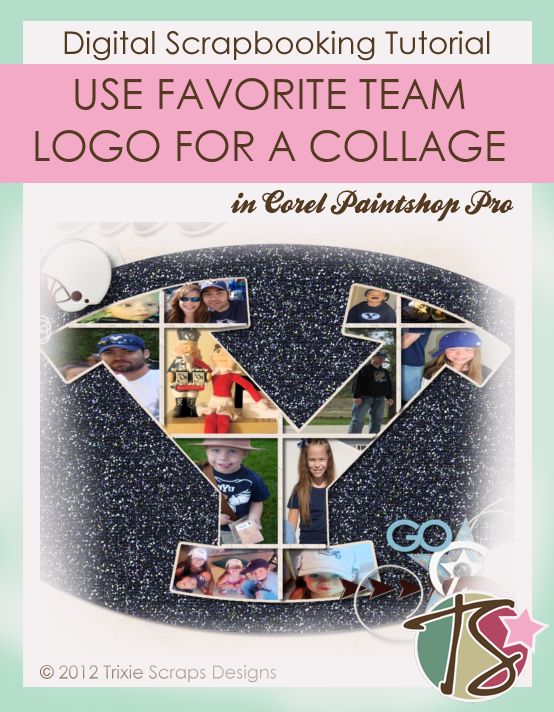
Go ahead and prepare your background layer with the paper of your choice.
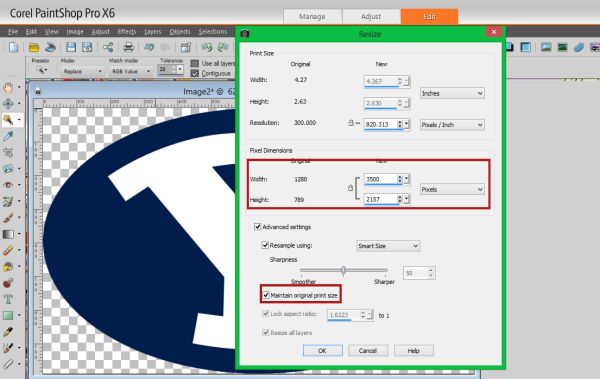
You’ll then need to find a large file of your teams logo. If it’s not quite big enough you can always resize it. I resized mine to be slightly smaller than 12 inches long or 3600 pixels.
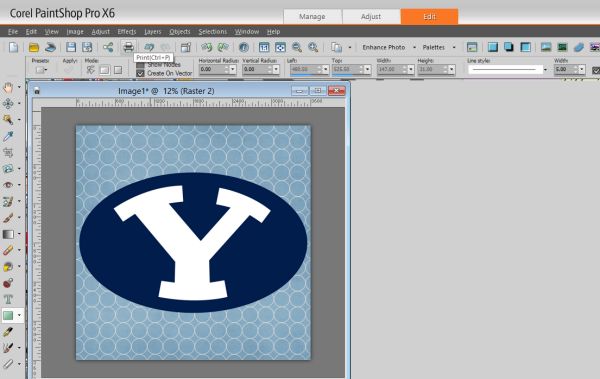
You’ll then add your logo as another layer on top of your background.
I wanted to make the background of my teams logo stand out a little more, so I flood filled it with a glittered paper background.
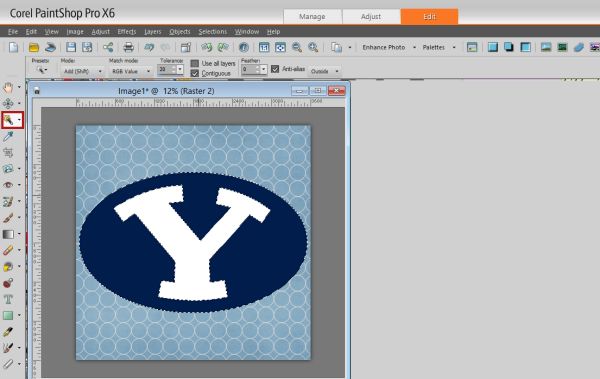
After you’ve got the background squared away, you will then need to select the actual letter of your teams logo and here’s where we start the collage.
You’ll go into Effects -Texture Effects – Weave.
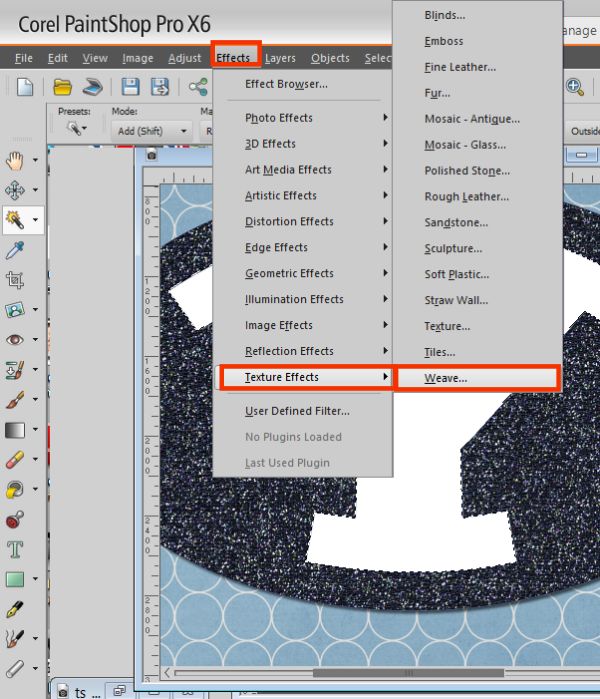
When the option box comes up you can play around with the numbers until you get a look that you like.
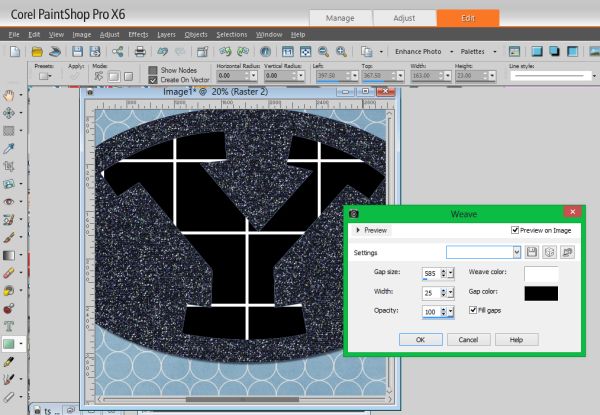
After I had the look I wanted, I filled in the gaps between where I’ll put my photos with a paper that I wanted.
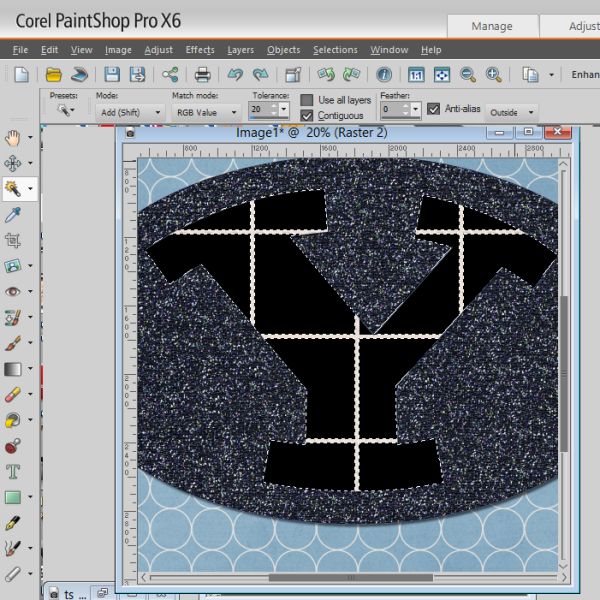
I then selected each of the photo spaces and deleted the black background in order to fill the spaces with photos.
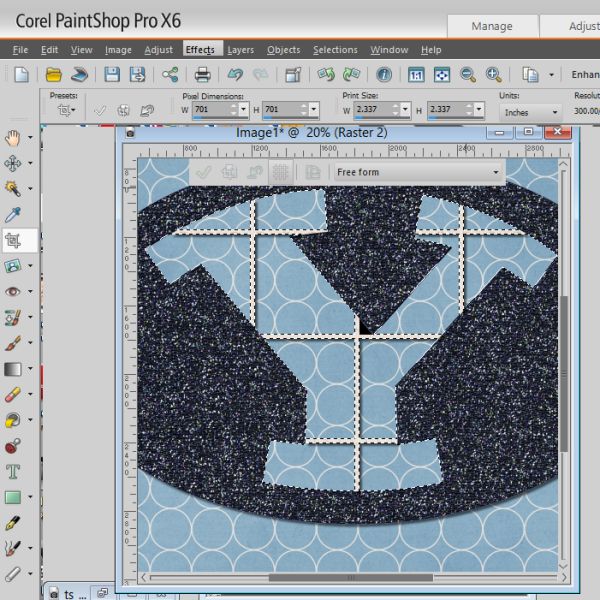
You will then individually select the different sections in your logo and then choose Paste Into Selection. Heads up, this can be a very frustrating step depending on the logo you are using. And you want to make sure that each photo you place is a new layer and that it is underneath the layer of the ‘gaps’.
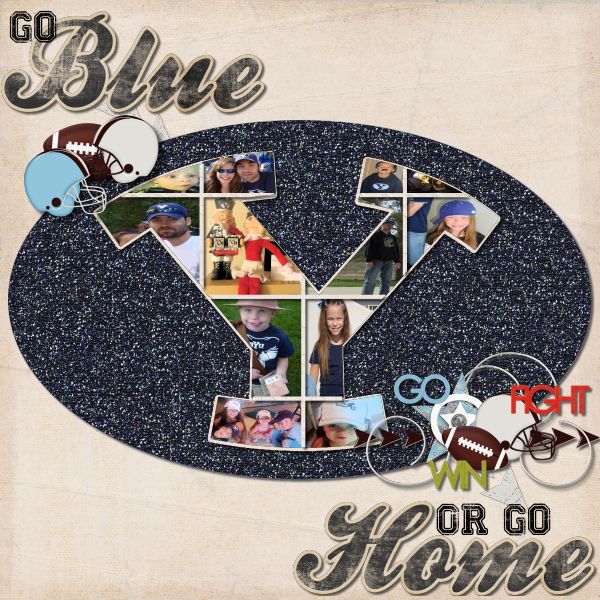
When you are done, you will have your logo filled in and you can then add the elements and other things that you would like. This is my finished layout. The glitter paper I used came from All About Me: The Tweens Glitter Paper Pack. The other papers were from Blue Jean Boy and the elements came from Pigskin Party. The alpha came from Rise To It.

All Trixie Scraps Designs products can be found in the following online stores:
Trixie Scraps Shop * My Memories * Gotta Pixel * Ginger Scraps


