Welcome to another Masters Monday here at the Trixie Scraps blog. Today I’m going to share with you a tutorial on making paper cut-outs.
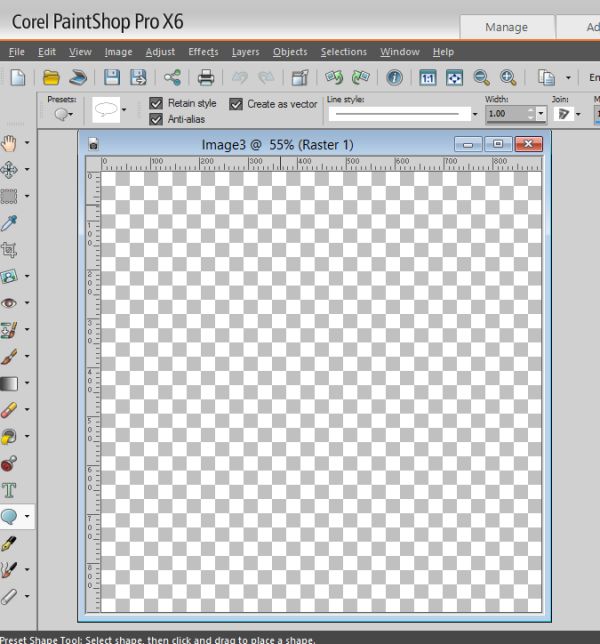
You start by creating a new image.
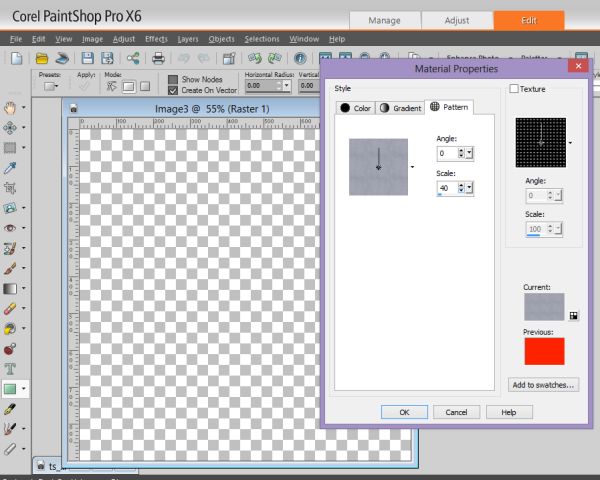
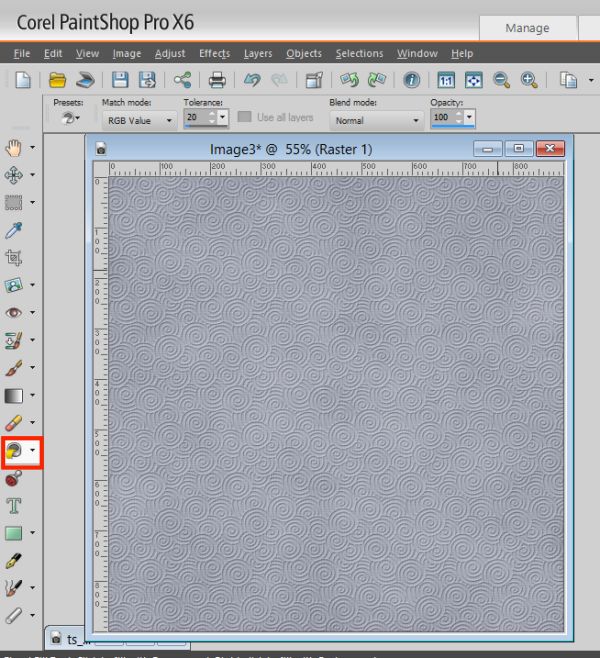
Then choose a paper you’d like your cut out to be. From there you’ll need to go into your flood-fill settings and reduce the paper scale. The scale will vary depending on the size of your cut-out.
After you’ve got your flood-fill tool options selected, flood-fill your image with your chosen background paper.
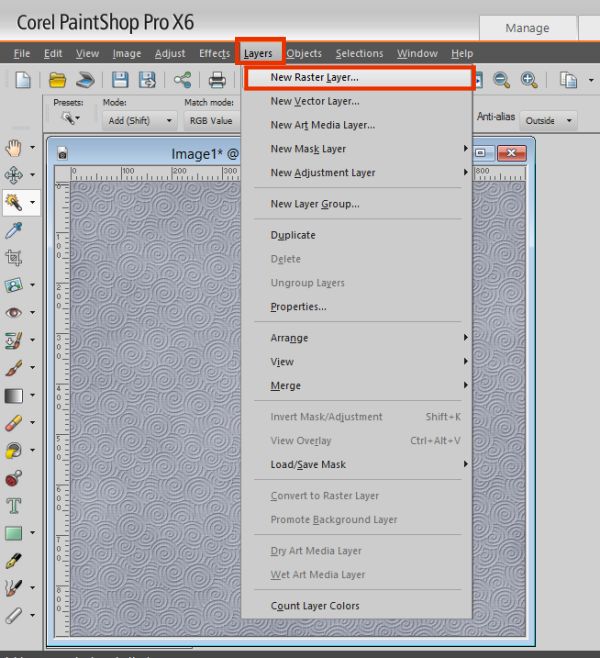
Then create a new raster layer.
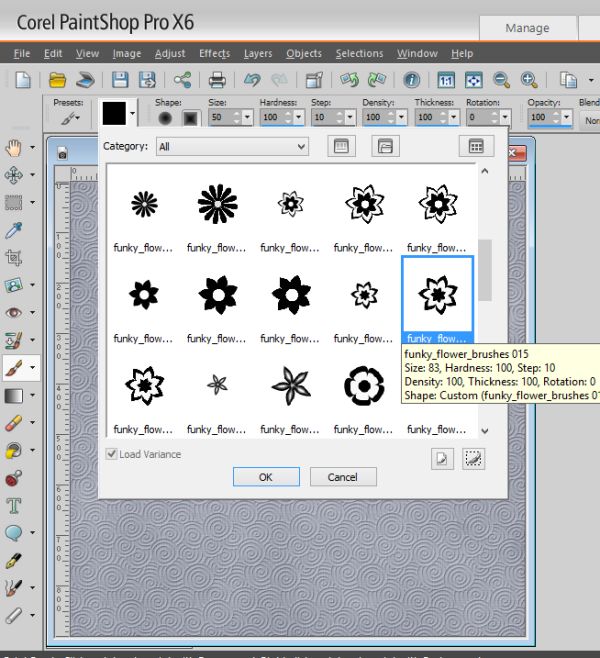
Choose the shape you want to work with by using a Preset Shape from your Preset Tool selection or use a brush. Using a brush will be slightly more difficult to work with, but it’s the same process either way.
Make sure your background and foreground colors are the same (I tend to stick with black, though it doesn’t really matter).

Then draw your shape or ‘stamp’ it if you’re using a brush. If you’re using a brush you may also need to play around with the size of the brush.
After you’ve got your image the correct size, you will then need to select your Magic Wand Tool.
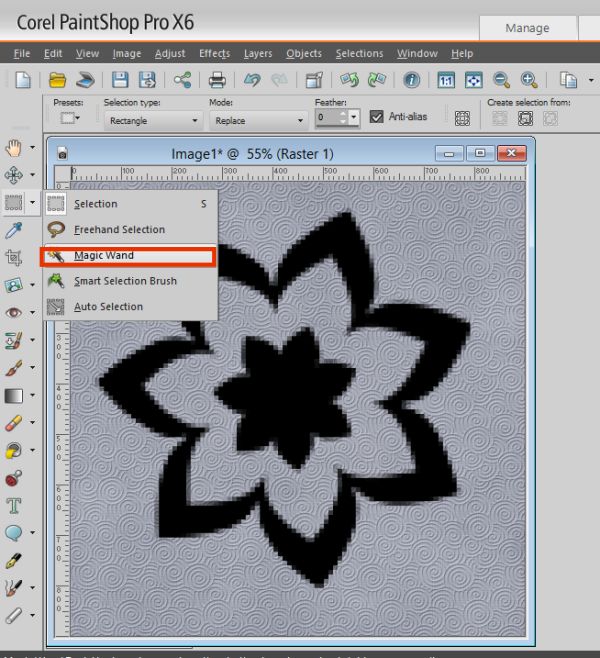
We will select all the black (or your selected color) in your image.
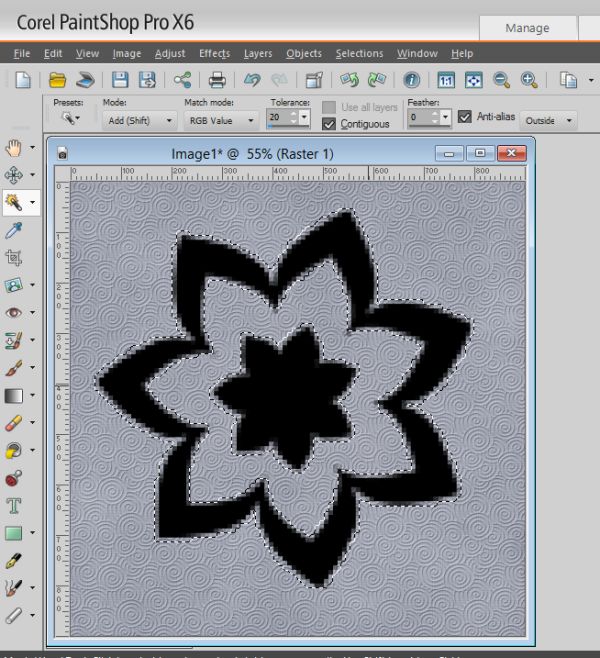
After you’ve got it all selected, go to your Layer Palette and make sure that you are now on your background layer.

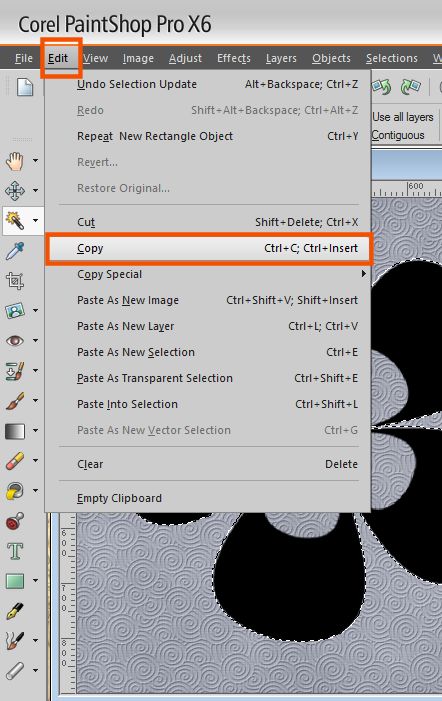
Then go to your main toolbar select Edit, then Copy.
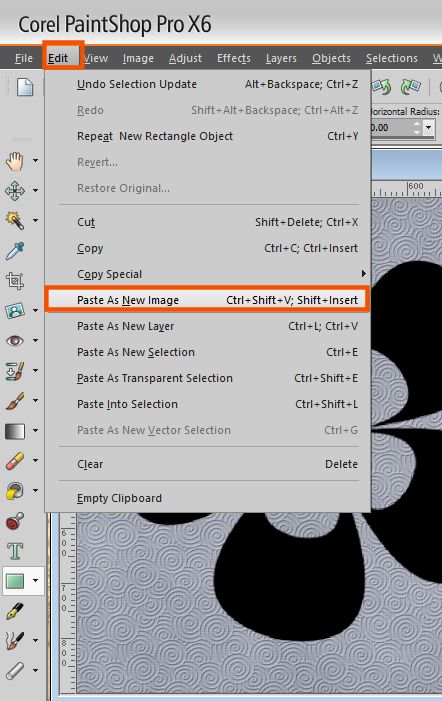
Once again, using your main Toolbar – select Edit and then Paste As New Image.
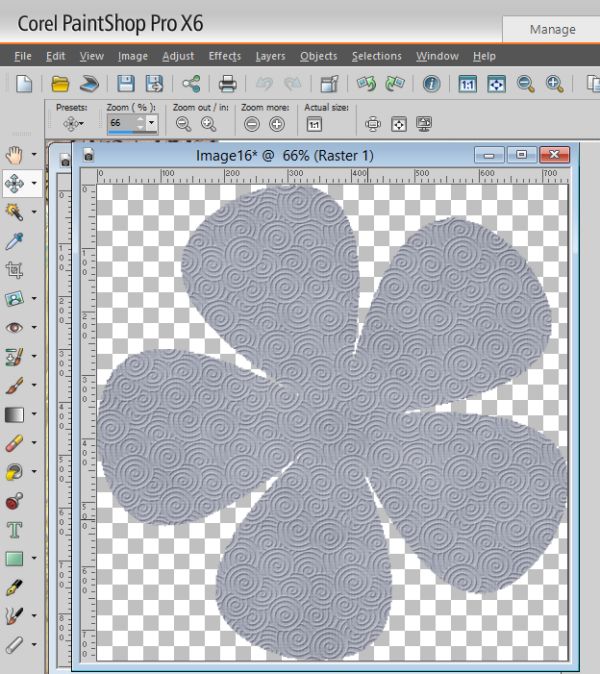
You will then have your paper cut-out.
To use your paper cut-out you will click on copy and then paste it as a new layer in your layout. This is the way I used my paper cut-out in my layout.
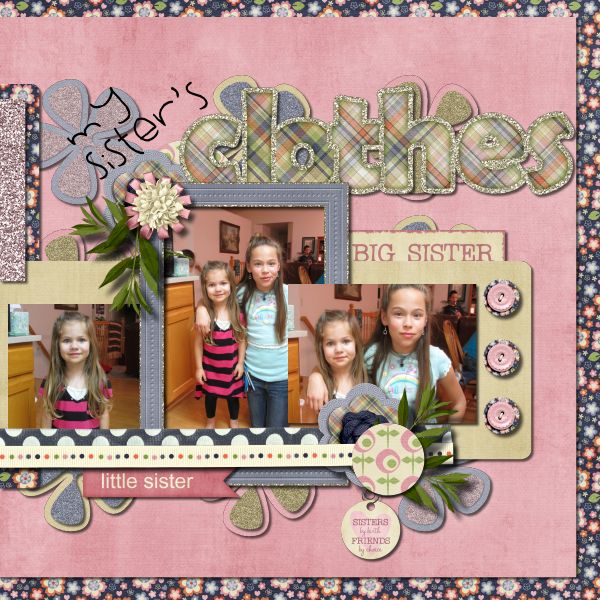
I used the Siblings Are Forever Bundle for my layout as well as a layout from Trixie’s Seeing Double Vol. 10 Template Pack.
Now how can you use paper cut-outs? We’d love to see your layouts in our gallery.
Also, help us help you. Let us know what kind of tutorials you’d like to see in the future.
 All Trixie Scraps Designs products can be found in the following online stores:
Trixie Scraps Shop * My Memories * Gotta Pixel * Ginger Scraps
