Welcome to another Monday, Trixie fans. I hope your day is going well. Monday’s can be rough, but hopefully our Master’s Mondays can bring a little smile to your face. This week I’m going to show you the fun photo effects that come with Corel’s Paintshop Pro.
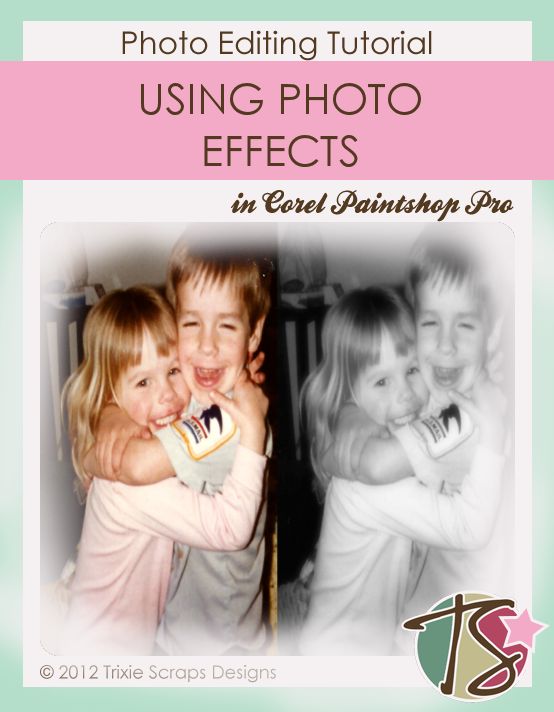
I have the newest version of Paintshop Photo Pro, but I know that some older versions are capable of a few of these fun photo effects that can lend use in so many ways in our scrapping.
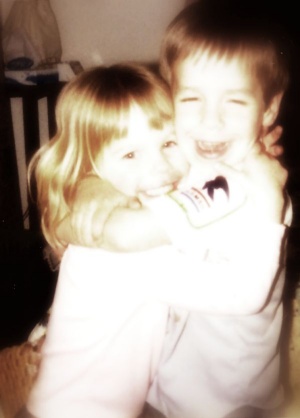
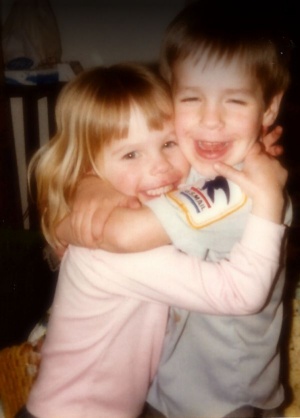
I’m going to be using what’s probably my favorite picture of my childhood.
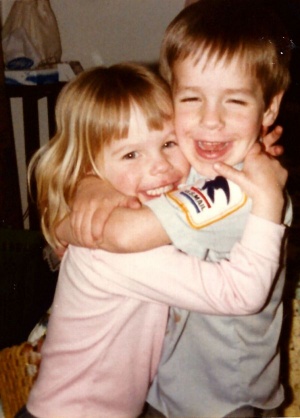
You probably think it’s cute now, but by the end of this, you’ll probably be sick of seeing those faces. Onto the effects.
We get to the photo effects from the tool menu. EFFECTS then PHOTO EFFECTS.
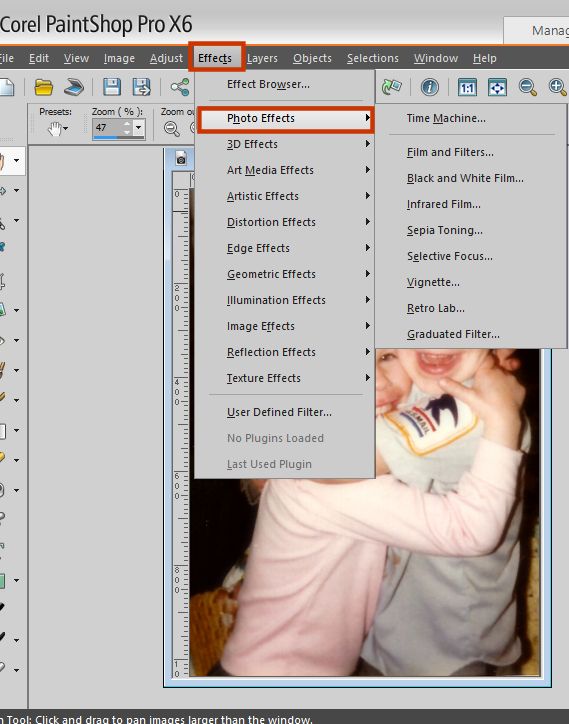
From there, I’ll just be going down the list. So we start with TIME MACHINE. TIME MACHINE is probably my all-time favorite effect tool. It instantly changes your photo to look like a photo from years past.
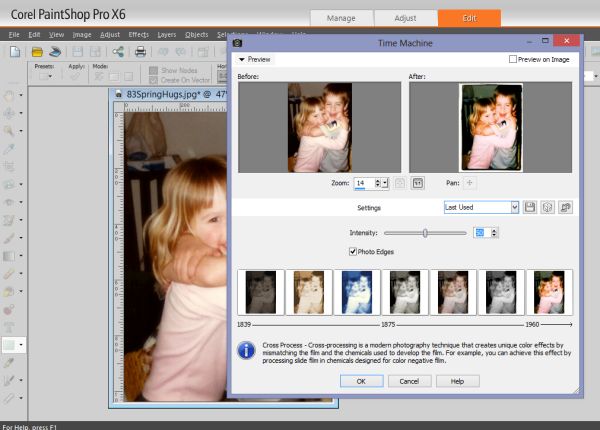
You can see from the timeline on the window that they go from the film processing of the 1830’s to the 1960’s. Pretty cool. Here’s a look at each of the effects the timeline offers.

Next comes FILM AND FILTERS. This is a pretty loaded set of effects. You have FILM LOOKS with choices of VIVID, VIVID SKIN TONES, MUTED REDS, ENHANCED REDS, VIBRANT FOLIAGE, WARM EARTH TONES and GLAMOUR.
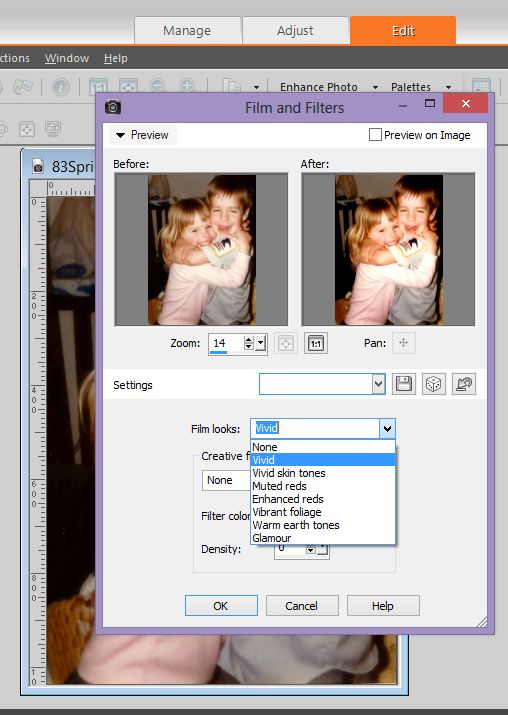
Here’s what your photo’s look like using the above set of looks.

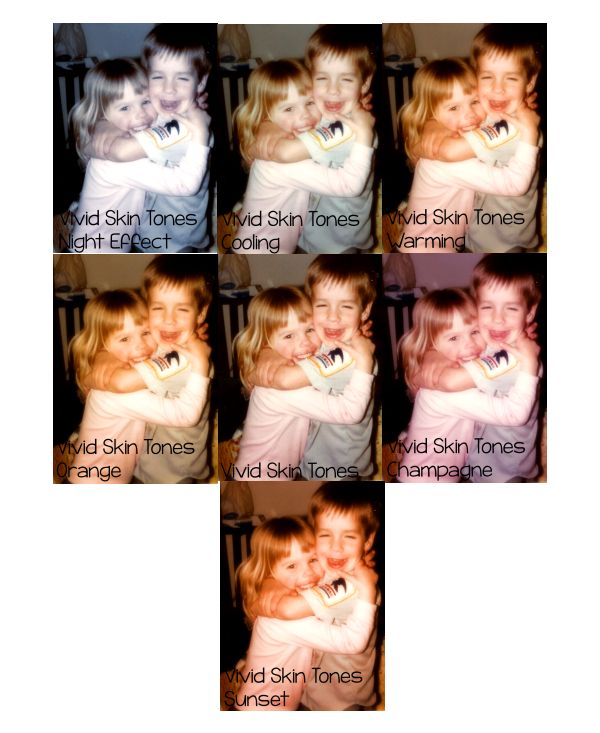
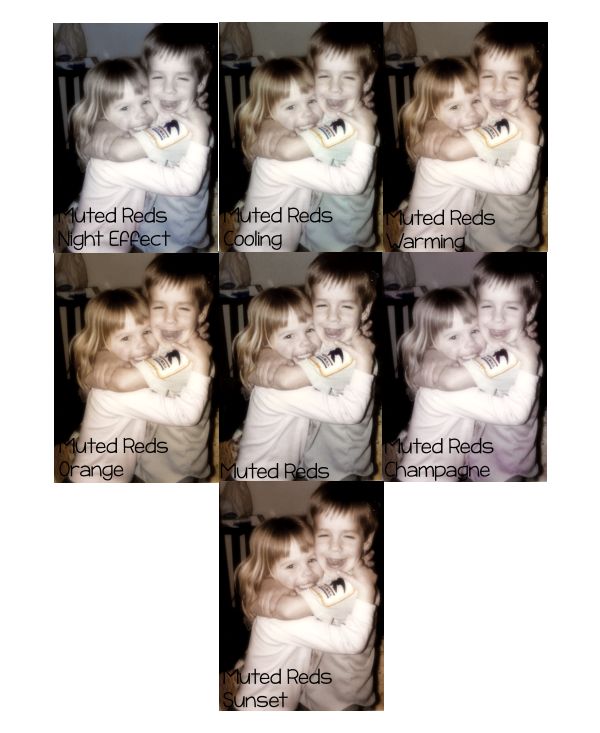
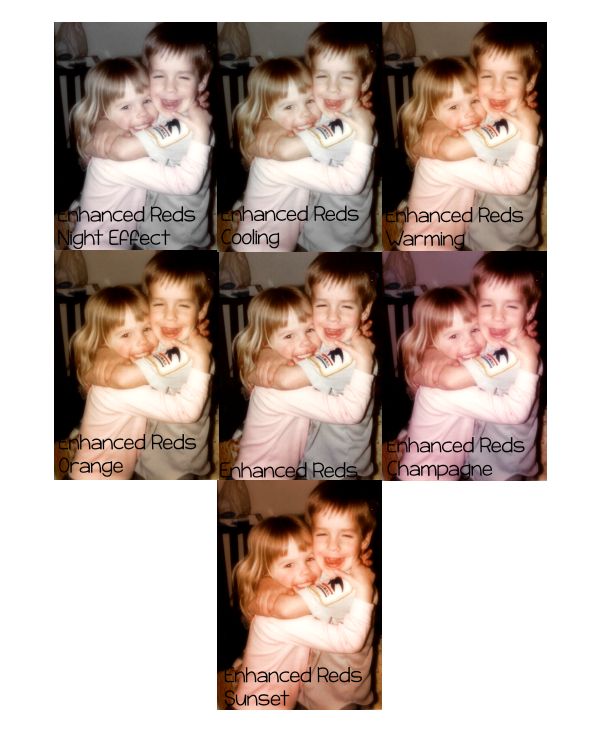
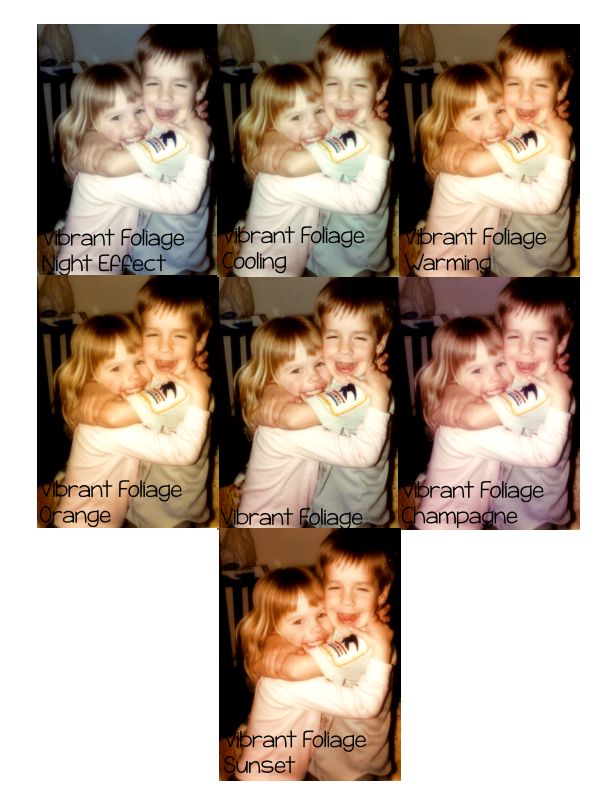
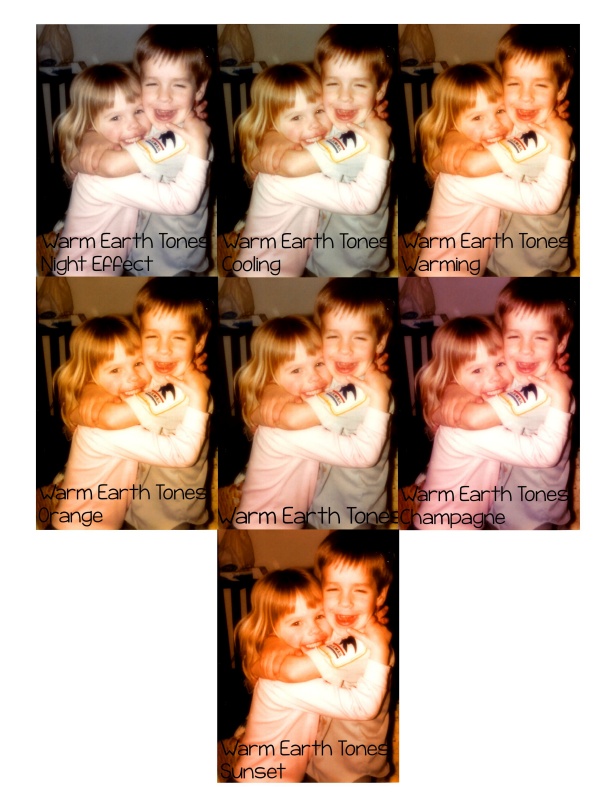
You could leave it there, but each set of looks comes with a set of CREATIVE FILTERS. The filters are the same through each look, but based on the look you can get some different sets of pictures. Below are the sets of each film look with the filters. The original film look without a creative filter is the center image.
Vivid with the creative filters: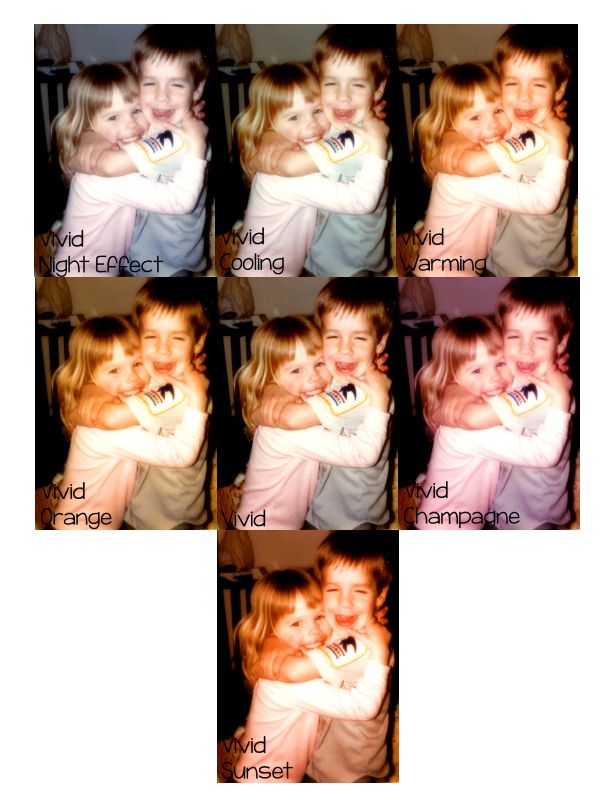
Vivid skin tones with creative filters:
Muted reds:
Enhanced reds:
Here’s the look of vibrant foliage with creative filters:
Warm earth tones:
Finally, we have the glamour set of effects:
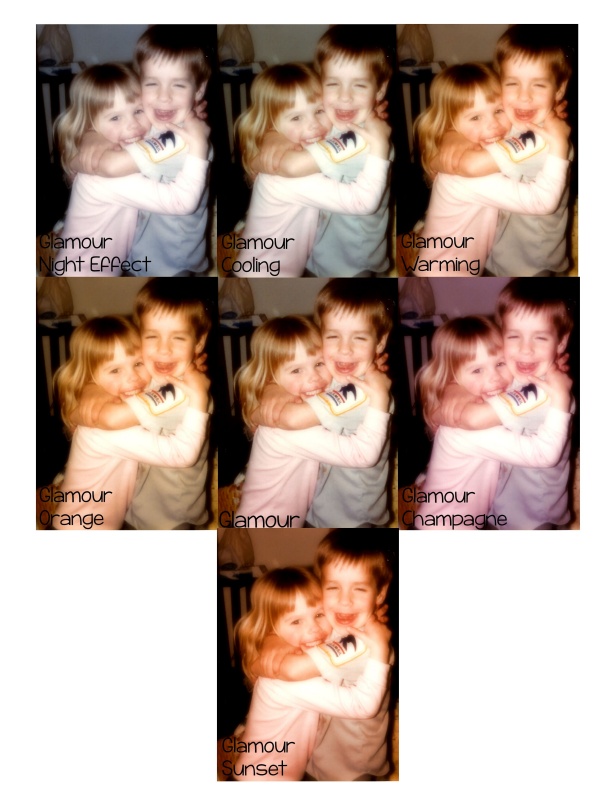
There is also a setting in this set of filters for customizations. So you want to see what your favorite color does with the other settings? Go for it.
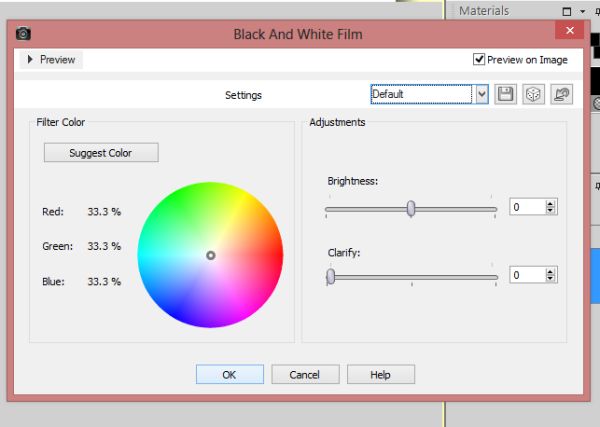
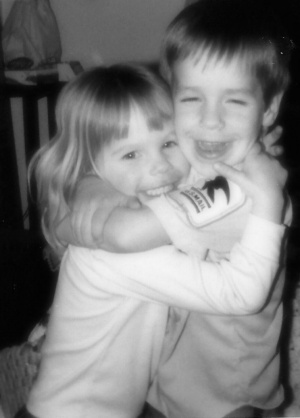
The next effect in our arsenal is BLACK AND WHITE FILM. I like to stick with default settings most of the time, but if you’re feeling brave go ahead a play with some of the settings and see what you come up with.
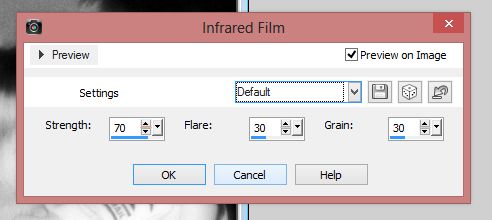
We then go to INFARED FILM.
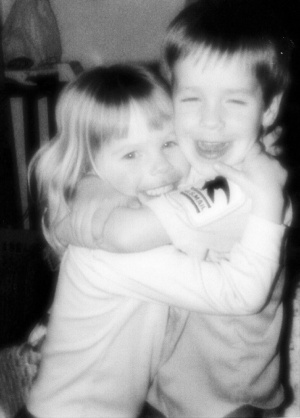
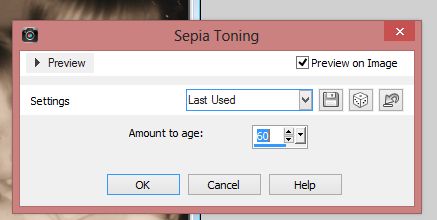
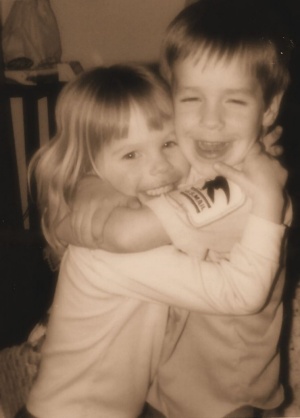
SEPIA TONING is next and this effect is huge today. I like to go with a setting of 75, but whatever you like is what you work with. This setting is customizable.
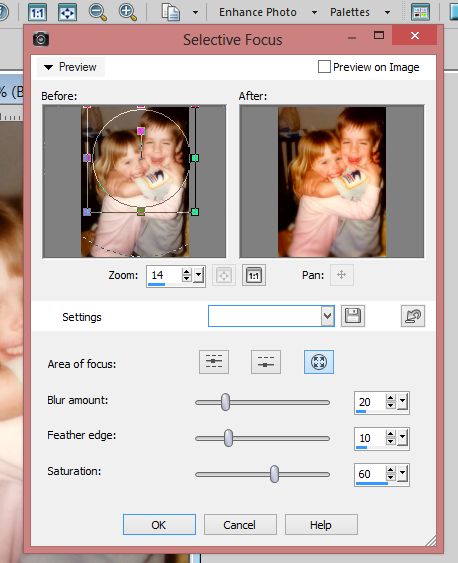
Have a large picture and you want to draw focus to just one section of it? Go with our next effect, SELECTIVE FOCUS. For this example I focused on our faces, because well that’s the best part of this photo.
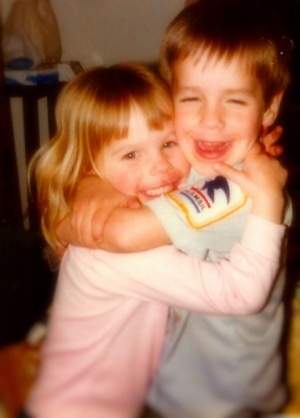
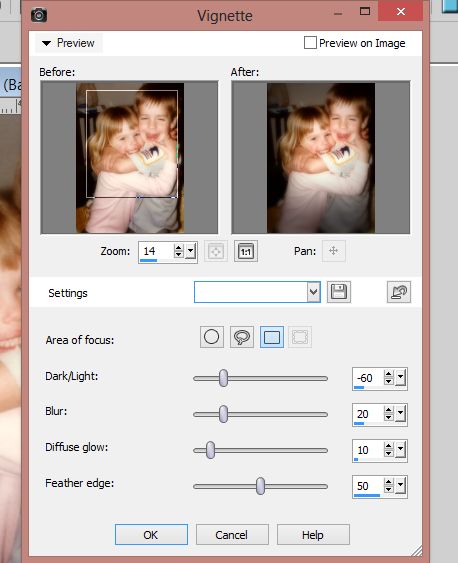
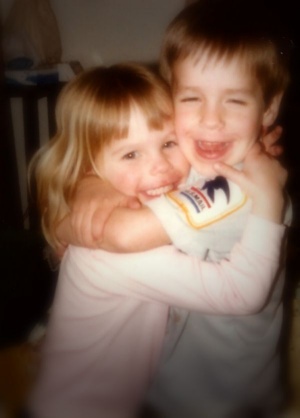
VIGNETTE is another effect I just love. It’s another way to take out extra clutter and noise in your photo and leave you looking at the most important part of the photo.
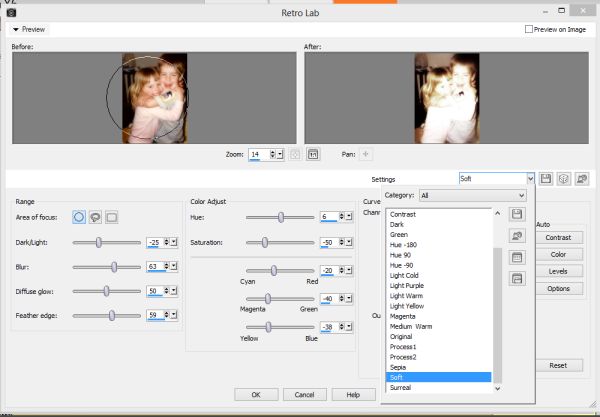
RETRO LAB comes next and woah, here’s another set of effects that is packed with options. I didn’t have time this tutorial to go into detail on each little selection, so I went with my favorite choice of SOFT. Play with this set and see what becomes your favorite.
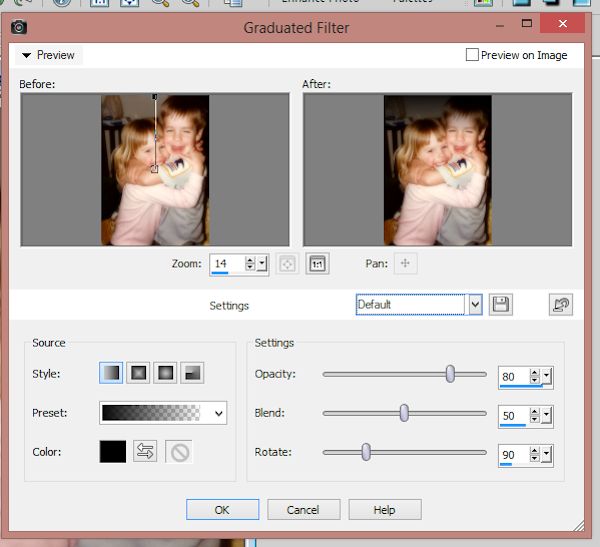
The last option in our arsenal is a GRADUATED FILTER. I once again just stuck with the default settings, but you definitely don’t have to.
So many different effects, so little time. Play around a little bit and see which effects you end up really liking then find a way to get in your pages. Make sure you show them off in the gallery.

All Trixie Scraps Designs products can be found in the following online stores:
Trixie Scraps Shop * My Memories * Gotta Pixel * Ginger Scraps

