Good day, everyone! For those of you in the U.S., I hope your summer has started off wonderfully.
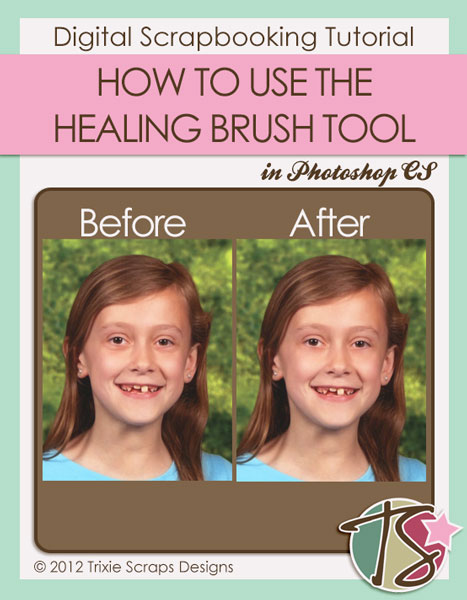
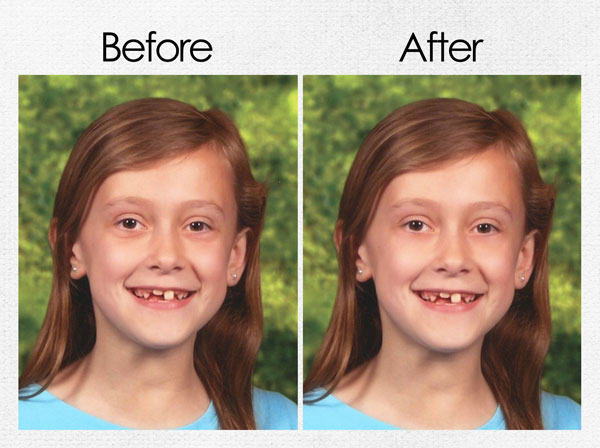
I am here today to show you some more Photoshop basics. I am focusing on the Healing Brush tool. This can be a really helpful tool. It can erase wrinkles, for example, or smooth out skin, or take away dust particles in your photo. The possibilities are endless. This tool is like a clone tool except that it blends surrounding pixels to make the area seamless. So, I am going to correct the dark circles under my daughter’s eyes as an example today.
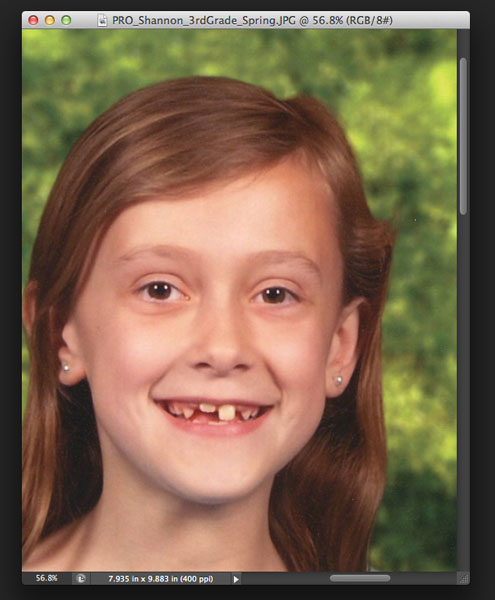
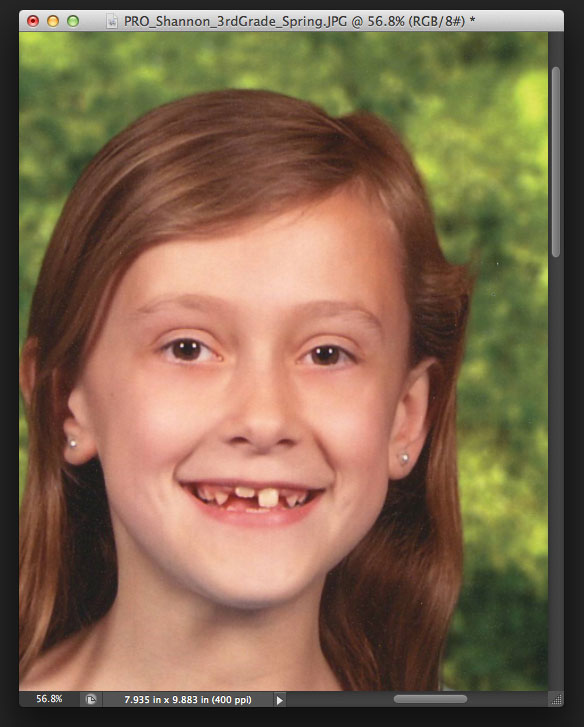
First, you need to open up your photo and zoom in on the area you will want to correct.
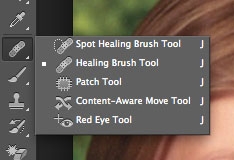
Next, make sure you have selected your Healing brush tool. Then, hold down the Alt button (Option on a Mac) and you will see your cursor turn into a bulls-eye… pick an area closest to the color(s) you are going to be correcting. I chose the lighter cheek area on the photo.
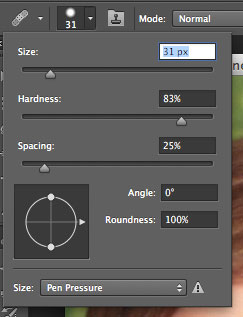
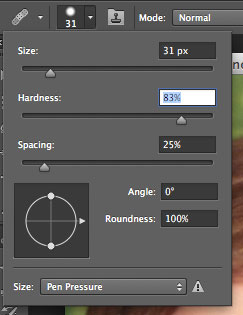
Next you will want to size your brush to a slightly bigger size than the area you are trying to correct. You can also adjust the hardness of the brush, but I normally don’t touch that because it does a good job on the normal settings.
Finally, you can now either click on or stroke over the area you want corrected. It takes a little playing around with sometimes to get it “right.”
Here are the before and after pictures of my correction to the photo.

All Trixie Scraps Designs products can be found in the following online stores:
Trixie Scraps Shop * My Memories * Ginger Scraps
