Awhile ago, I was trying to use a mask on a layout and I spent hours trying to figure it out. I was never able to figure it out and gave up. More recently, however, I quite unexpectedly discovered how to do this in my graphics program and decided it was a good tutorial to show you. And bonus – it’s another quick one.
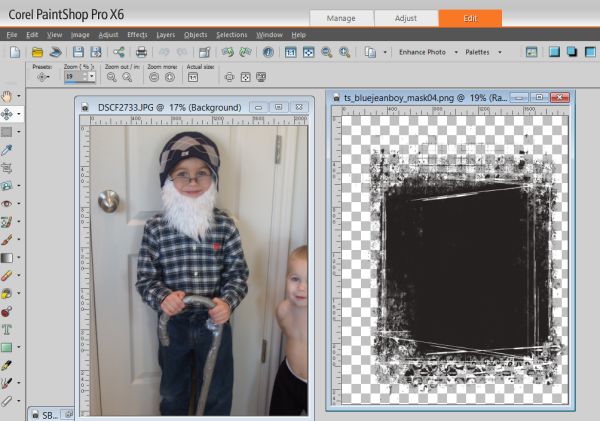
To begin, open both the picture and mask that you want to use. You don’t need to put them side by side like I did, but you do want to make sure they are both open. You want the picture open on your workspace, but you can leave the mask minimized. Whatever is easier for you.
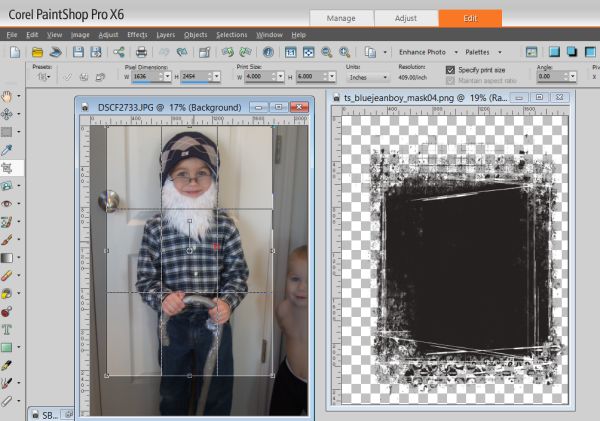
Depending on the mask you are using, you may want to crop your photo down. This is, of course, an optional step.
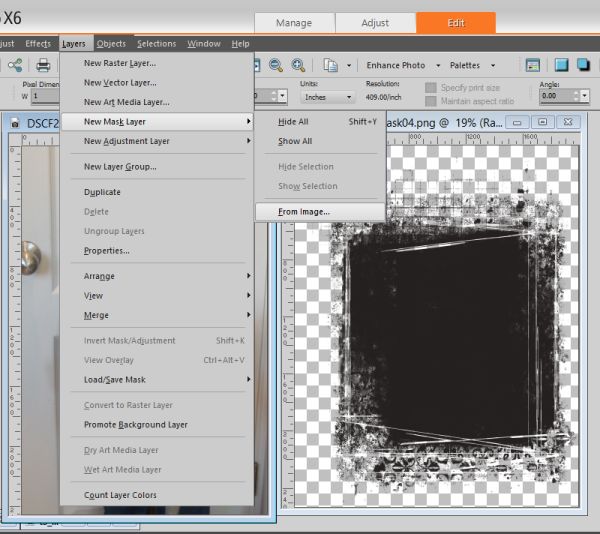
When you’ve got your photo as you want it, make sure your photo is the active object. If for some reason, you have the mask as the active object – it won’t work. This is another reason you may want to keep the mask minimized. Then up in your toolbar options click on LAYERS. From the dropdown, click on NEW MASK LAYER and then FROM IMAGE.
A small window will pop up, asking you what image you want to use. Anything you have open in your program (minimized or not) will show up under the SOURCE WINDOW. You want to choose your mask image and then click OK.
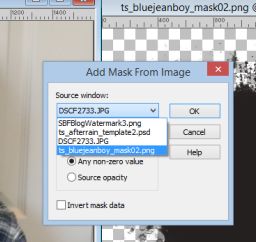
And if you’ve done everything correctly, your photo will now be masked.
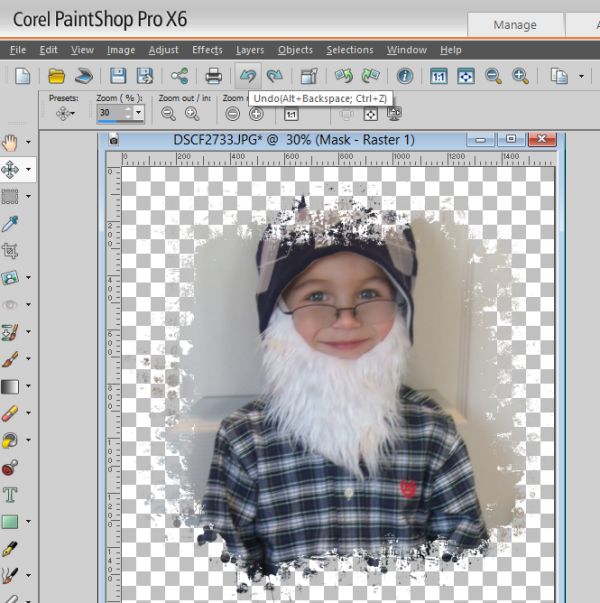
You can then use it on your layouts.
Here’s my layout with my masked photos.
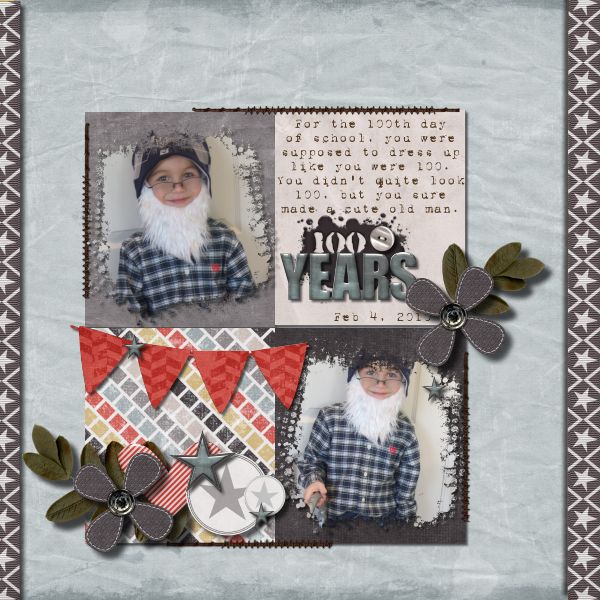
My layout was made using a template from After The Rain and the kit was That’s My Boy. The mask came from Blue Jean Boy and the stitches from Great Wilderness Lodge (Retired Kit).
 All Trixie Scraps Designs products can be found in the following online stores:
Trixie Scraps Shop * My Memories * Ginger Scraps

