Hello, everyone! I am here today to give you a little tutorial on something I recently discovered… the high pass filter in Photoshop. I wish I had know how easy this was to use so much sooner than a few weeks ago. So, the purpose we are using the high pass filter for is sharpening pictures. You are not going to believe how easy this is… so let’s begin!
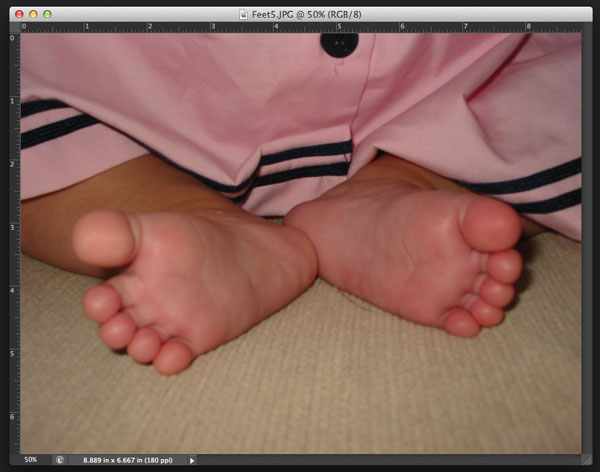
First, pull up a semi out of focus picture you want to tweak. Here is mine:
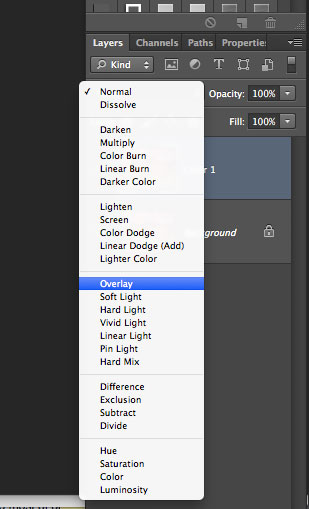
Don’t ya just love baby feet? Ok, so, next we duplicate the layer and change the copied layer to “Overlay” in your layers palette.
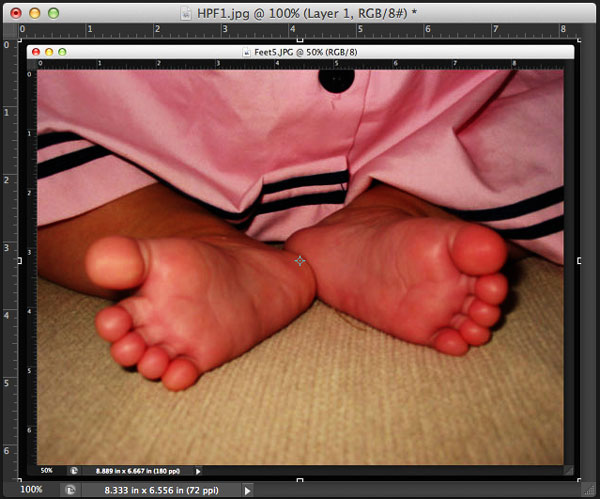
Your picture will now look something like this (all the colors are bright):
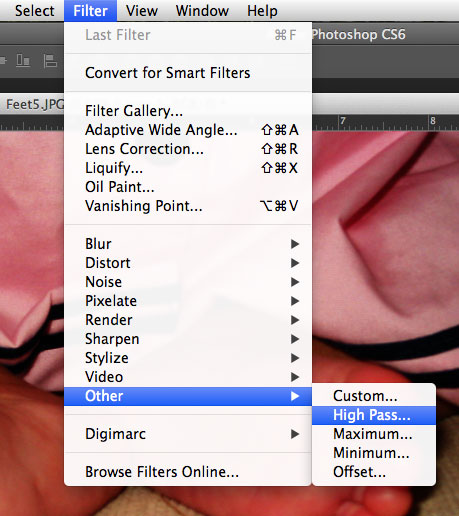
Next, go to “Filter,” then “Other,” then “High Pass…”
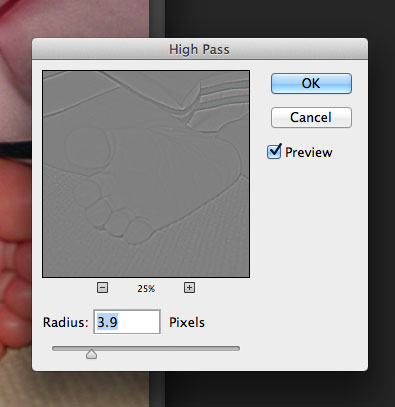
and a screen will pop up that looks like this.
If you can’t see your picture well, zoom out by hitting the “-” button until you are comfortable. Also, make sure “preview” is checked so you can see your sharpening as you do it. You should use the slider at the bottom to adjust the sharpening. It’s best not to go very high at all because you will over sharpen and make the picture look very unnatural. Remember, this is really a touchup of your picture. I chose 4.0 for my “Radius.” It has also been noted by others that you should try to avoid the yellow “halo” around the edges of your photo in the high pass filter box because it means you are over sharpening.
Once you are comfortable with the product, it is your choice whether to merge the layers or not.
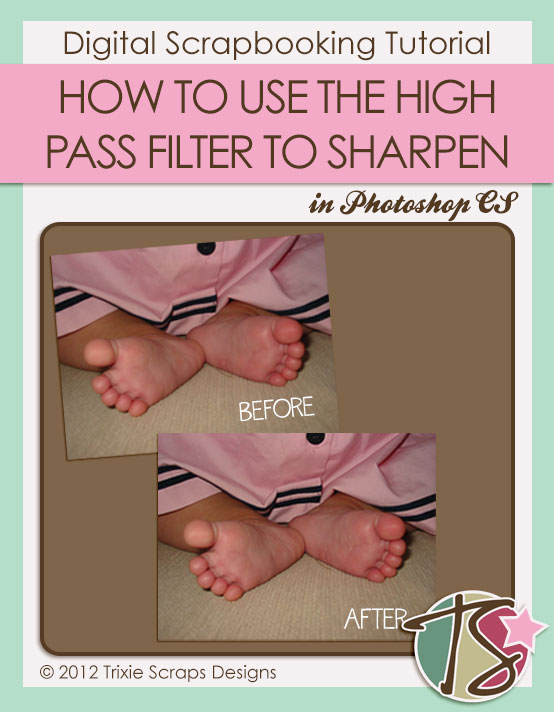
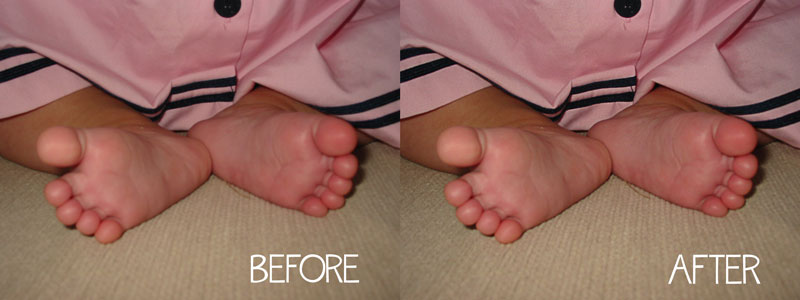
Here is a side by side of the picture:
You can see more of her little foot wrinkles and those kissable baby toes as well as more detail on her dress.
I hope this has been helpful and makes your pictures just a bit more clear for your beautiful scrapbook pages!
 All Trixie Scraps Designs products can be found in the following online stores:
Trixie Scraps Shop * My Memories * Ginger Scraps
