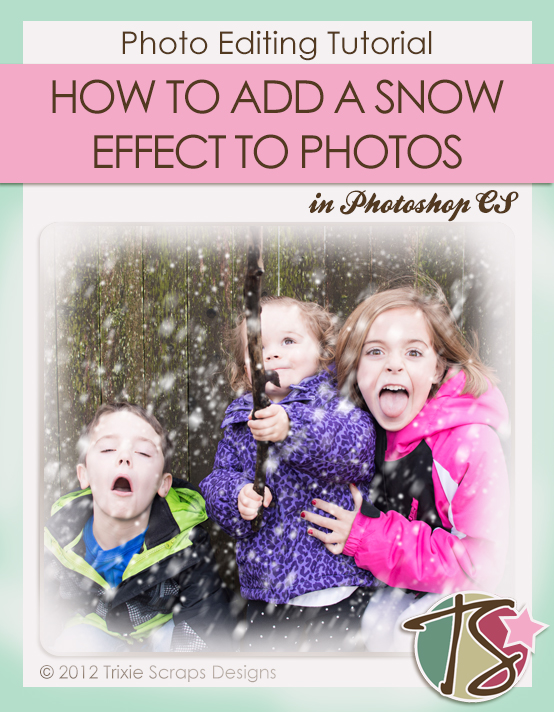
Hello there, fans! Welcome to another Masters Monday here on the Trixie Scraps blog! I wanted to share some really cool tutorials with you today that show you how to create a snow effect on your photos.
The Tutorials
The first tutorial comes to us from Phlearn.com, a super cool website that has a bunch of ideas and how-to posts for photographers (and scrappers). Check out the video!
httpss://www.youtube.com/watch?v=yP7qiZIuTA0&feature=youtu.be
Here’s my photo after applying this technique.
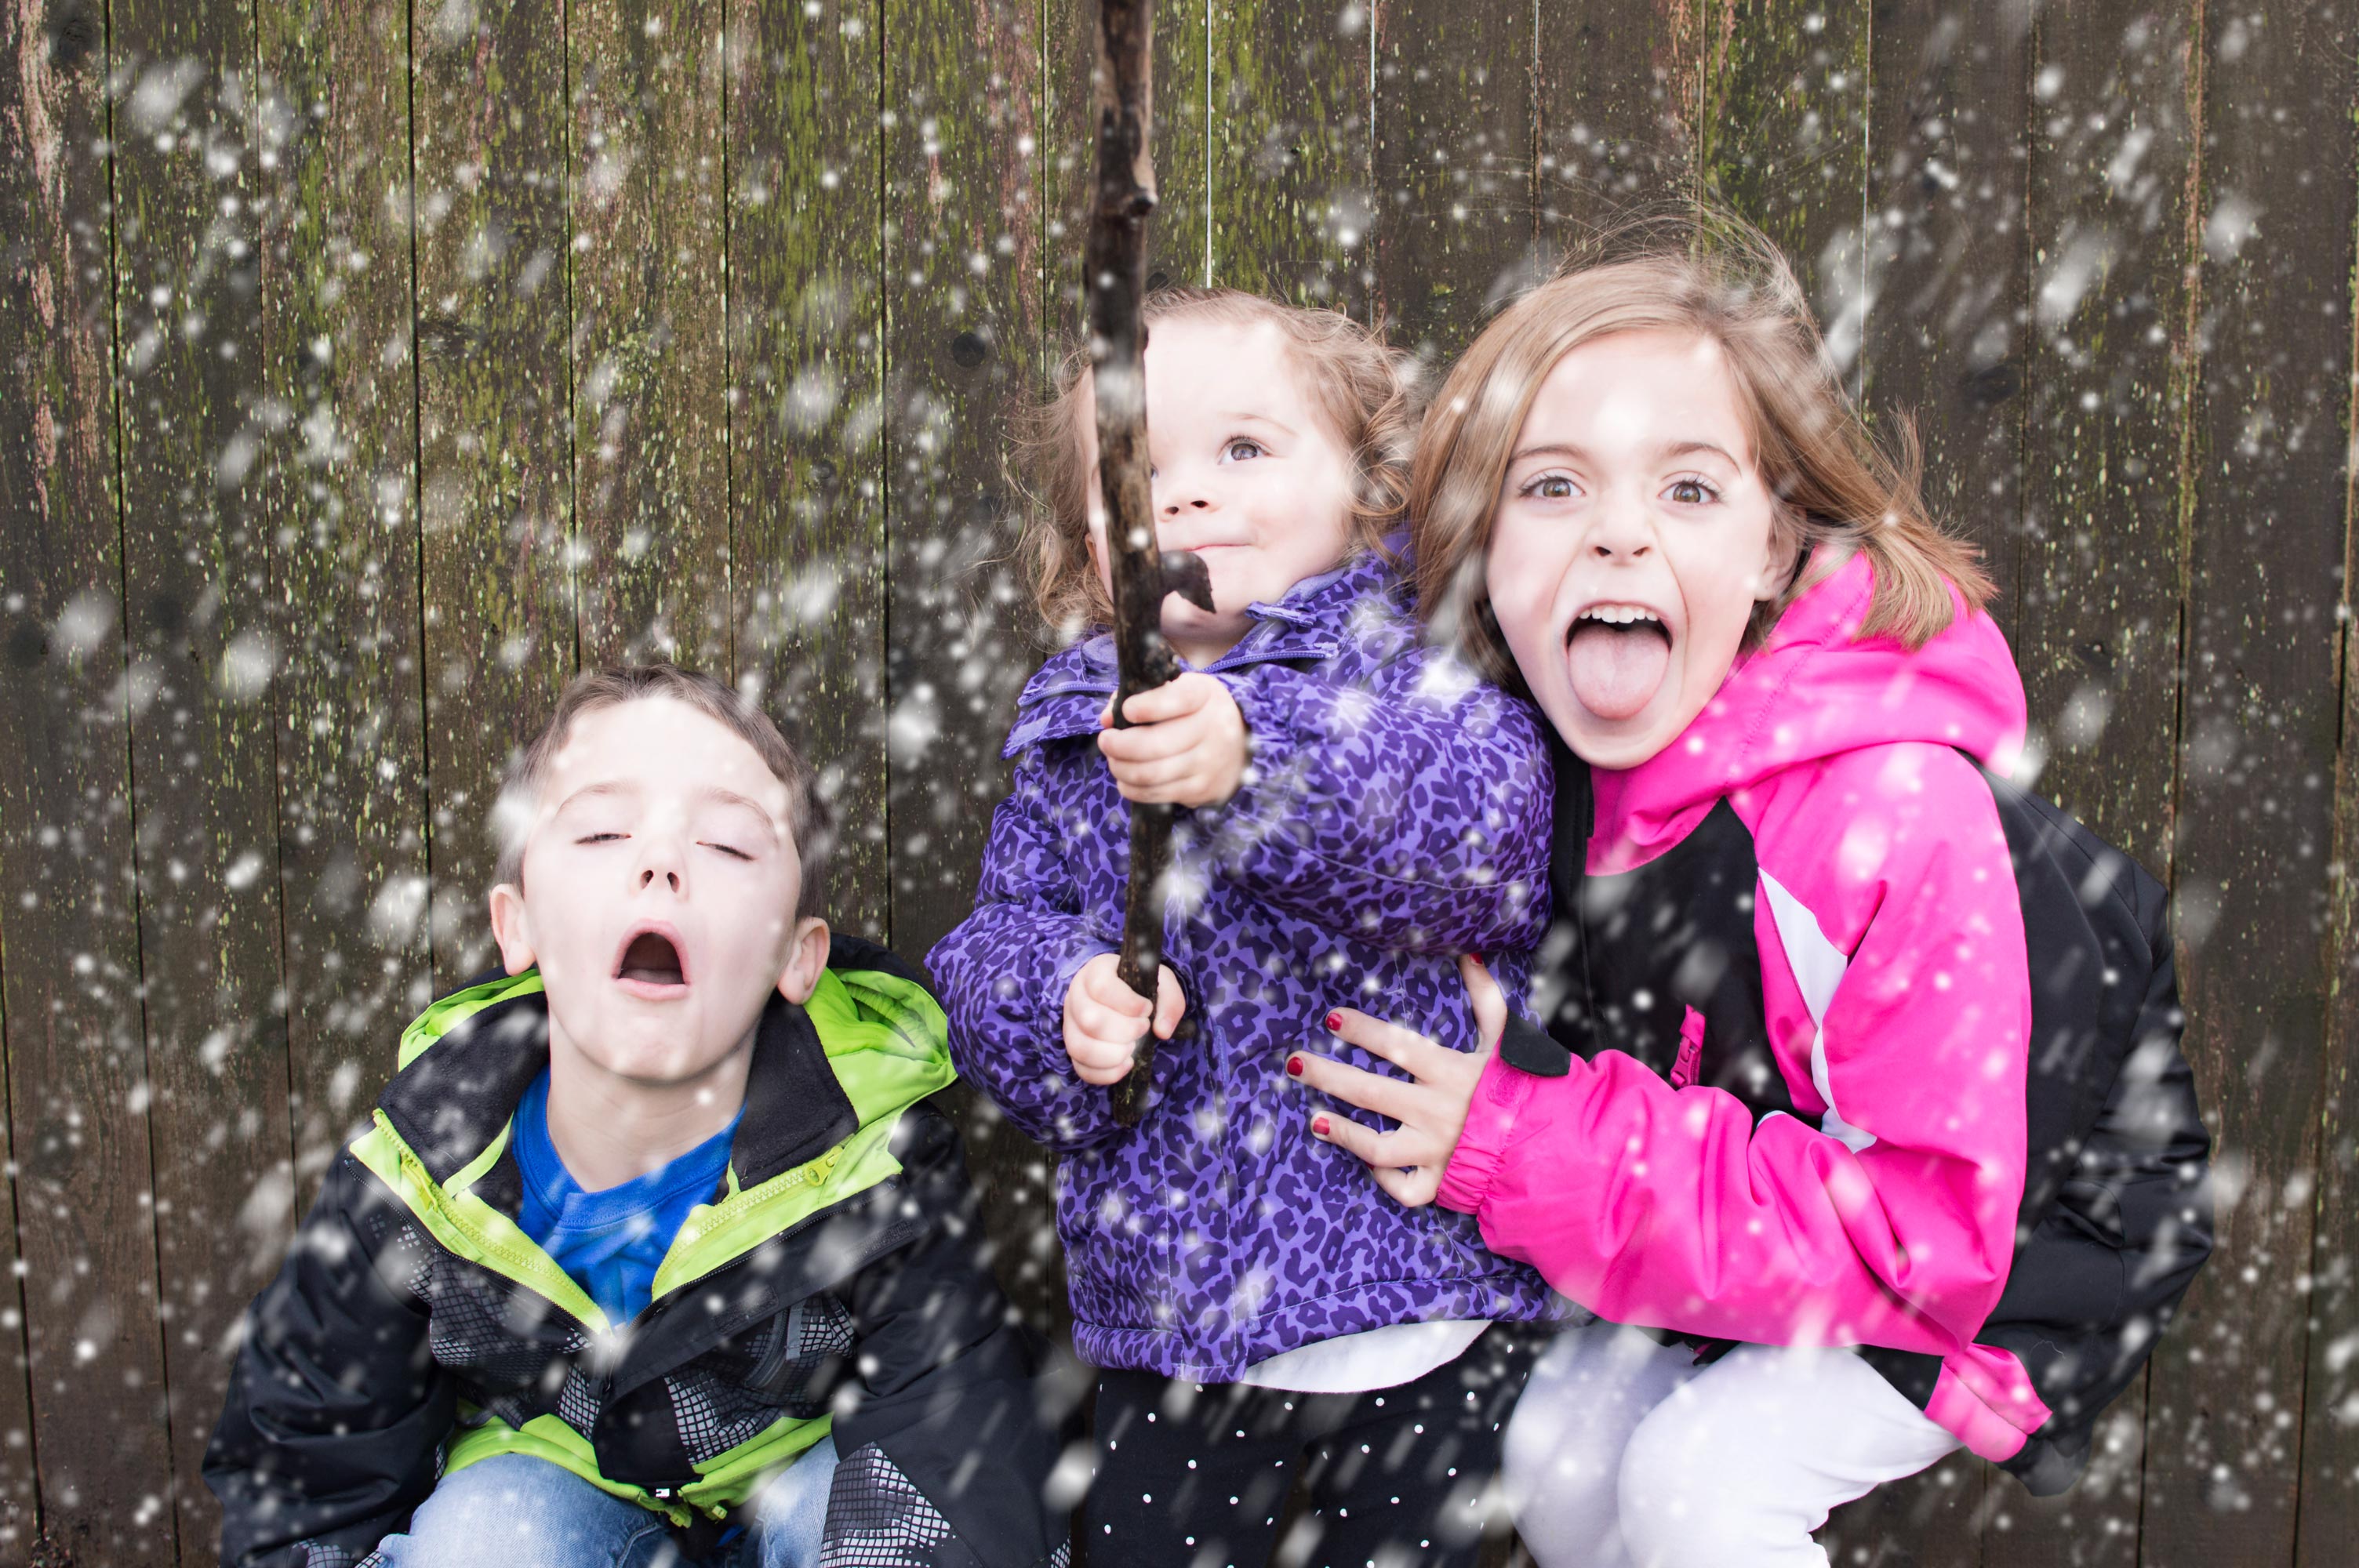
Snow effect photo created using tutorial from Phlearn.com
Now, it is winter where I am, but there isn’t any snow on the ground. As a matter of fact, it has been raining pretty heavily around here lately, so even if there was snow on the ground it would be long gone by now! I applied the snow effect on another photo and I thought that it needed a little something to make it more believable. I found an awesome tutorial from Jamie Rubeis Photography that shows us how to lighten up the ground in our snow effect photos. Both tutorials were so easy to follow and I think they came together nicely to give me a great effect on my photo. What do you think? When my son saw the photos he said, “Wait a minute…it wasn’t snowing outside when we took those!”
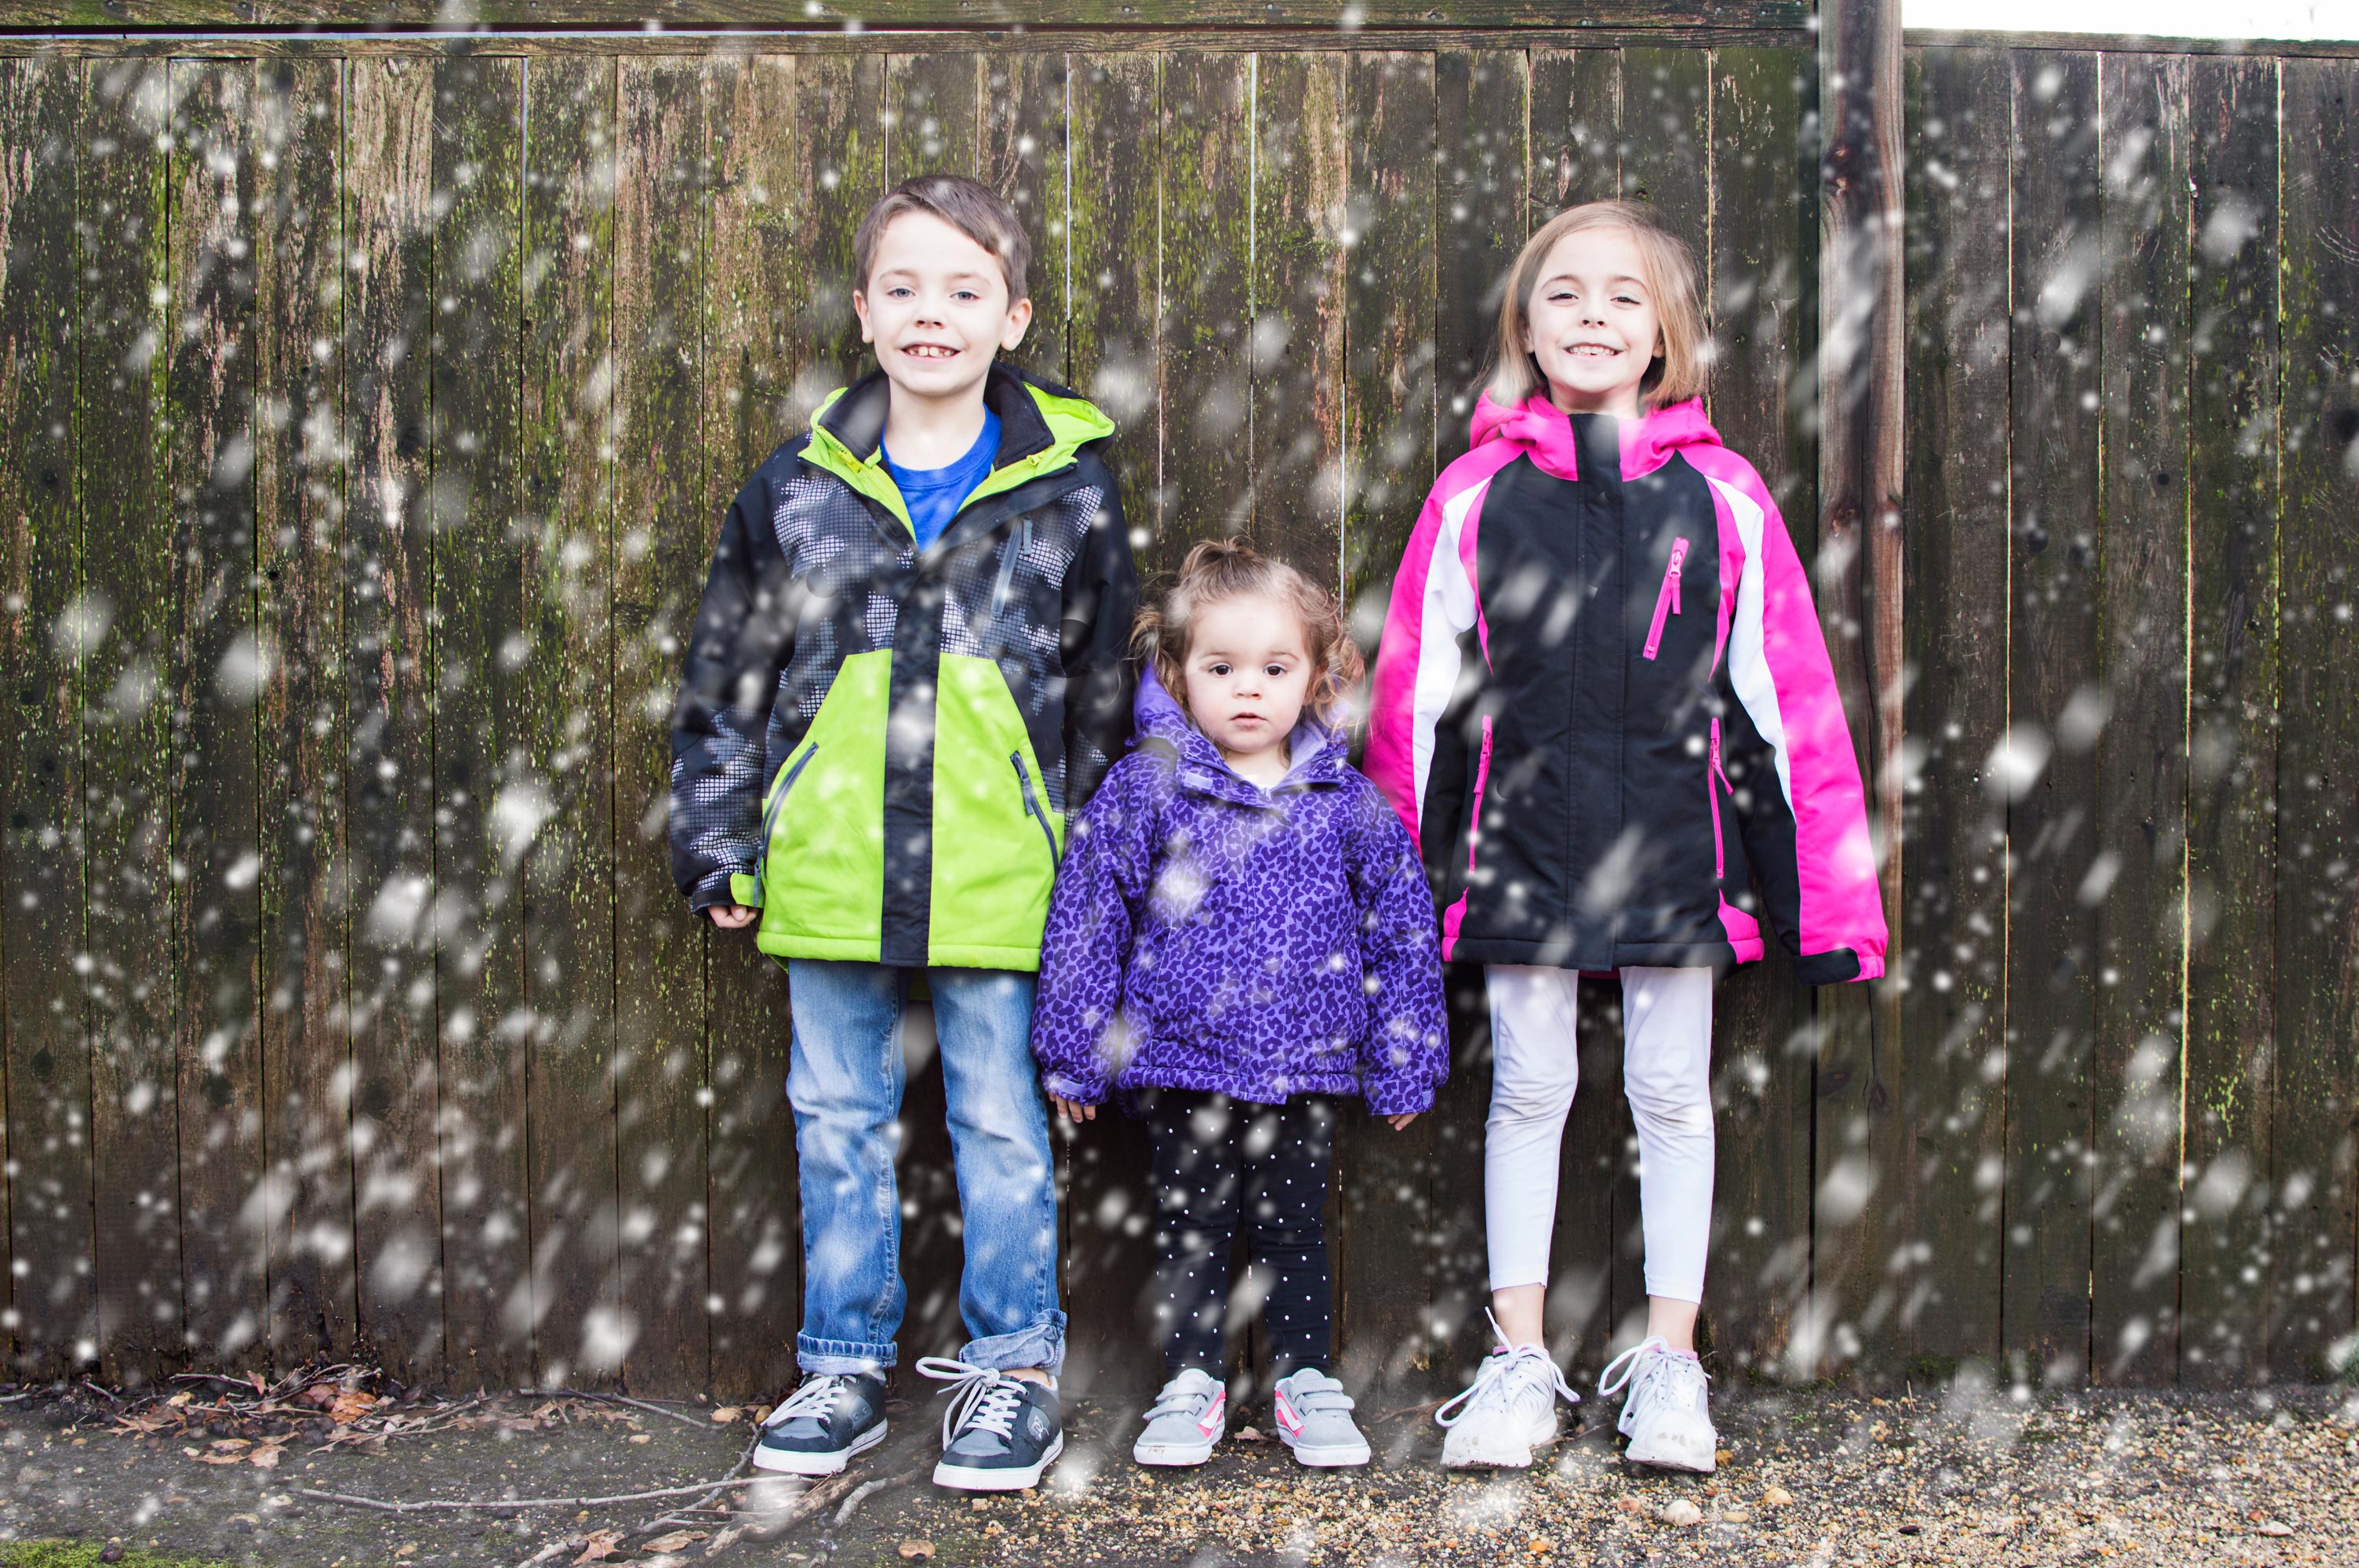
Snow effect created using tutorials from Phlearn.com and Jamie Rubeis Photography
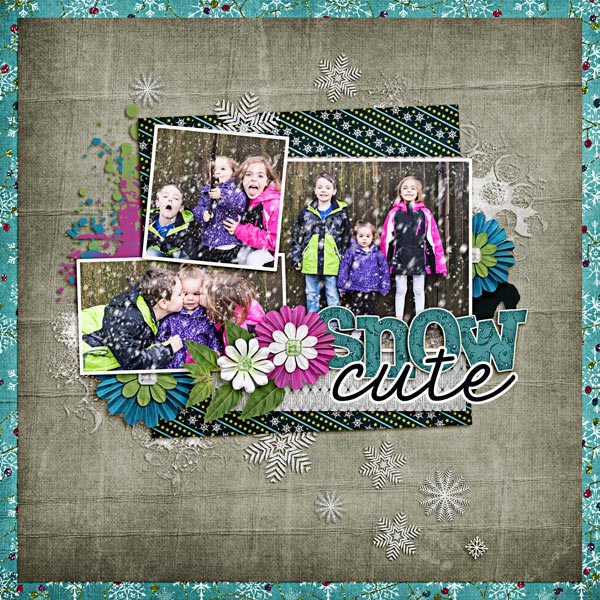
layout by Carrin using 31 Days Has December by Trixie Scraps and Auld Lang Syne collab by North Meets South Studios
Your turn!
I’d love it if you’d give one or both of these tutorials a try. You won’t be disappointed! Please make sure you upload any layouts you do create to the Trixie Scraps Gallery. We’d love to see them! Happy Scrapping!


